


70
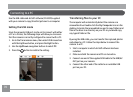
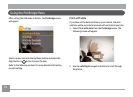
Connecting to a PC
Use the USB cable and ArcSoft software (CD-ROM) supplied
with your camera to copy (transfer) pictures to a computer.
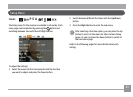
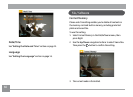
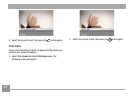
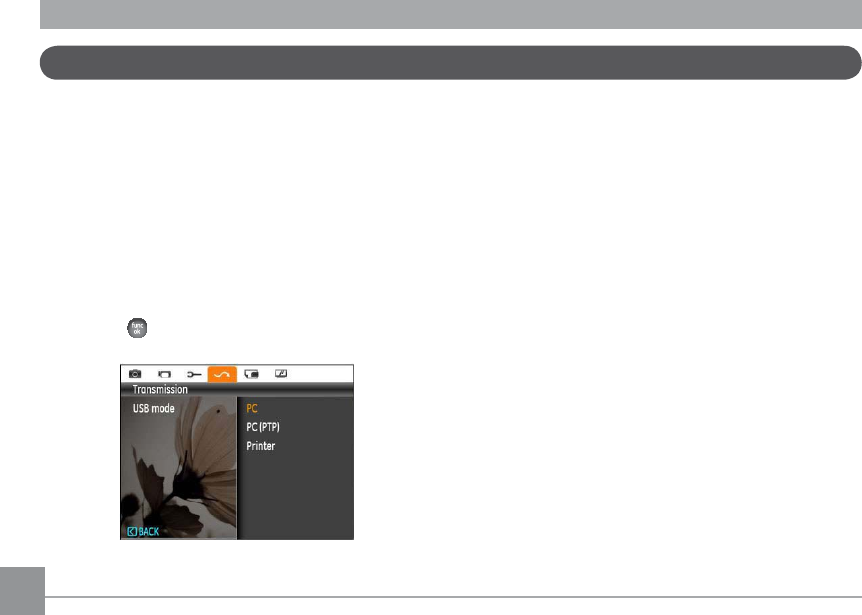
Setting the USB mode
Since the camera’s USB port can be set to connect with either
a PC or a Printer, the following steps will allow you to ensure
WKDWWKHFDPHUDLVFRUUHFWO\FRQ½JXUHGWRFRQQHFWZLWKD3&
1. Go to the Transmission menu, then select USB connection
with the Up/Down button, and press the Right button.
2. Use the
Up/Down navigation buttons to select PC.
3. Press the
EXWWRQWRFRQ½UPWKHVHWWLQJ
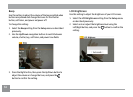
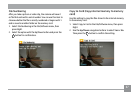
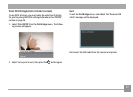
7UDQVIHUULQJ¿OHVWR\RXU3&
The computer will automatically detect the camera as a
removable drive. Double-click the MyComputer icon on the
desktop to locate the removable drive and to copy folders and
½OHVLQWKHGULYHWRDGLUHFWRU\RQ\RXU3&DV\RXZRXOGFRS\
DQ\W\SLFDOIROGHURU½OH
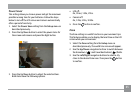
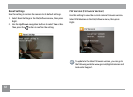
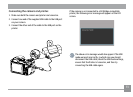
By using the USB cable, you can transfer the captured photos
and videos to a PC. Follow the steps below to connect the
camera to a PC.
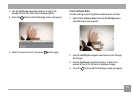
1. Start a computer in which ArcSoft software has been
installed.
2. Make sure both the camera and PC are turned on.
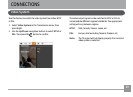
3. Connect one end of the supplied USB cable to the USB/AV
OUT port on your camera.
4. Connect the other end of the cable to an available USB
port on your PC.