8
Insert a memory card containing your photos into the printer.
Select Create , and then select Album Pages.
Select a paper size, and then press OK.
If prompted, select a page orientation and then press OK.
Select Yes. I want a cover page to include a cover page or No to leave out the cover page.
Use the arrow buttons to navigate to the fi rst photo you want to include in your album page, and press
OK to view it in 1-up view. Then, press to select the photo.
Repeat step 6 for each photo you want to include in your album. If you select more photos than will fi t
on one page, the printer will automatically create additional album pages.
Press OK when done selecting photos. Press OK again to continue.
The recommended number of pages that will create the best looking album is displayed. Change the
number of pages if desired, and then press OK to continue.
Use or to preview the album pages.
Press OK to print.
1.
2.
3.
4.
5.
6.
7.
8.
9.
10.
11.
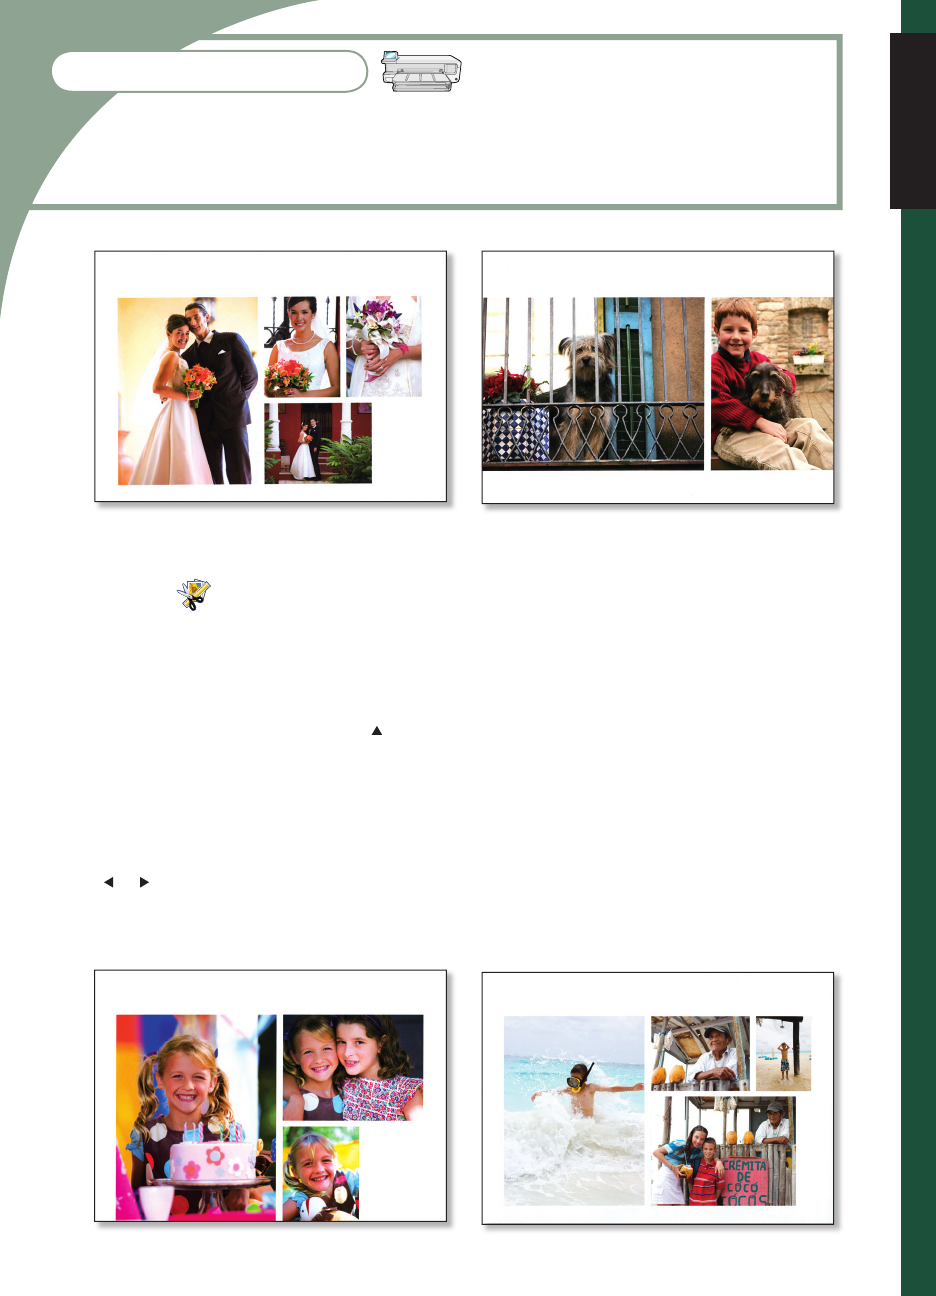
Print eye-catching album pages directly from the printer control panel. This option enables
you to select multiple photos, which the printer will automatically arrange into an attractive
layout. You can then bind multiple album pages to create a photo album.
Album Pages
English


