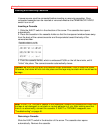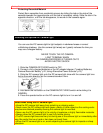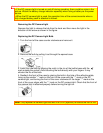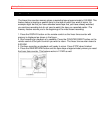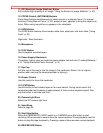
Getting Started - Identifying Controls
11. EIS (Electronic Image Stabilizer) Button
EIS corrects slight shaking of an image ("Using the Electronic Image Stabilizer," p. 32).
12. FOCUS Control (AUTO/MAN) Buttons
Press these buttons simultaneously to select manual or automatic focus. For manual
focusing ("Using Manual Focus," p. 32), press the
or button to bring the subject into
focus. When using manual focus, appears in the viewfinder.
13. FADE Button
The FADE button features three modes; white fade, wipe fade, and zoom fade ("Using
Fade," p. 33).
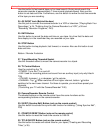
Right side / Rear Illustration
14. Microphone
15. PLAY Button
Use to playback recorded tapes.
16. Power Supply Attachment
The battery, battery case and external power adapter connect here ("Loading Batteries,"
p 12, "Using Alternative Power Sources," p 13)
17. Eye Cup
Pull this cup all the way to see the image in the viewfinder. Return it to its original
position when carrying the camera/recorder or storing it.
18. Diopter Control
Use this control to focus the viewfinder.
19. F.FWD Button
Use this button to fast forward tapes or for visual search. During visual search the
camera/recorder fast forwards at approximately 9 times normal playback speed. Also
use this button to set date and time.
20. Camera Light Shoe
Attach the DC camera light here.
21. Hand Strap
Refer to page 22.
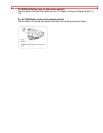
22. Start/Stop Button
When the CAMERA/OFF/VIDEO switch is in CAMERA press this button to start
recording. When pressed a second time the camera pauses. During playback use this
button to stop the tape temporarily. Pressing a second time resumes normal playback.
23. REW/REVIEW Button


