


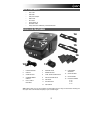
4
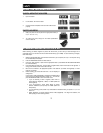
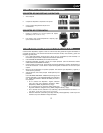
7. When you have adjusted your settings and are ready to scan your
image(s), select "Capture" on the main screen. The image you
are about to scan will appear in the DISPLAY. You can adjust the
image in the following ways:
• You can adjust the exposure by pressing the ENTER
BUTTON when your image is shown on the DISPLAY. Use
the LEFT / RIGHT BUTTONS to adjust the EV (exposure
value) and press the ENTER BUTTON to select it.
• You can change the orientation of the image by pressing the
LEFT / RIGHT BUTTONS. The RIGHT BUTTON will flip the
image vertically, and the LEFT BUTTON will flip the image
horizontally.
Note: When scanning photos, if you selected 3" x 5" or 4" x 6",
you will see the border of the photo holder, but the software will
automatically crop this out when you scan it (if you selected the
proper Crop settings as described above).
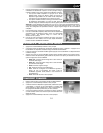
8. To scan the image, press PICS 2 SD's SCAN BUTTON.
9. After the scan is complete, use the LEFT / RIGHT BUTTONS to
select "Save" to save your scan, "Cancel" to delete your scan and
try again or "Home" to return to the main menu.
10. When you are done scanning your image(s), you can transfer your
images to your computer. See TRANSFERRING IMAGES FROM
PICS 2 SD for more information.
VIEWING & EDITING IMAGES
1. Press the MODE BUTTON to enter the main menu.
2. Use the LEFT / RIGHT BUTTONS to select "Playback" and press the ENTER BUTTON. You will see a
slideshow of the images you have scanned.
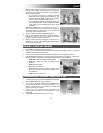
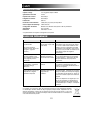
3. When you see an image you want to edit, press the ENTER BUTTON. The slideshow will pause.
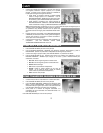
4. Press the ENTER BUTTON again. You will see several icons on the sides of the DISPLAY. Use the LEFT /
RIGHT BUTTONS to navigate these and press the ENTER BUTTON to select it, if desired.
• Rotate +90°: Rotates the image 90 degrees clockwise.
• Rotate -90°: Rotates the image 90 degrees counter-
clockwise.
• Delete: Deletes the image.
• Exit: Returns to the slideshow.
• Save: Saves the image after you make any changes. (If you
do not save the image, your changes will be lost if you return
to the slideshow.)
• Home: Returns to the main menu.
TRANSFERRING IMAGES FROM PICS 2 SD
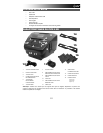
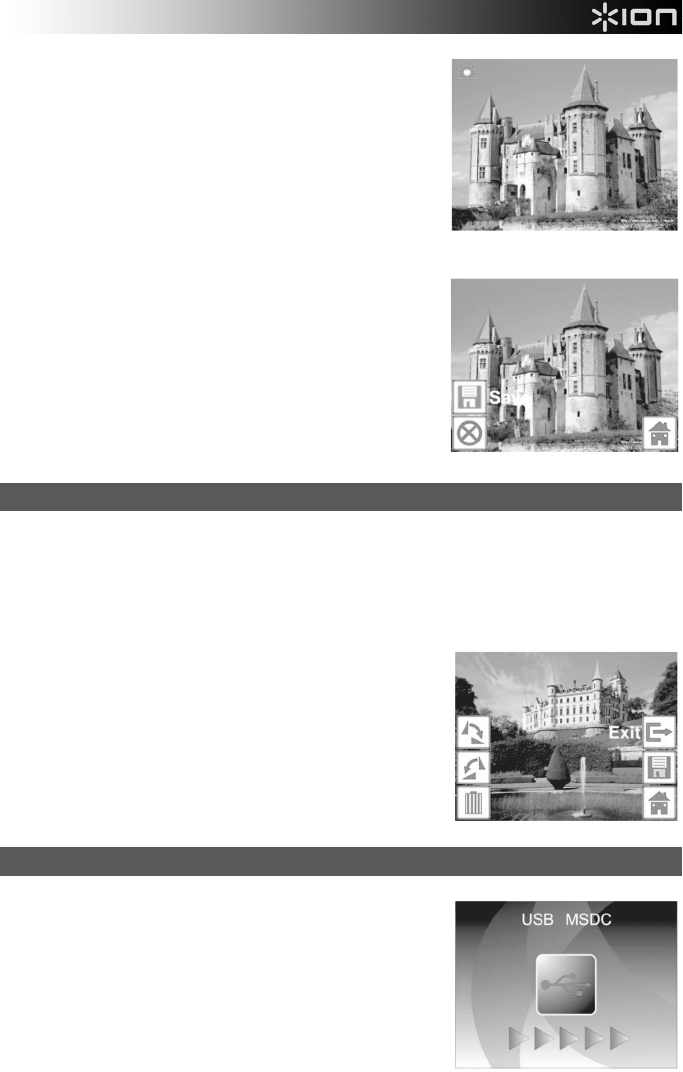
1. Connect PICS 2 SD to your computer with the included USB cable.
2. Press the MODE BUTTON to enter the main menu.
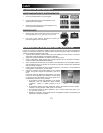
3. Use the LEFT / RIGHT BUTTONS to select "USB MSDC" and
press the ENTER BUTTON. A USB symbol will appear on the
DISPLAY, meaning PICS 2 SD is functioning as a remote USB
device to be read by your computer.
4. You can now view or transfer your scanned images to your
computer (just as you would from a remote USB drive or an SD
card reader).
5. Press the MODE BUTTON to return to the main menu.