40
TROUBLESHOOTING
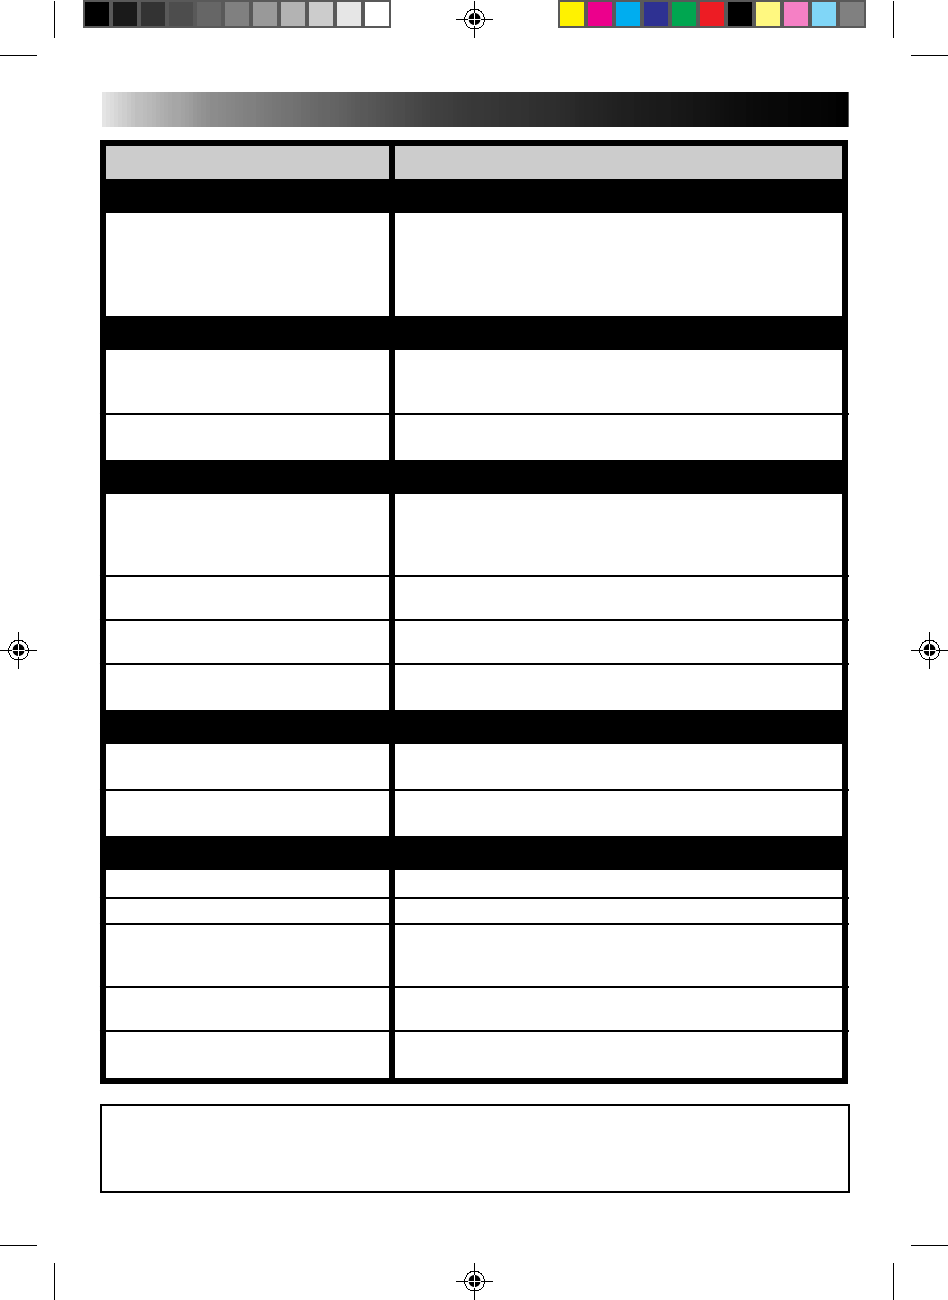
SYMPTOM POSSIBLE CAUSE(S)
POWER
No power is supplied. ● The battery pack has not been attached correctly
(੬ pg. 4).
● The battery pack is not charged (੬ pg. 4).
● The power supply has not been correctly connected
(੬ pg. 5).
RECORDING
Recording cannot be performed.
Recording does not start.
● The recording tape’s Erase Protection tab is missing. Cover
the hole with adhesive tape. (Some tapes have sliding tabs.
In this case, check the position of the tab.)
● The camcorder power switch has not been set to CAMERA
(੬ pg. 10).
PLAYBACK
The tape is running, but there’s no
playback picture.
Noise bars appear in the playback
picture.
Playback picture is blurred or
interrupted.
The counter indication is blurred
during Still playback.
● The TV has not been set to its VIDEO mode.
● If A/V connection is used, the TV’s VIDEO/TV switch has
not been set to VIDEO.
● The RF unit has not been set to the correct channel.
● Manual Tracking has not been performed (੬ pg. 29).
● The video heads are dirty or worn out. Consult your nearest
JVC dealer for head cleaning or replacement.
● This is normal.
The tape stops during fast-forward or
rewind.
Rewinding or fast-forwarding cannot
be performed.
● The Counter Memory Function has been activated
(੬ pg. 29).
● The tape is already fully wound on one reel or the other.
The tape won’t eject.
Some functions are not available.
Vertical white lines appear when
shooting a very bright object.
Bright, crystal-shaped spots appear
in the viewfinder.
An error number (E01, etc.) appears
in the viewfinder.
● The battery pack is running low.
● The PROGRAM AE dial is set to LOCK (੬ pg. 14).
● This sometimes occurs when the contrast between the
background and the object is great. It is not a defect of the
camcorder.
● Sunlight is directly entering the lens.
● Consult your nearest JVC dealer.
TAPE TRANSPORT
OTHER
The camcorder is a microcomputer-controlled device. External noise and interference (from a TV, a
radio, etc.) might prevent it from functioning properly. In such cases, first disconnect its power supply
unit (battery pack, AC Power Adapter/Battery Charger, etc.) and clock battery; and then re-connect it and
proceed as usual from the beginning.


