


—13—
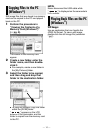
1 Make sure that there is a
memory card in the camcorder.
2 Set the camcorder’s VIDEO/
MEMORY Switch to “MEMORY”.
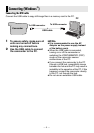
3 Set the camcorder’s Power
Switch to “PLAY” while
pressing down the Lock Button
located on the switch.
4 Connect the camcorder to the
PC with a USB cable. (੬ pg. 12)
On the camcorder’s LCD monitor
[USB] appears. The memory card icon
appears on the desktop.
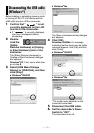
● Depending on the type of OS used,
iPhoto starts if the memory card
contains a DCIM folder.
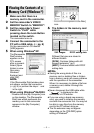
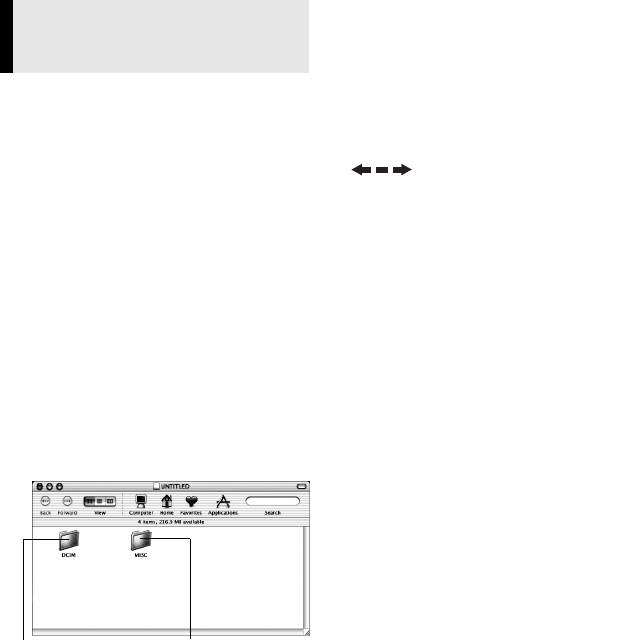
5 Double-click the memory card
icon on the desktop.
The folders in the memory card
appear.
Different file types are stored in
different folders.
[DCIM]: Contains folders with still
images (extension “.jpg”)
[MISC]: Contains folders with DPOF
setting data
NOTES:
● Saving the wrong kinds of files in a
memory card or deleting files or folders
from a memory card can cause problems
with the operation of the camcorder.
When it is necessary to delete a file from
a memory card, delete it through the
camcorder.
● Never disconnect the USB cable while
“ ” is displayed on the
camcorder’s LCD monitor.
● If you are using a brand new memory
card, you need to initialise the memory
card with the camcorder first. You may not
be able to copy files from the memory
card to the PC without doing so.
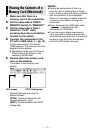
Viewing the Contents of a
Memory Card (Macintosh)
Still images
DPOF Setting data