


FEATURES FOR RECORDING
40 EN
MasterPage: Left
Makes dark subjects or areas even brighter than
they would be under good natural lighting.
Although the recorded image is not grainy, it may
look as if it is strobing due to the slow shutter
speed.
1 Set the power switch to “M”.
2 Press NIGHT (4/9) so that the Night-Scope
indicator “ ” appears.
● The shutter speed is automatically adjusted to
provide up to 25 times sensitivity.
● “ ” appears beside “ ” while the shutter speed
is being automatically adjusted.
To deactivate Night-Scope
Press NIGHT (4/9) again so that the Night-
Scope indicator disappears.
NOTES:
● During Night-Scope, the following functions or
settings cannot be activated and its indicator
blinks or goes out:
•Some modes of “Program AE” or “Special
Effects” (੬ pg. 44, 45)
•“Snapshot Flash” (੬ pg. 39)
•“GAIN UP” in CAMERA menu (੬ pg. 34)
•“DIS” in MANUAL menu (੬ pg. 34)
● During Night-Scope, it may be difficult to bring the
camcorder into focus. To prevent this, use of a
tripod is recommended.
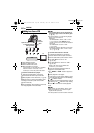
Once the camcorder is set, the camcorder
operator can become part of the scene in a
more natural way, adding the final touch to a
memorable picture.
1 Set the power switch to “M”.
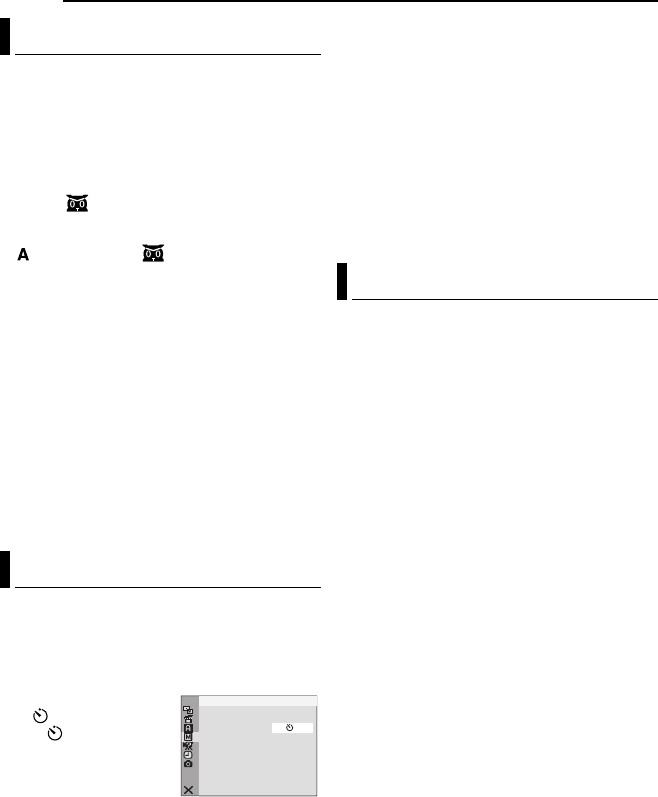
2 Set “SELF-TIMER” to
“ON ”. (੬ pg. 33, 35)
● The “ ” indicator
appears.
3 For video recording,
press the recording start/
stop button.
● The tally lamp starts blinking.
● After 15 seconds, the beep sounds and video
recording starts. The tally lamp stays on.
To stop self-timer recording, press the recording
start/stop button again.
● The camcorder re-enters record-standby mode.
OR
3 For snapshot, press SNAPSHOT.
● The tally lamp starts blinking.
● After 15 seconds, the beep sounds and a
snapshot is taken. The tally lamp turns off. After
that, the camcorder re-enters record-standby
mode.
4 To end self-timer recording, select “OFF” in
step 2.
NOTE:
If “BEEP” and “TALLY” are set to “OFF” (੬ pg. 35),
the beep does not sound and the tally lamp does
not light.
Record a vacation or an important event in 5-
second clips to keep the action moving. This
function is available only for video recording.
1 Set “5S” to “5S”. (੬ pg. 33, 35)
● The “5S” indicator appears.
2 Press the recording start/stop button to start
recording, and after 5 seconds the camcorder
enters record-standby mode automatically.
● Even if you press the recording start/stop button
again within 5 seconds after recording starts,
record-standby mode is not engaged.
3 To exit the 5S mode, select “OFF” in step 1.
To take a snapshot in the 5-second recording
mode
Instead of pressing the recording start/stop
button in step 2, select the desired snapshot
mode in CAMERA menu (੬ pg. 34), then press
SNAPSHOT. The camcorder records a 5-
second still. When “5S” is set to “Anim.”, this
function is not available.
NOTE:
When “5S” is set to “Anim.”, the 5-second recording
mode is not available. Animation recording of a few
frames only is taken instead.
Night-Scope
Self-Timer
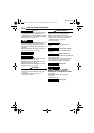
MANUAL
SELF-TIMER
OFF
ON
–
5-Second Recording
GR-XASIA_11Advanced.fm Page 40 Thursday, April 14, 2005 2:33 PM