


EN-16
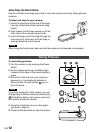
To set the Self-Timer:
1. Make sure that the camera is in Record mode. Then, press the Mode/Menu button
for over 2 seconds to enter the camera options in Record mode.
2. Keep on pressing the Mode/Menu button repeatedly until blinks on the LCD
panel.
3. Press the Shutter button to select the option.
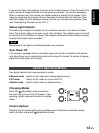
Setting the Auto Flash Mode
The camera has two different flash modes:
● Off (default) : The flash is disabled no matter what the ambient brightness of the
surroundings is.
● Auto : The camera automatically fires the flash when the brightness of the subject
or scene is too low.
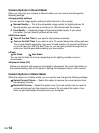
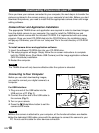
To set the Auto Flash mode:
1. Make sure that the camera is in Record mode.
2. Use the / - button to choose the Auto Flash mode (Auto ). The camera starts
charging the flash and the Status light indicator blinks. The Status light indicator stays
lit when the flash is charged and ready.
Note
Ⅲ Do not fire the flash at a person at short range.
Ⅲ Auto Flash is always reset to “OFF ” when the camera is turned on.
Ⅲ Auto Flash will be disabled automatically when connected on USB because the large
charge current will cause damage to your USB interface.
Ⅲ Do not use the Auto-Flash feature while battery power is low. (It will cause the camera
to be kept in charging status always. Replace the batteries with new ones, then use
the Auto-Flash feature.)
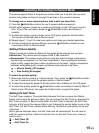
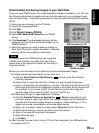
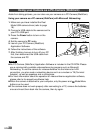
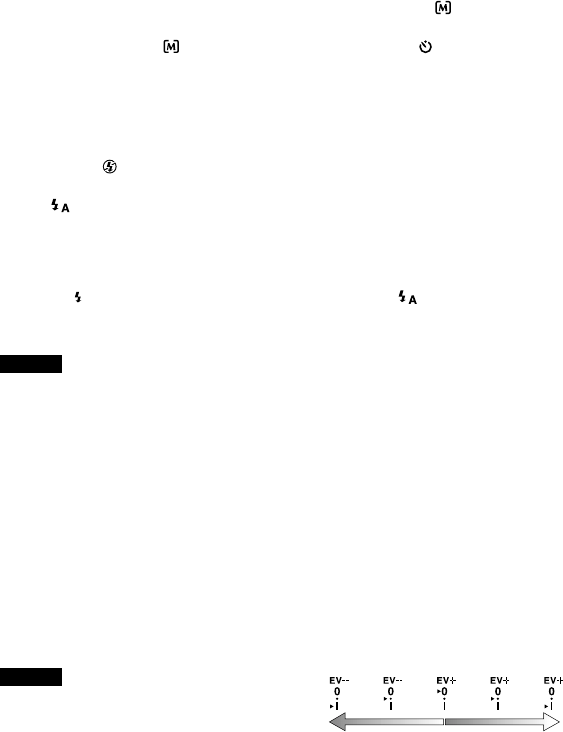
Setting the Exposure Value
This camera automatically chooses the most appropriate Exposure Value (EV) for a
given situation. However, the EV system can also be manually compensated as follows:
1. Make sure the camera is in Record mode.
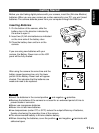
2. The LCD panel shows the EV Compensation scale. Press the EV / + button (located
at the left side of the LCD panel on the back of the camera) to select a higher or
lower value.
Becomes
brighter
Becomes
darker
Note
The effective EV Compensation range of
this camera is from -1EV to +1EV in 0.5
EV steps.