


Using the IPS Software with the KODAK PROFESSIONAL LED II Printers
December 2000 9
Using the Image Print Server
Before You Begin
When you begin using this application, you need to set Source Directory
Preferences (see page 14). To do this you need to:
• know whether printer calibration was performed using Density aims or
Lightness aims; this will determine whether you apply tone scale correction
• set up a log file on your host computer so the application can log errors
• designate a Source Directory (or hot folder) on your host computer, even if
you do not send images from the Source Directory and you only enqueue
(see “Definitions of Terms” on page 2) images one at a time
IMPORTANT:Set up the Source Directory for one use only—as a temporary
source of images. Do not specify a directory that contains images
that you want to keep. Once the images are processed from the
Source Directory, they are deleted from that directory.
Do not specify as a Source Directory any directory that is on a
read-only volume.
If you will be adding any print devices, you need to know the number of the SCSI
Host Adapter and the SCSI ID for the devices.
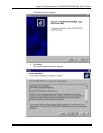
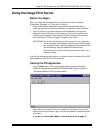
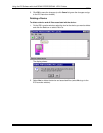
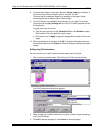
Starting the IPS Application
• From the Start menu of the host computer, select Programs>Eastman
Kodak>KPro Applications>KODAK PROFESSIONAL Image Print Server.
The display shows the IPS Launcher window.
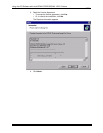
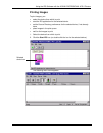
Add a device if no device icon is in the window or if there is no icon for the
device from which you want to print. You can also update or delete the device
information.
If you do not need to add, update, or delete a device, go to page 13.