


Instructions for Kodak i200 Series Scanners
1. Power down the scanner.
2. Access the inside of the scanner by opening the
scanner cover.
3. Lift up the scanner door release again and open the
scanner door past the circuit board cover.
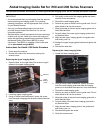
Replacing the Upper Imaging Guide
1. Locate the upper imaging guide.
2. Clean the upper transport area and imaging guide.
3. Remove the screw from the upper imaging
guide bracket.
4. Slide the bracket away from the imaging guide.
5. Pull gently on the end of the imaging guide and slowly
remove it from the scanner.
6. Discard the used imaging guide.
7. Remove any dust or debris from the guide track. Do not
allow debris to fall into the scanner.
8. Wipe both sides of the new upper imaging guide with a
fresh Staticide Wipe.
9. Dry both sides of the new upper imaging guide with a
dry Staticide Wipe.
10. Align the new upper imaging guide in the guide track
and slowly push it in.
11. Slide the bracket until it rests against the end of the
imaging guide.
12. Re-install the screw in the upper imaging guide bracket.
Do not over-tighten.
Replacing the Lower Imaging Guide
1. Locate the lower imaging guide.
2. Clean the lower transport area and imaging guide.
3. Remove the screw from the lower imaging guide.
4. Pull gently on the end of the imaging guide and slowly
remove it from the scanner.
5. Discard the used imaging guide.
6. Remove any dust or debris from the guide track. Do not
allow debris to fall into the scanner.
7. Wipe both sides of the new lower imaging guide with a
fresh Staticide Wipe.
8. Dry both sides of the new lower imaging guide with a
dry Staticide Wipe.
9. Align the new lower imaging guide in the guide track
and slowly push it in.
10. Re-install the screw in the lower imaging guide. Do not
over-tighten.
11. Close the scanner door.
Lower imaging guide
Circuit board cover
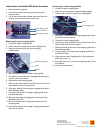
Upper imaging guide
Upper imaging guide
Screw
Bracket
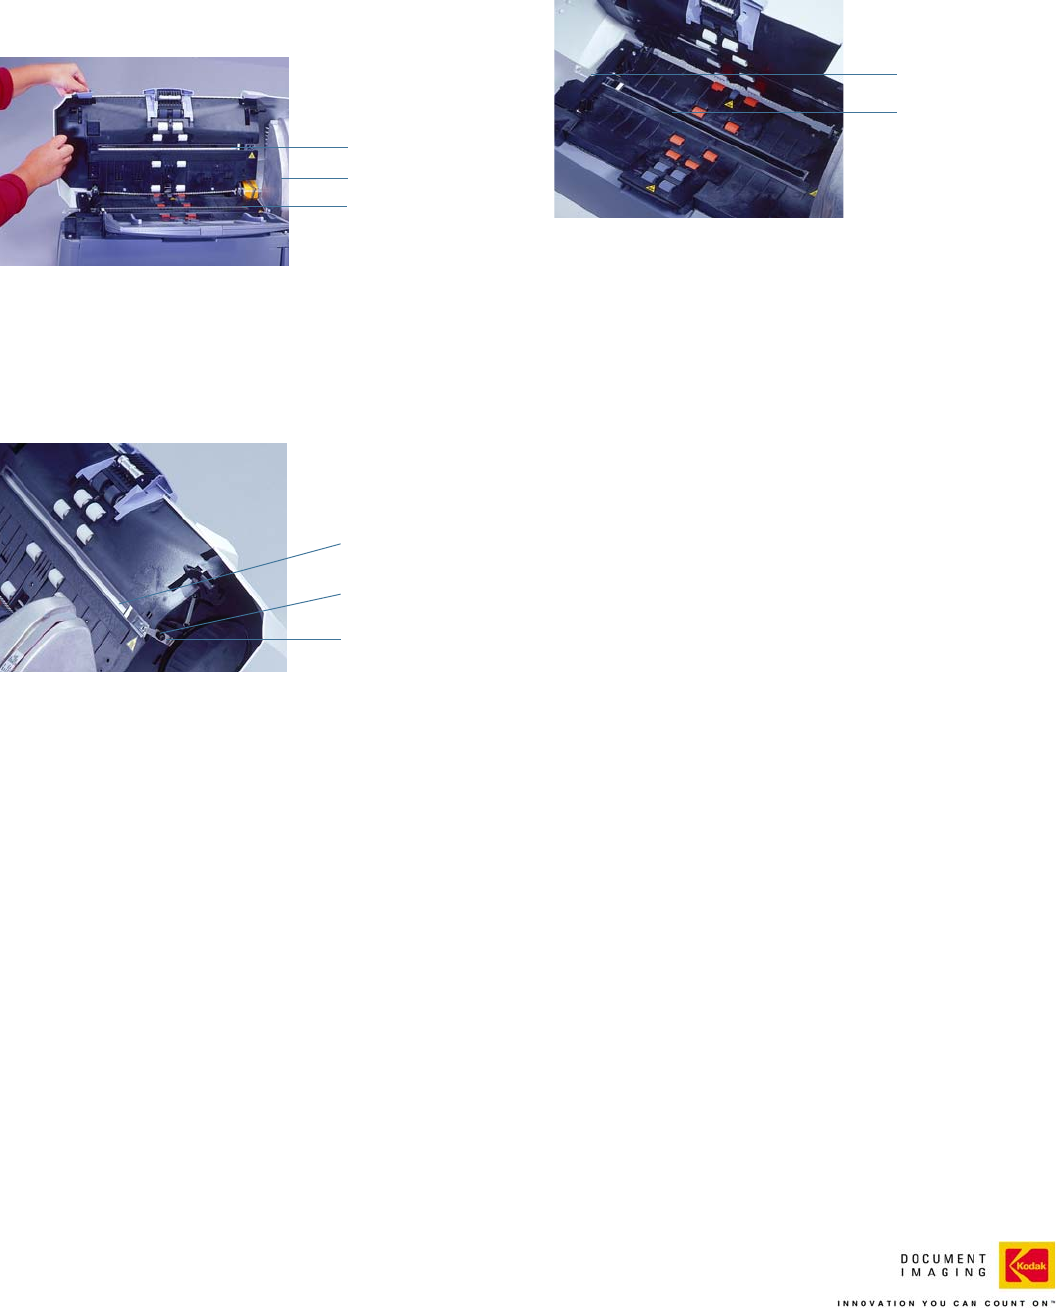
Screw
Lower imaging guide
Part No. 9E3724
CAT. No. 895 1048
A-61524 November 2004
© Eastman Kodak Company, 2004