84
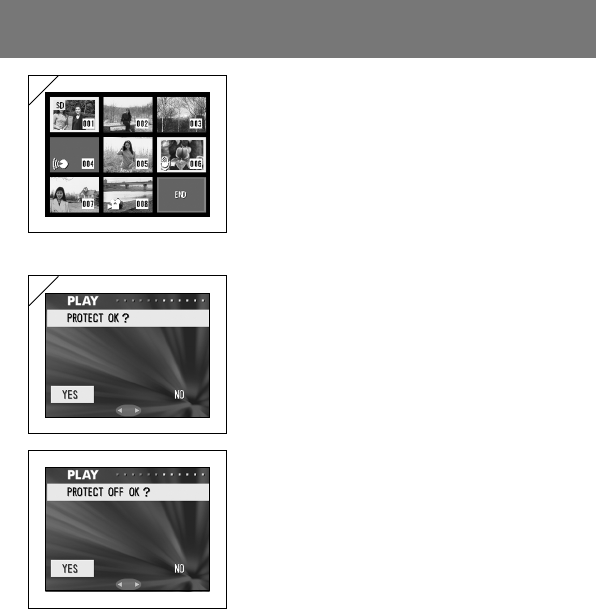
7. Images selected at Step 6 on page 83 are
surrounded by a yellow frame. When you
have finished selecting images, use ̇, ̈,
̆, or ̄ to select “END”, and then press the
MENU/SET button. (Go to Step 8)
To select other images, repeat the selection
procedure. (Return to Step 6)
• To select multiple images, repeat the procedures
Steps 6 and 7.
8. The confirmation screen appears with
“YES”selected.
If you chose “SELECT” or “ALL ON”:
leave “YES” as is and press the MENU/SET
button.
• If you select “NO” with ̇ or ̈ and press the
MENU/SET button, your settings will be
invalidated and you return to screen 1.
If you chose “ALL OFF”: select “YES” with
̇ or ̈ and press the MENU/SET button.
• If you select “NO” and press the MENU/SET
button, you will return to screen 1 without
canceling any settings.
9. The “Now PROTECT…” (or “Now PROTECT
OFF”) screen is displayed. Once settings (or
cancel protect) are completed, the display
returns to screen 1.
Using the PLAY Menu (Cont’d)
7
8
