


-3-
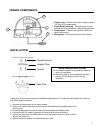
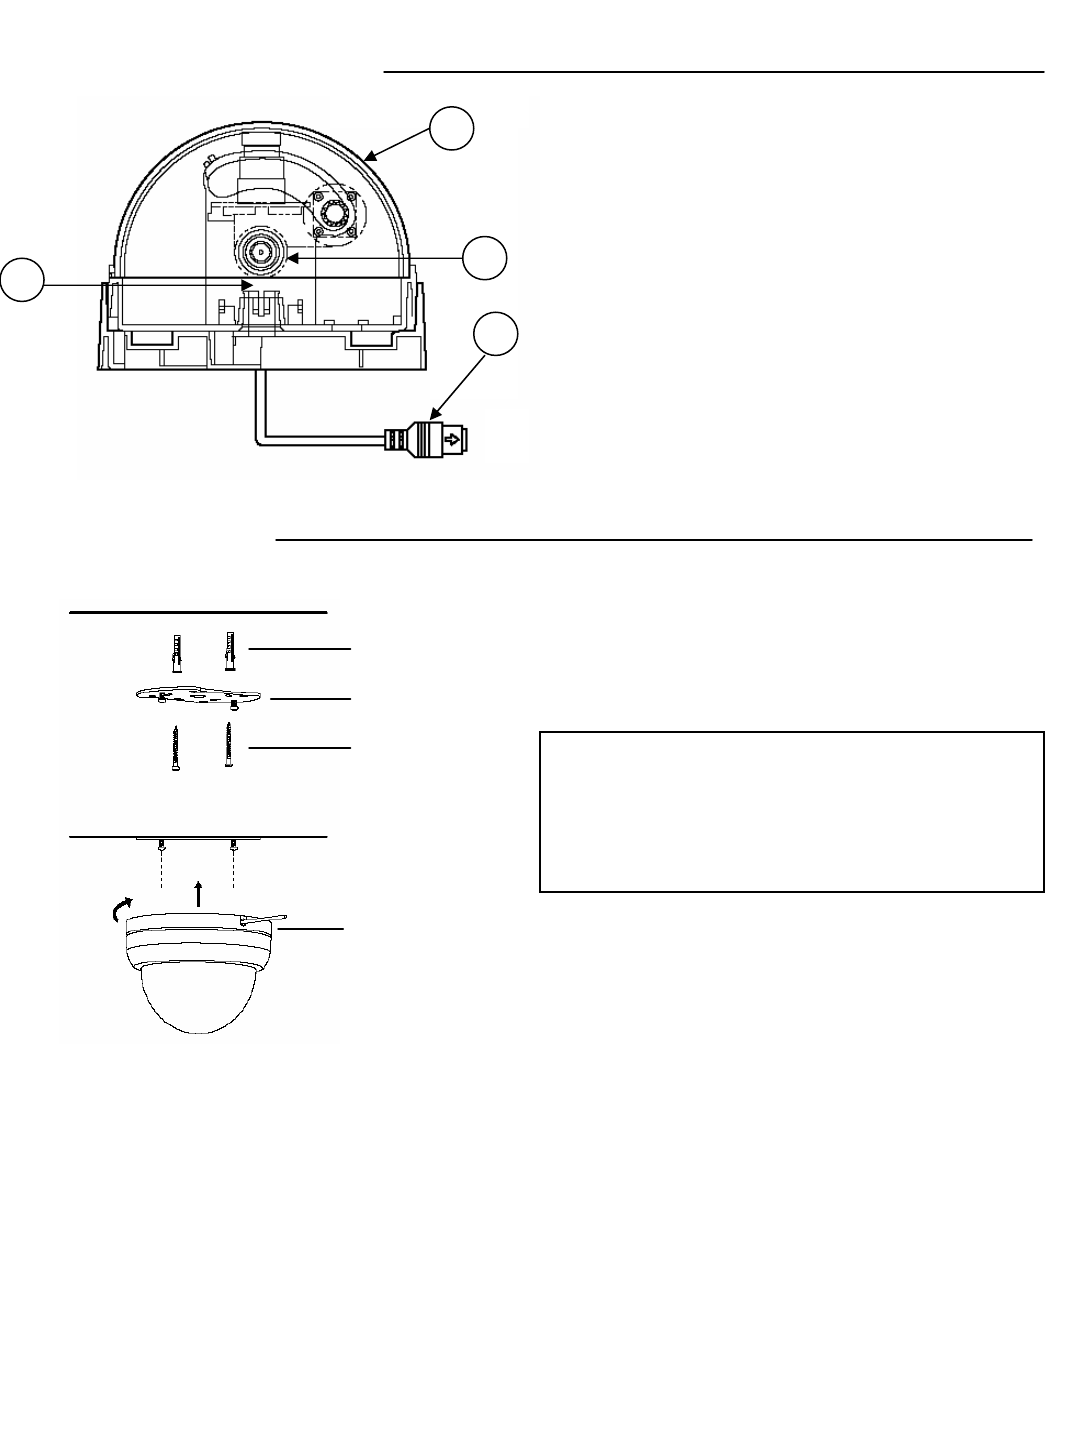
CAMERA COMPONENTS:
1. Camera Lens – Delivers high quality image by using a
1/4” Color CCD Image sensor
2. Plastic Bubble Housing - Smoked acrylic housing
protects lens and provides an unobtrusive appearance
3. Camera Input – Connect the extension cable to the
back of the monitor
4. Microphone – Picks up sound around the camera
3
2
1
4
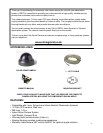
Base Plate
Adapter Plate
Drywall Anchors
Screws
INSTALLATION:
Please refer to the camera component installation diagram above. To install the dome camera on a ceiling or
wall, follow these procedures:
1. Unscrew the base plate from the dome camera
2. Using the 2 screws and drywall anchors mount the base plate and adapter plate on the
wall or ceiling
3. Screw the dome camera onto the mounting bracket (base and adapter plate)
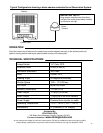
4. Connect the 65ft Din cable (included) to the male lead of the dome camera
5. Connect the other end of the 65ft cable to one of the camera inputs on the back of the
monitor and power unit
6. Adjust the camera direction for the desired picture view
Before installation make sure that:
(A) You have the proper lift equipment or ladder to
reach the installation
(B) Electrical power is not connected to the dome
camera and surveillance monitor during
installation