© National Instruments Corporation 5 NI Smart Camera I/O Accessory User Guide
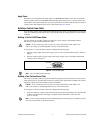
Apply Power
When power is first applied to the smart camera, the POWER LED flashes red for one second while
internal systems power up. The POWER LED then lights green when power is correctly wired to the
smart camera. If the smart camera does not power up, check all connections and the power in selection
switch position, then check the power fuse, as described in the Fuses section.
Building a Custom Power Cable
If you are using a power supply other than the NI desktop power supply, you must build your own power
cable. You can build a power cable with a 15-pin D-SUB connector or the supplied two-position header
connector.
Building a 15-Pin D-SUB Power Cable
You can connect any 24 VDC, +20%/–15% (IEC 1311) power supply to the NI Smart Camera
I/O Accessory with a custom D-SUB power cable.
Caution Do not connect the accessory power to a source other than 24 VDC +20%/–15%
(IEC 1311). Doing so could damage the accessory or the smart camera.
To wire power to a 15-pin D-SUB connector, complete the following steps.
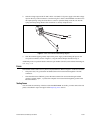
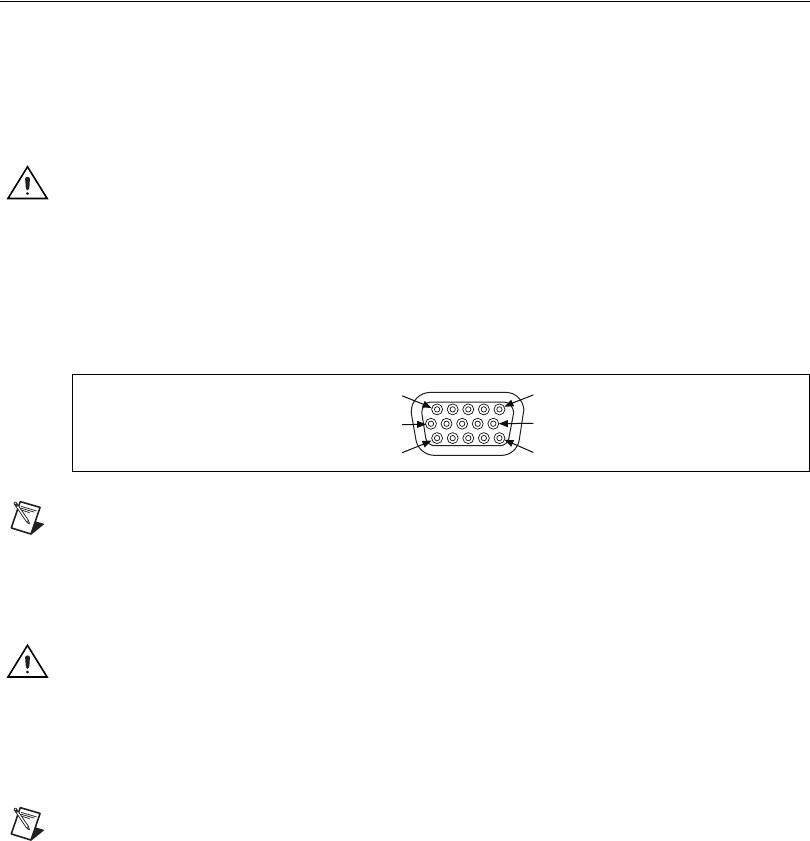
1. Wire the voltage output of the power supply to pin 5 (+24 V) on the D-SUB connector, shown in
Figure 2.
2. Wire the common signal (ground) output of the power supply to pin 15 (COM) on the D-SUB
connector, shown in Figure 2.
Figure 2. 15-Pin D-SUB Pinout
Note Leave all other pins unconnected.
Building a Two-Position Power Cable
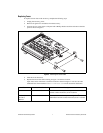
The accessory kit ships with a two-position header that plugs directly into the 24V two-position power
input on the accessory. You can build a custom two-position power cable with 16–18 AWG wire, ferrules
(optional), and the two-position header connector (included).
Caution Do not connect the accessory power to a source other than 24 VDC +20%/–15%
(IEC 1311). Doing so could damage the accessory or the smart camera.
To wire power to the two-position connector, complete the following steps.
1. Using wire strippers, carefully remove the insulation from each (16–18 AWG) wire to be connected
to the two-position header. The length of stripped insulation should be 4.3 mm–4.6 mm
(0.17 in.–0.18 in.).
Note If you are using stranded wire, NI recommends that you use ferrules (up to 16 AWG) to protect
the wires from wear due to vibration and strain.
11
5 (+24 V)
15 (COM)
1
6
10


