


Trimming
Print settings
7
125
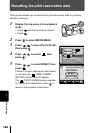
4
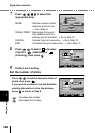
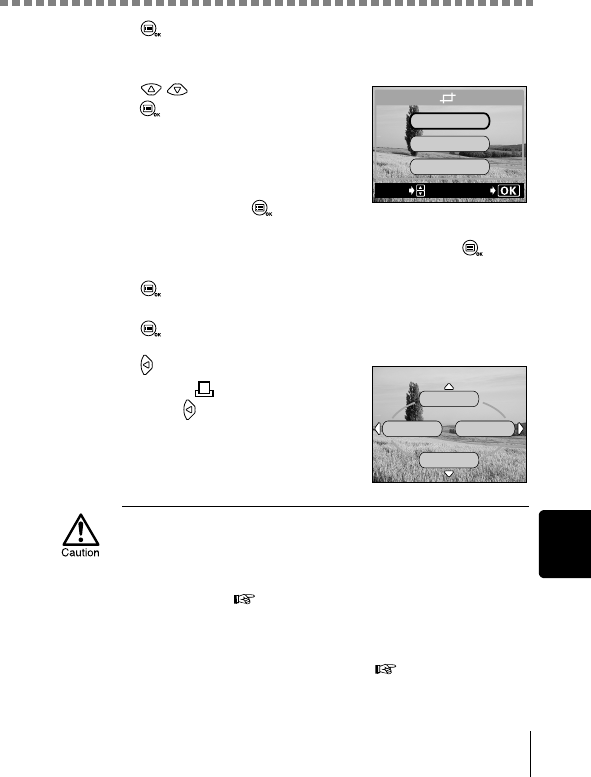
Press .
The trimmed area is displayed for one second.
5
Press to select OK, then
press .
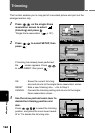
A bar is displayed showing the progress of
trimming, then the camera returns to the
single-frame reservation screen.
If you want to perform trimming again,
select RESET and press and repeat
the procedure from Step 3.
To cancel the trimming function, select CANCEL and press .
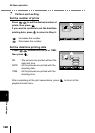
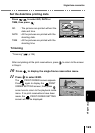
6
Press to complete the print reservation and return to the
picture selection screen.
Press again.
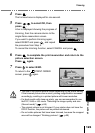
7
Press to select END.
To return to the PRINT ORDER
screen, press again.
• The size of the printed picture varies depending on the printer setting.
If the trimmed picture size is small, printing magnification increases
accordingly, resulting in a printed picture with lower resolution.
• For best results with close-up prints, you are recommended to use
theTIFF, SHQ or HQ mode. “Selecting the image quality and size
(Record mode)” ( p.68)
• The original picture is not trimmed. If your printer does not have the
DPOF function, the picture will be printed untrimmed.
• Do not rotate pictures that have been trimmed, because the cropped
area will be changed. “Rotating pictures” ( p.89)
GO
SELECt
RESEt
CANCEL
OK
MORE
END
CANCEL
SINGLE PRINt