39
EN
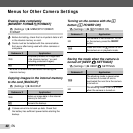
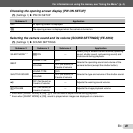
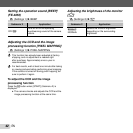
For information on using the menus, see “Using the Menu” (p. 4).
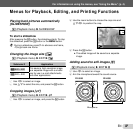
To individually select and erase images
To individually select and erase images
[SEL. IMAGE]
[SEL. IMAGE]
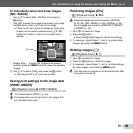
1 Use FG to select [SEL. IMAGE], and press the
H button.
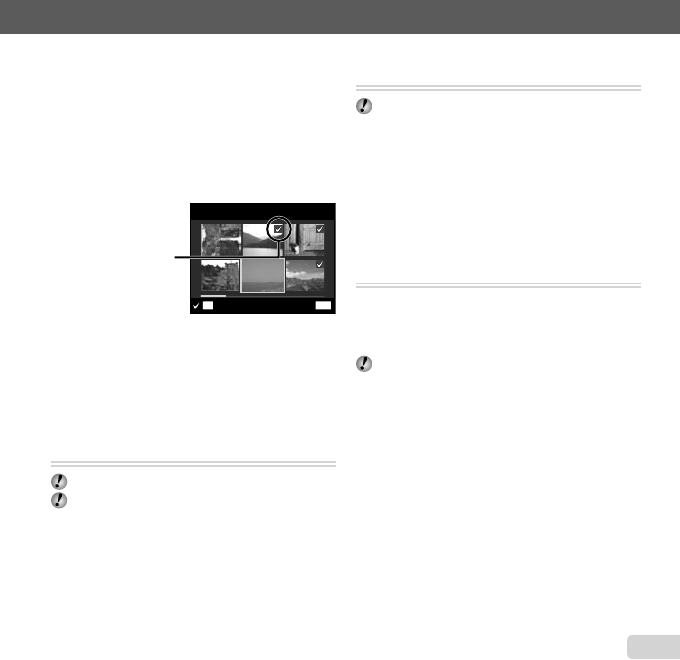
2 Use HI to select the image to be erased, and press
the H button to add a R mark to the image.
Press the W zoom button to display an index view.
Images can be quickly selected using FGHI.
Press the T button to return to the single frame
display.
MENU
OK
SEL. IMAGE
ERASE/CANCEL
R mark
3 Repeat Step 2 to select the images to be erased,
and then press the m button to erase the selected
images.
4 Use FG to select [YES], and press the H button.
The images with a R mark are erased.
Saving print settings to the image data
Saving print settings to the image data
[PRINT ORDER]
[PRINT ORDER]
q (Playback menu) X PRINT ORDER
“Print Reservations (DPOF)” (p. 50)
Print reservation can be set only for still images that
are recorded to the card.
●
●
Protecting images [
Protecting images [
0
0
]
]
q (Playback menu) X 0
Protected images cannot be erased by [ERASE]
(p. 24, 38), [SEL. IMAGE], or [ALL ERASE] (p. 38),
but all images are erased by [MEMORY FORMAT]/
[FORMAT] (p. 40).
1 Use HI to select an image.
2 Press the H button.
Press the H button again to cancel the settings.
3 If necessary, repeat Steps 1 and 2 to protect other
images, and press the m button.
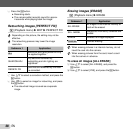
Rotating images [
Rotating images [
y
y
]
]
q (Playback menu) X y
1 Use HI to select an image.
2 Press the H button to rotate the image.
3 If necessary, repeat Steps 1 and 2 to make settings
for other images, and press the m button.
The new picture orientations will be saved even after
the power is turned off.
●


