24
More on Photography
More on Photography
When Lighting Is Poor: Using the Flash
The following flash modes are available:
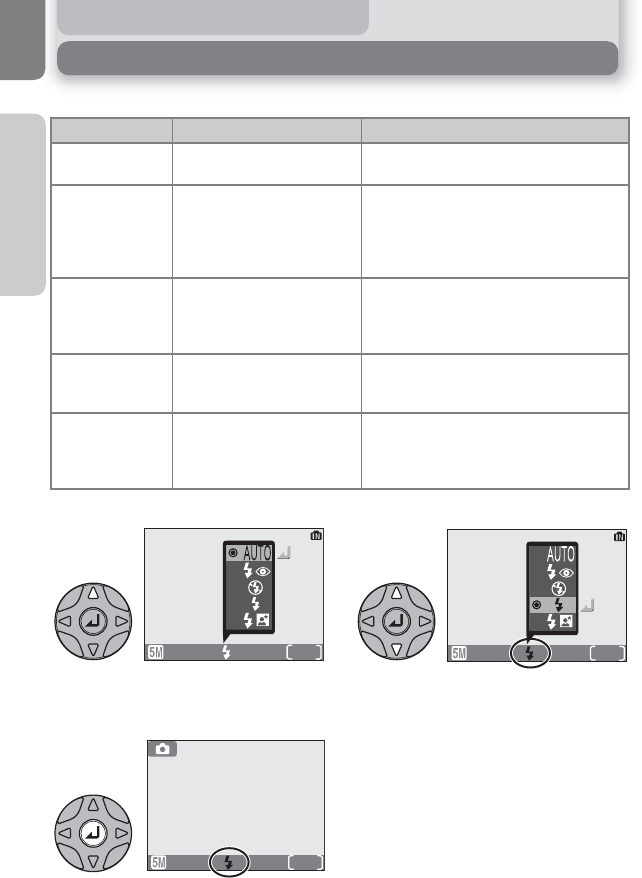
To select the flash mode:
Display flash-mode menu. Highlight desired mode (to exit without
changing mode, wait two seconds or
press the multi selector to left).
Exit menu. Flash mode shown by icon at
bottom of monitor.
Mode How it works When to use it
#
Auto
Flash fires when lighting is
poor.
Best choice in most situations.
%
Auto with
red-eye
reduction
Red-eye reduction lamp
fires before main flash,
reducing "red-eye."
Use for portraits (works best when sub-
ject is well within range of flash and
looking at pre-flash). Not recommended
when quick shutter response is
required.
$
Flash Cancel
(off)
Flash will not fire even
when lighting is poor.
Use to capture natural lighting under
dim light or where use of flash is prohib-
ited. If 2 (camera shake) icon appears,
care should be taken to avoid blurring.
!
Anytime Flash
( fill flash)
Flash fires whenever picture
is taken.
Use to "fill-in" (illuminate) shadows and
back-lit subjects.
k
(Slow sync)
Auto flash combined with
slow shutter speeds.
Use to capture both subject and back-
ground at night or under dim light. If
2 (camera shake) icon appears, care
should be taken to avoid blurring.
1
19
AUTO
2
19
3
19


