3
GETTING STARTED
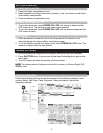
BATTERY INSTALLATION
1. Open the battery compartment cover.
2. Insert batteries according to the correct polarity (+ and -) as shown on the inside
of the battery compartment.
3.
Close the battery compartment cover.
TURNING THE POWER ON / OFF
1. To turn the camera on, press POWER ON / OFF until a beep is heard and the
LCD screen is on. The camera is now ready to take pictures.
2.
To turn the camera off, press POWER ON / OFF until the camera beeps and the
LCD screen is blank.
SLEEP MODE
1.
When the camera is turned on but is not being used for 60 seconds, it will
auto
matically go into sleep mode to save battery power.
2.
To re-activate the camera from sleep mode, press POWER ON / OFF once. The
camera is ready to take the next picture.
TAKING PICTURES
1. Aim the camera and compose your image by looking through the viewfinder.
2.
Press SHUTTER down. A buzz sound will be heard indicating that a picture has
been
taken.
3.
The LCD screen will show the number of pictures taken.
NOTE
The
camera stores all pictures in the built-in memory or Secure Digital (SD)
memory card.
PREVIEW / PLAYBACK MODE ONSCREEN MENUS
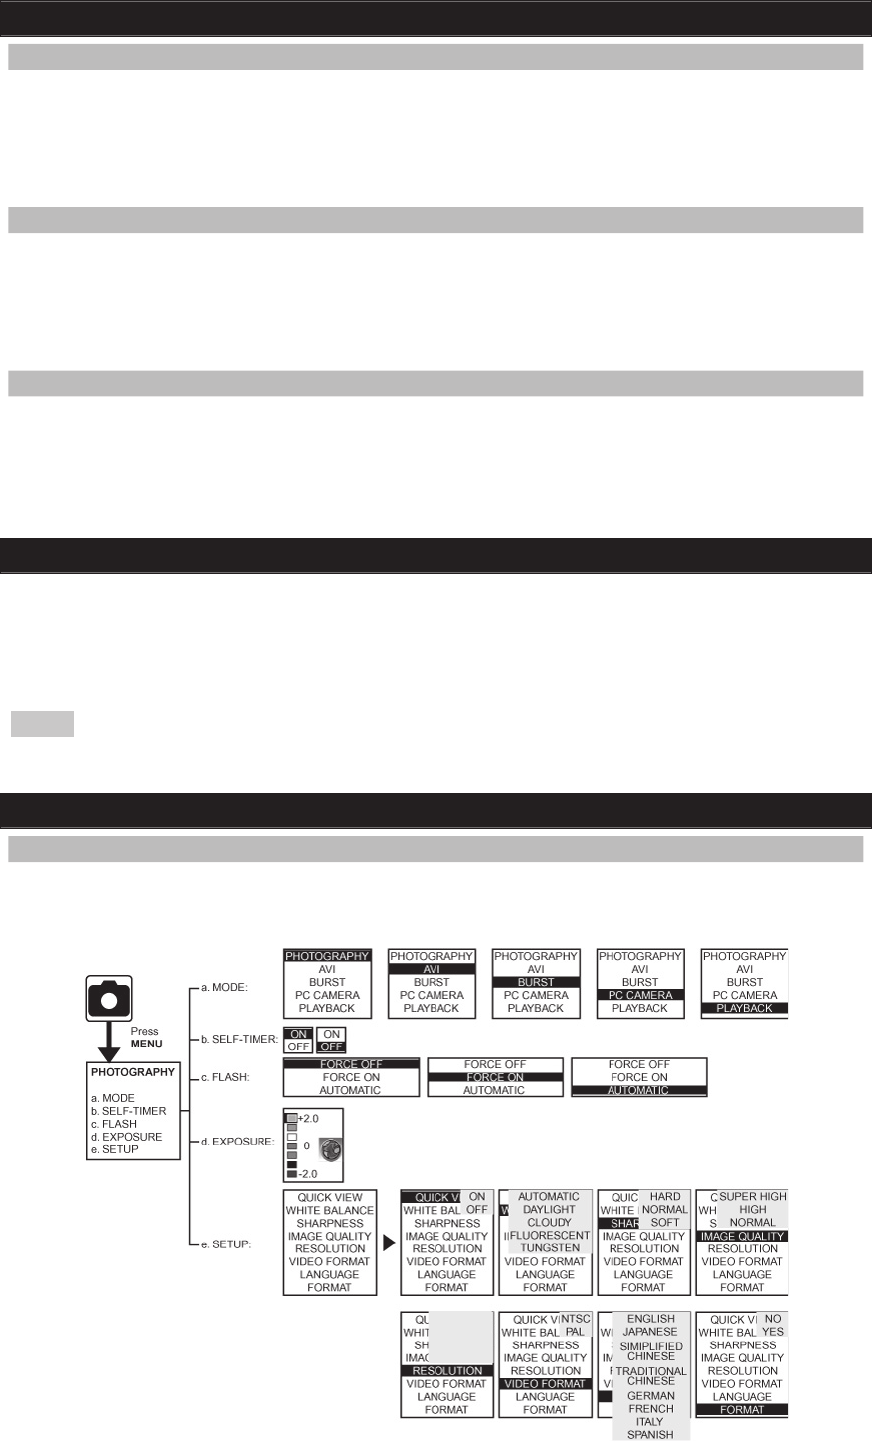
PREVIEW MODE MENU
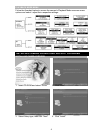
Follow the flowchart below to access the camera’s Preview Mode onscreen menu
options (Mode, Self-Timer, Flash, Exposure, Setup) and select / adjust their
respect
ive settings.
2976 x 2232
2560 x 1920
2048 x 1536
1280 x 960


