


- 76 -
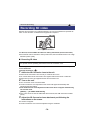
White balance
The automatic white balance function may not reproduce natural colours depending on the
scenes or lighting conditions. If so, you can adjust the white balance manually.
≥ Press the iA/MANUAL button or the CAMERA FUNCTION button to switch to manual
mode. (l 75)
≥ For how to perform the settings when using the viewfinder, refer to page 75.
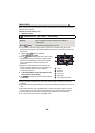
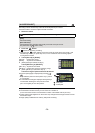
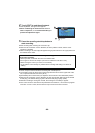
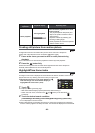
1 Touch [WB].
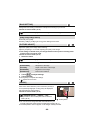
2 Touch / to select white balance mode.
≥ Select the optimal mode by confirming the colour on the
screen.
≥ Touch [WB] to determine the mode.
≥ To return to auto setting, set to or press the iA/MANUAL button again.
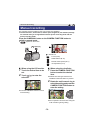
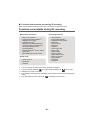
∫ To set the white balance manually
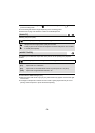
1 Select , fill the screen with a white subject.
2 Touch and set the blinking .
≥ When using the viewfinder, press and hold the
CAMERA FUNCTION button.
≥ When the screen turns black instantly and the display
stops flashing and then lights constantly, the setting is
complete.
≥ If the display continues flashing, the white balance cannot be set. In this case, use
other white balance modes.
≥ When the display flashes, the manual white balance previously adjusted is stored.
Whenever recording conditions change, re-set the white balance.
≥ When setting both the white balance and the iris/gain, set the white balance first.
≥ is not displayed on the screen when is being set.
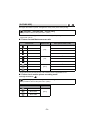
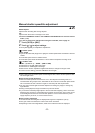
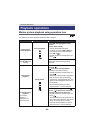
Icon Mode/Recording conditions
Auto white balance adjustment
Sunny mode: Outdoors under a clear sky
Cloudy mode: Outdoors under cloudy sky
Indoor mode 1: Incandescent light, video lights like in the studio, etc.
Indoor mode 2: Colour fluorescent lamps, sodium lamps in gymnasiums etc.
Manual adjustment mode
≥ Mercury-vapor lamps, sodium lamps, some fluorescent lights
≥ Lights used for wedding receptions at hotels, stage spotlights in theaters
≥ Sunrise, sunset, etc.
FOCUS
WB
SHTR
IRIS
AWB
MNL
AWB
AWB
MNL
FOCUS
WB
SHTR
IRIS
AWB
AWB