14
Copper wire
size (AWG)
Length of
Cable
(Approx.)
#24
(0.22 mm
2
)
20
65
#22
(0.33 mm
2
)
30
100
#20
(0.52 mm
2
)
45
160
#18
(0.83 mm
2
)
75
260
Recommended wire gauge for 24 V AC line.
(m)
(ft)
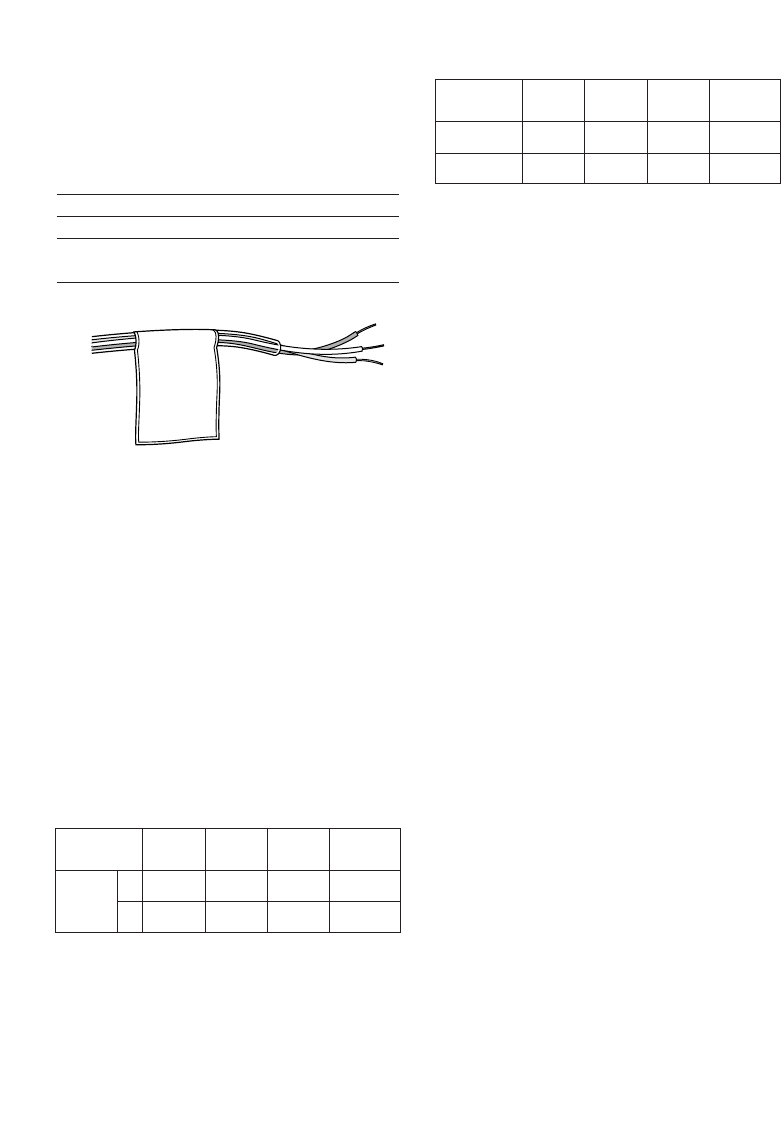
● Power connection
Connect the three-conductor cable of the
camera to the power supply. The wire colors
and functions are shown in the table.
Wire color 12 V DC 24 V AC
Brown Positive Live
Blue Negative Neutral
Green/yellow Grounding
Grounding
Caution: Be sure to connect the GND
(grounding) lead of the camera and
grounding terminal of the power supply
when using a 24 V AC power source.
● Cable Length and Wire Gauge
24 V AC
The recommended cable length and thick-
ness are shown in the table for reference.
The voltage supplied to the power terminals
of the camera should be within 19.5 V AC
and 28 V AC.
12 V DC
Use the formula below to calculate the power
cable and power supply. The voltage sup-
plied to the power terminals of the camera
should be within 10.8 V DC and 16 V DC.
Copper wire
size (AWG)
Resistance
Ω/m
Resistance
Ω/ft
#24
(0.22 mm
2
)
0.078
0.026
#22
(0.33 mm
2
)
0.050
0.017
#20
(0.52 mm
2
)
0.03
0.010
#18
(0.83 mm
2
)
0.018
0.006
Resistance of copper wire [at 20 °C {68 °F}]
10.8 V DC ≤ V
A - 2 (R x I x L) ≤ 16 V DC
L: Cable length (m)
R: Resistance of copper wire (Ω/m)
V
A: DC output voltage of power supply
unit
I: DC current consumption (A)
See specifications.
■ Image Adjustment
1. Connect an adjusting monitor to the
monitor output jack.
2. Pan, tilt and azimuth adjustment
Important:
• Do not touch the iris motor. Failure to
observe this may cause trouble.
• Do not hold the camera by the lens unit
when adjusting panning, tilting, or
azimuth.
At the same time for the pan and tilt adjust-
ments, make zoom and focus adjustments of
Step 3.
q Rotate the panning table to adjust the
panning position of the camera. (Range:
320°)
• The adjusting range is from +180°
(clockwise) to –140° (counterclockwise).
• Tighten the panning table lock screw
after adjusting.


