5. Mount the first camera and lens onto the adjustable mounting bracket. Adjust the position
of the camera and lens to clear the enclosure cover when closed. Tighten the mounting
bracket fastener. Mount the second camera and lens in the opposite direction and adjust
the position for the best view. Tighten the bracket fastener. (See Figure 1.)
6. Route the appropriate cables into the enclosure. Make all necessary electrical connections.
7. Close and lock the cover.
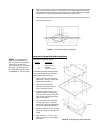
Figure 1. Camera Mounting Configuration
Installation Using E1003 Mounting Plate
The E1003 is supplied as follows:
Quantity Description
1 Plate, square
1 Plates, round
8 Spacers
8 Screws, 10-32 x 1"
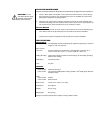
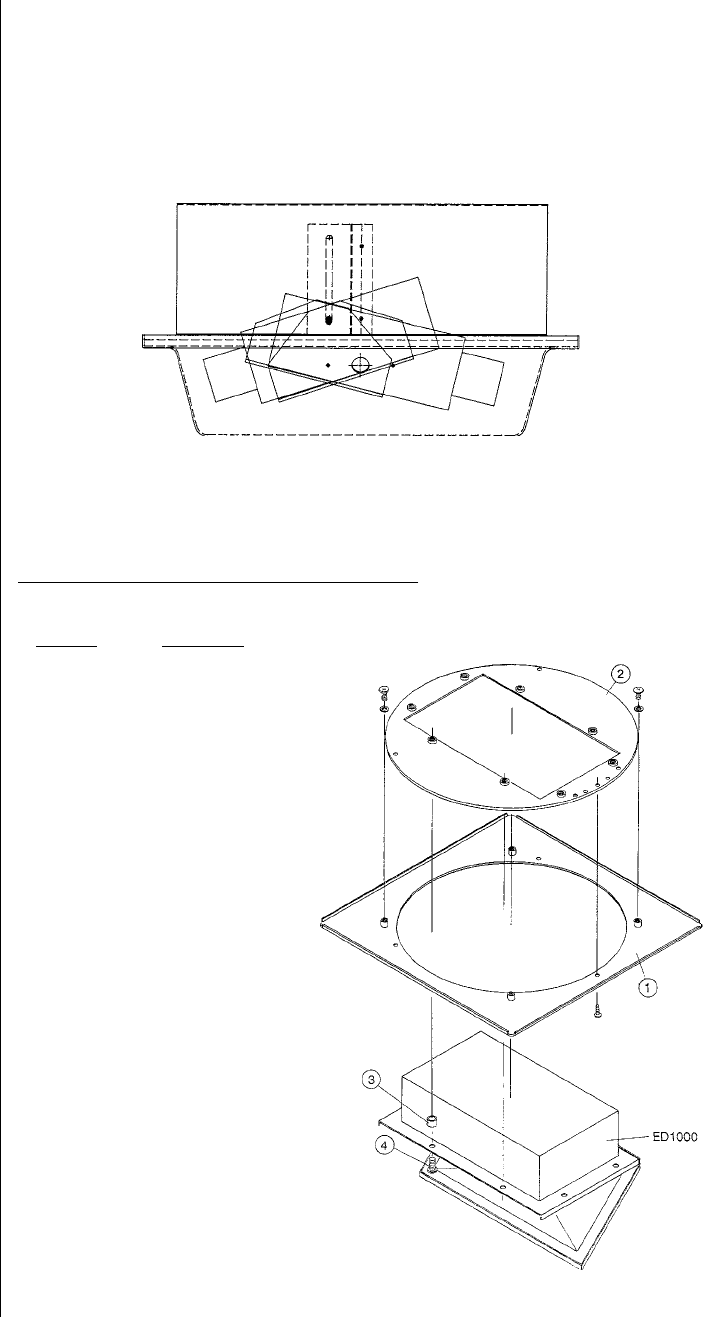
To assemble the ED1000 Ceiling Enclosure
in the E1003 Mounting Plate, perform the
following steps. Refer to Figure 2.
1. Place the E1003 (square and round
plates, items 1 and 2) on a flat surface
with the painted surface up.
2. Open the lid of the enclosure
(ED1000) and insert the enclosure
into the rectangular opening.
3. Position the spacers (item 3) pro-
vided between the mounting flange
of the enclosure and the round plate
of the E1003, aligning them with the
eight mounting holes.
4. Secure the enclosure to the E1003
with the screws (item 4) provided,
making sure the screws pass through
the spacers. Tighten the hardware.
5. Mount the enclosure into the 2 ft x 2 ft
(60.96 cm x 60.96 cm) opening in the
ceiling.
6. Refer to steps 3, 5, 6, and 7 in the
previous section for final installation
instructions.
Figure 2. E1003 Mounting Plate Installation
NOTE:
The instructions pro-
vided are for installation in a
2 ft x 2 ft (60.96 cm x 60.96 cm)
ceiling tile. If mounting in a
2 ft x 4 ft (60.96 cm x 121.92 cm)
ceiling tile, you will need to cut
the ceiling tile in half and install
an additional “T” rail for support.


