4 PELCO Manual C437M-B (9/95)
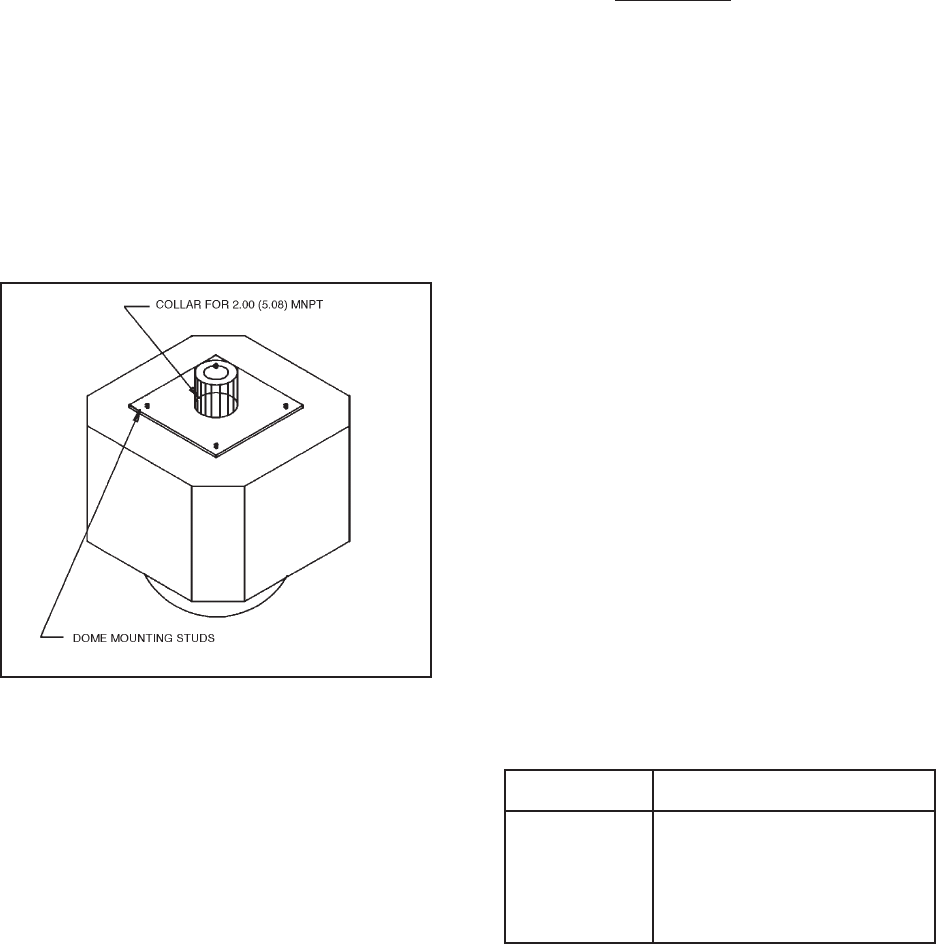
3.1.2 PMED25 Pendant Mount
Installation
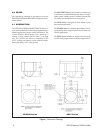
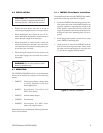
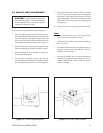
To mount the enclosure using the PMED25 pendant
mount, perform the following steps. Refer to Figure 3.
1. Screw the PMED25 pendant mount to a suitable
length of 1-1/2-inch MNPT threaded pipe which
has been securely fastened to a surface capable of
supporting the weight of the dome, pan/tilt, cam-
era and lens.
(The Pelco MRCA ceiling adapter is recommended
for ceiling mounting applications.)
2. Install the provided gasket over the four (4) studs
on the PMED25 mounting plate.
3. Align the four (4) studs in the PMED25 with the
four (4) holes in the top of the dome. Then, secure
the dome to the mounting plate by using the four
(4) 1/4-20 nuts supplied with the mount.
3.2 PAN/TILT INSTALLATION/
REMOVAL
The following installation instructions are for remov-
ing/installing the pan/tilt assembly.
1. The pan/tilt is secured to the back box by two (2)
1/4-20 nuts which hold the pan/tilt mounting
bracket to the integral studs on top of the back box.
2. To remove the pan/tilt, first position the pan/tilt by
using the controller only so it is perpendicular with
the mounting nuts. Then, use a 7/16" socket on a
long extension to reach the nuts holding the pan/
tilt.
3. The mounting nuts need not be removed, just loos-
ened. Once the nuts have been loosened, slide the
pan/tilt so the nuts fit through the “key holes”.
4. To install the pan/tilt, reverse the procedure.
3.3 ELECTRICAL WIRING
The following installation instructions describe how to
connect power to the camera, lens and pan/tilt.
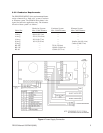
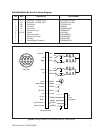
1. The supply circuit should be connected to the in-
put circuit board (pins 8, 9 & 10) as shown in Fig-
ure 7.
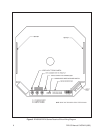
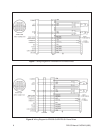
2. The pan/tilt and video connection to the receiver/
driver are shown in Figure 8.
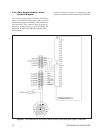
3. Basic motor wiring detail for the pan/tilt assembly
is shown in Figure 9.
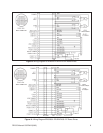
4. The dome drive pinouts for all models are shown
in Figure 10. Select the appropriate model for your
installation.
3.3.1 Replacement Dome, Pan/Tilt
Chart
Pan/Tilt Dome Enclosure
DD2500 ED2520/ED2720
DD2500-PP ED2520-PP/ED2720-PP
DD2500-SL ED2520-SL/ED2720-SL
DD2500LS-PP ED2520SL-PP/ED2720SL-PP
3.1.3 ED27 Wall Mount Installation
The following installation instructions are for mount-
ing the ED27 Series mount with integral wall mount
arm to an appropriate surface.
1. Mount the mounting plate of the ED27 enclosure
on a suitable surface and secure with suitable fas-
teners (not supplied) capable of supporting the
weight of the dome, pan/tilt, camera and lens.
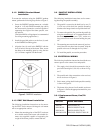
Figure 3. PMED25 Installation


