C309M-J (9/04) 25
IR FILTER MODE (MODELS ES30CBW18/ES31CBW18 ONLY)
There are two settings for the IR filter mode:
Auto – IR filter switches in and out automatically.
IMPORTANT: Automatic shutter speed must be set to Auto for the IR filter to operate automatically. If the automatic
shutter speed is disabled, the IR filter setting will automatically switch to OFF.
NOTE: If IR filter mode is changed to Auto, the Shutter Speed setting will return to Auto.
Off –IR filter is manually operated. The following presets are used to manually operate the IR filter.
Preset 88 – Filter IN (color)
Preset 89 – Filter OUT (monochrome)
To change the lR filter mode:
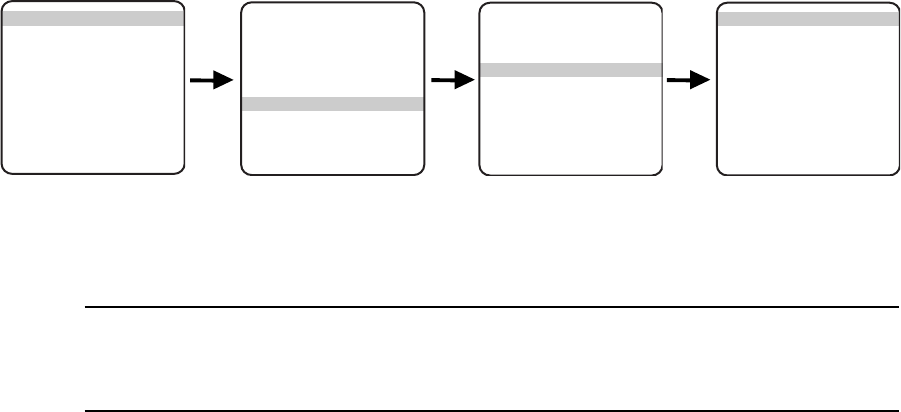
1. Program preset 95 (28). The main menu appears.
2. Position the cursor (>) beside Camera.
3. Press the Iris Open button to enter the Camera menu.
4. Position the cursor (>) beside Next.
5. Press the Iris Open button to enter the Next menu.
6. Position the cursor (>) beside IR Filter.
7. Press the Iris Open button to enter the IR Filter menu.
8. Position the cursor (>) beside IR Filter Mode.
9. Press the Iris Open button. The cursor moves to the right, beside the word Auto or Off.
10. Move the joystick up or down to toggle between Auto and Off.
11. SELECT – Press the Iris Open button on your keyboard to select your choice.
CANCEL – Press the Iris Close button if you do not want to change the setting.
<Camera>
<Line Sync>
<Power Up>
<Wiper>
<Limit Stop>
<Other>
Exit
MAIN MENU
Backlight comp Off
Zoom limit x- -
Reset camera
<Gain/AGC>
<Auto iris>
Next
Exit
Camera Menu
LowLight limit Auto
Shutter speed Auto
Auto focus mode Auto
<IR Filter>
<Sharpness>
<White balance>
Prev
Exit
Next Menu
IR filter mode Auto
Auto IR Level Dusk
Exit
IR Filter Menu
