


3. Getting started
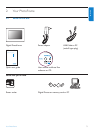
3.1 Placing the Product
The PhotoFrame should be placed on a flat
surface and close to a power socket. Keep it
away from high temperatures and high levels of
moisture
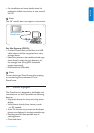
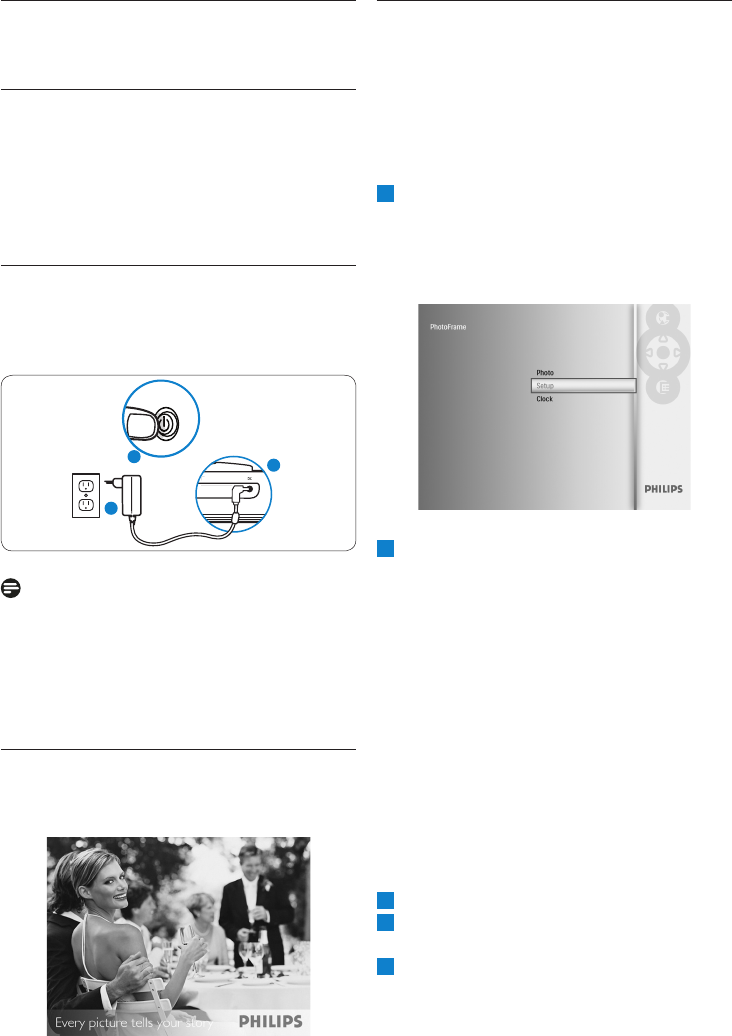
3.2 Connecting to the mains
Connect the supplied power cable from
PhotoFrame to a power outlet.
Note:
For safety reasons and best stability Philips
recommend to adjust the stand with the angle
defined by the two click positions. Using other
positions may cause the PhotoFrame to fall and
it is the responsibility of the user.
3.3 Turning on your PhotoFrame
Press the power button.
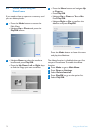
3.4 Initial Setup
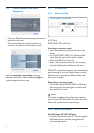
3.4.1 Setting the Language
Press the Mode button to toggle to the Main
Menu, select the Setting and navigate Down
to Language.
1
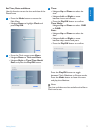
Navigate Up and Down to select your
preferred language (select between English,
French, Spanish, Italian, German, Russian,
Dutch, Danish, Simplified Chinese and
Japanese)
2
Press the Play/OK button to confirm
your selection. The new setting will be effective
immediately.
Press the Mode button to leave this menu and
play the slideshow.
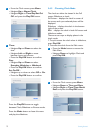
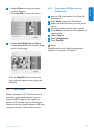
3.4.2 Access Menus
There are two ways to access the menu. To
quick access the menu while you are viewing
photos, press the Menu button to see the menu
options for photo editing or slideshow settings.
To access the menu options starting from the
main menu:
1
Press the Mode button.
2
Navigate Down to highlight the required
menu (Clock, Photos and Settings).
3
Press Play/OK to access the menu.
To exit from the menus press the Mode
button again to return to the slideshow.
8
Getting Started
1
3
2