7
7. Check on the monitor
whether the camera covers
the required area (The best
results are obtained when
the camera is pointed
slightly downwards and is
not looking into a bright
light source). Adjust focus
if necessary.
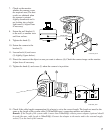
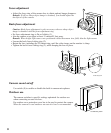
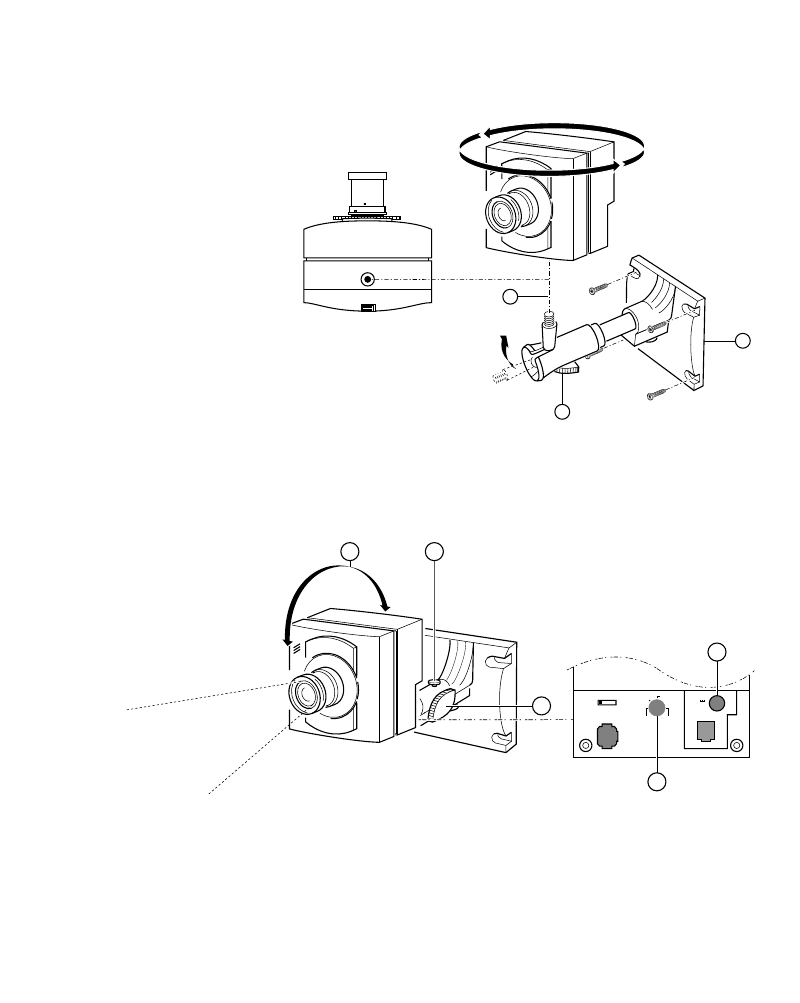
8. Fasten the wall bracket (1)
to the wall, or another even
and firm surface.
9. Tighten the knob (2).
10. Fasten the camera to the
bracket (3).
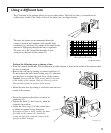
11. Loosen knob (4) and screw
(5) slightly (figure below).
12. Direct the camera at the object or area you want to observe (8). Check the camera image on the monitor.
Adjust focus if necessary.
13. Tighten the knob (4) and screw (5) when the camera is in position.
14. Check if the cable length compensation (6) selector is set to the correct length. The length set must be the
same as the length of the system cable (0-300m/900ft max.) connecting monitor and camera.
Remark: If the length of the system cable is more than 200m/600ft, a mains power adapter (optional should
be used (the max. cable length is 300m/900ft). Connect the adaptor to the mains and to the external supply
socket (7) at the back of the camera.
3
2
1
1/4" 20 UNC
CL 66610005_302.AI
58
4
CL 66610005_303.AI
200m
0-50m
100m
300m
0 X 1
24V
+
0
-
7
6


