


15
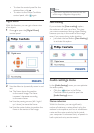
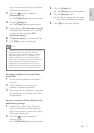
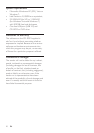
2 Click the button to open the
[Properties] page.
The» [General] settings screen appears.
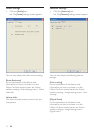
3 Check the [Region] setting for the
webcam and adjust if necessary.
Select ‘50 Hz’ for Europe and China.
Select ‘60 Hz’ for North America
and Taiwan.
For other regions, check your local
PDLQVRXWSXWWRÀQGWKHFRUUHFW
[Region] setting.
4 Click [Ok] to save your settings.
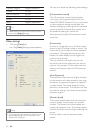
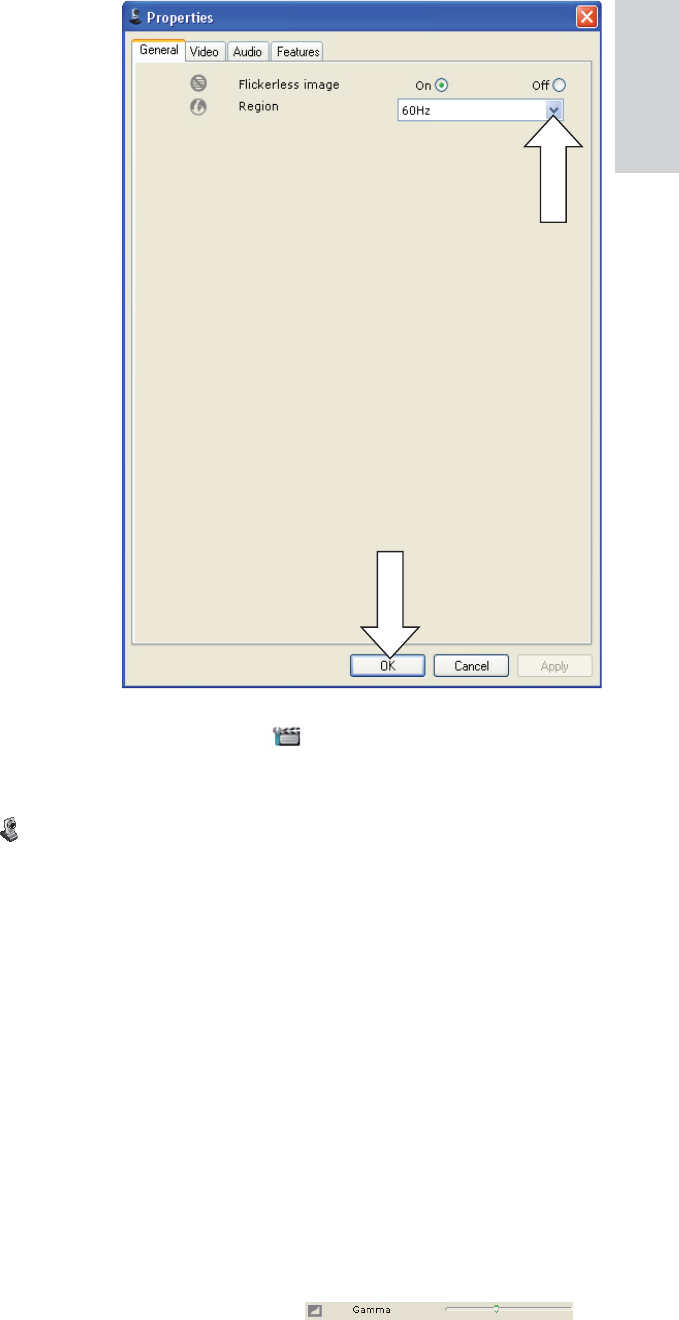
5 Click the [Video] tab.
The» [Video] settings screen appears.
6 Adjust the gamma value of the displayed
image or video.The gamma setting
enables you to visualize more details.
Use the
VOLGHUWRÀQG\RXUSUHIHUUHGVHWWLQJ
Slide to the left to see more details;
slide to the right to see less details.
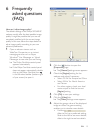
6 Frequently
asked questions
(FAQ)
How can I adjust image quality?
The default settings of the Philips SPC640NC
webcam usually offer the best possible image
quality. It might be possible that you are not
FRPSOHWHO\VDWLVÀHGZLWKWKHFXUUHQWLPDJH
quality. In this case, follow the steps below to
adjust image quality according to you own
personal preferences.
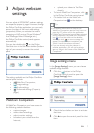
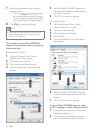
1 Open a webcam viewer such as
WebCam Companion or an instant
messaging service such as Skype,
Windows
®
Live Messenger or Yahoo!
0HVVHQJHUWRVHHZKDW\RXDUHÀOPLQJ
The Philips CamSuite control panel »
appears automatically.
If the Philips CamSuite control panel »
does not appear automatically, double
click on the Philips CamSuite icon
‘’
in the Windows taskbar (bottom right
of your screen) to open it.
English
EN