Page 3
Taking Photos
1
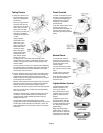
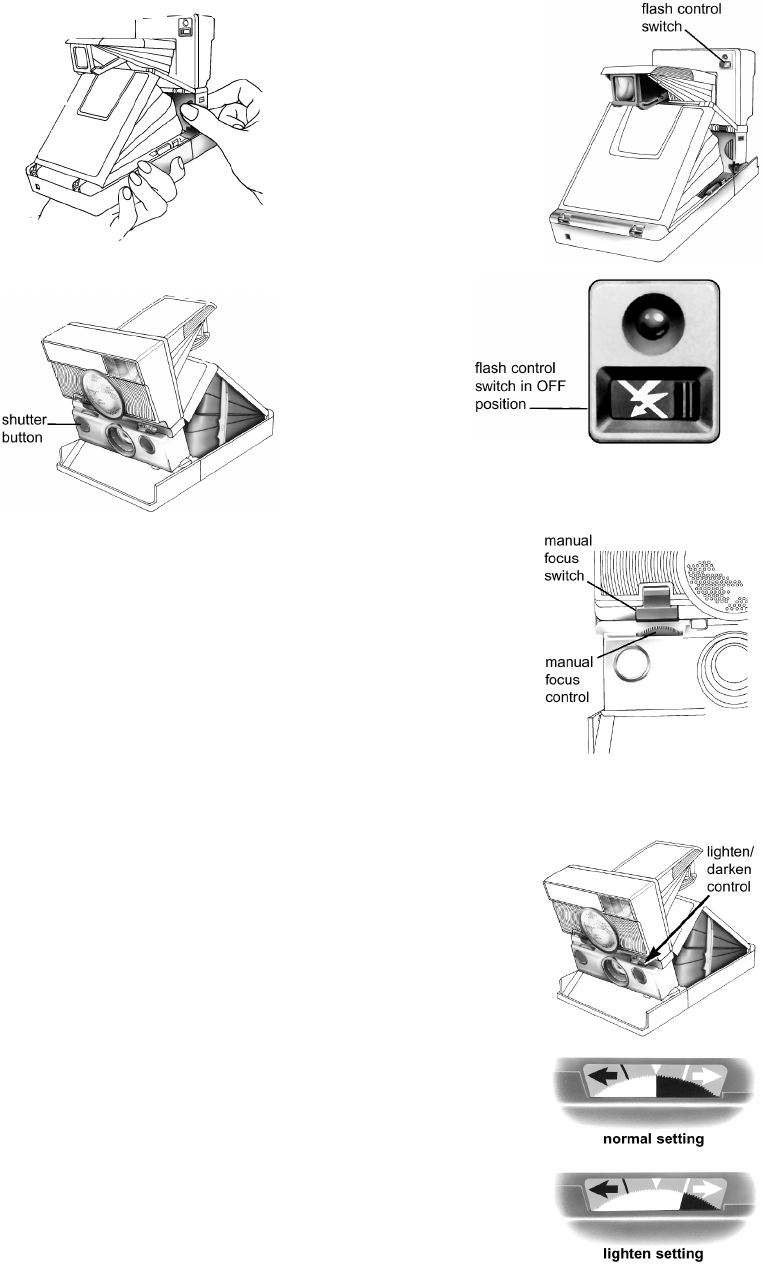
Grasp the camera in your
left hand, making sure to
keep your fingers behind
the film door.
Place your right thumb on
the thumb rest with your
index finger on the shutter
button. Curl your other
fingers into your palm.
To preview your shot, look
through the viewfinder.
The scene will appear out
of focus.
Lightly press the
shutter button and
hold it there. If the
flash bursts and a
photo is ejected, the
shutter button was
pressed too firmly.
While keeping the
shutter button lightly
pressed down, the
lens will spin and set,
bringing your scene
into sharp focus. If the camera pauses briefly before
focusing the lens, the flash is momentarily charging. After
the lens is brought into focus an accurate preview of the
scene is visible.
You may preview as often as you choose without depleting
the camera’s battery. The battery that powers the camera is
located inside the film pack and is sufficient to take many
previews per each pack of film.
2
Use the electronic flash for every photo, both outdoors and
indoors. The flash automatically corrects common lighting
problems encountered in both environments. For best
results, position your subject(s) anywhere from 10 inches to
14 feet away from the camera.
Maintain a clear path between the camera and your subject.
The camera uses sound waves to determine the distance
between the camera and the photo subject, and any
obstructions will cause your photo to be incorrectly exposed.
Make sure to keep the sun or other source of light behind
you, or at your side.
Holding the camera steady, press the shutter button firmly.
Continue to hold the camera steady until the photo has
ejected from the camera. Release the shutter button to
recharge the flash unit.
Do not shake or expose developing photos to direct
sunlight. Make sure to hold the developing photo by its white
border edges. If the temperature is below 55° F, place the
photo immediately in a warm pocket or other warm location
to develop.
Flash Override
In certain circumstances, such
as taking a photograph through
a window or photographing a
metallic surface, it may be
necessary to override the
automatic flash.
To do this, slide the flash control
switch to the right. The
automatic flash is disabled. You
can now take a photo without
the flash by pressing the shutter
button.
Manual Focus
To override the camera’s
automatic focus, push the
manual focus switch down so
that the red portion of the
switch is visible.
Turn the manual focus control
dial until your scene is in clear
focus.
To take a photo, press and
release the shutter button.
Press the manual focus switch
up to return the camera to
automatic focus.
Lighten/Darken Control
The lighten/darken control
feature is located on the
front of your camera.
Only use this feature when
retaking a photo to make it
lighter or darker than the
original.
To lighten a photo, move
the control dial so that the
white/black area of the dial
is directly beneath the white
line. This is the standard
lighten setting.
Begin with this standard
lighten setting. To lighten a
photo even more, move the
white/black area of the dial
to the right of the white line.


