


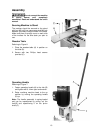


17
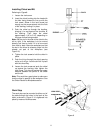
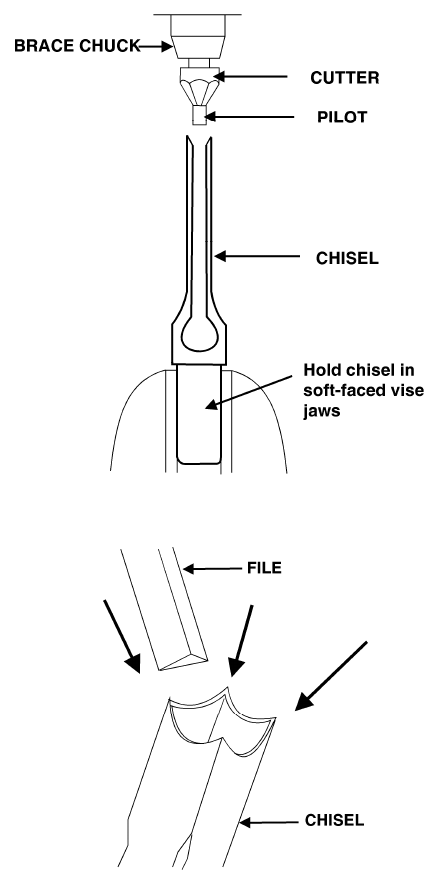
Chisel
Sharpen the chisel with a mortise chisel cutter
with the correct size pilot. (Pilot size will differ
depending on the size of your chisel). Two or
three turns of the cutter in a carpenter's brace
chuck should be enough to sharpen the chisel,
as shown in Figure 21.
Use a small, triangular, smooth file to relieve
the inner corners of the chisel (Figure 22).
Remove any burrs from the outside of the
chisel with a fine oilstone.
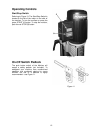
Lubrication
All of the ball bearings are packed with grease
at the factory. They require no further
lubrication.
Periodically grease the gears, racks, and table
pivot points with a #2 tube grease.
Periodically clean and oil any exposed machine
surfaces, such as: dove-tail ways and slides,
and table surface.
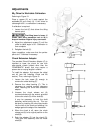
Storage
If the mortiser will be stored for an extended
period, use the depth stop to help secure the
head in position; this will relieve stress upon
the hydraulic cylinder.
Figure 21
Figure 22
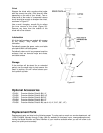
Optional Accessories
1791091 Premium Mortise Chisel & Bit 1/4"
1791092 Premium Mortise Chisel & Bit 5/16"
1791093 Premium Mortise Chisel & Bit 3/8"
1791094 Premium Mortise Chisel & Bit 1/2"
1791095 Premium Mortise Chisel & Bit 3/4"
1791096 Premium Mortise Chisel & Bit, set of 4 (1/4”, 5/16”, 3/8”, 1/2”)
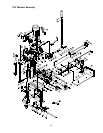
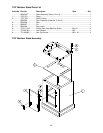
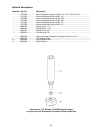
Replacement Parts
Replacement parts are listed on the following pages. To order parts or reach our service department, call
1-800-274-6848, Monday through Friday (see our website for business hours, www.powermatic.com).
Having the Model Number and Serial Number of your machine available when you call will allow us to
serve you quickly and accurately.