7
Unpacking
Remove mortiser and stand from the shipping cartons. Report any damage immediately to your distributor
and shipping agent. Do not discard any shipping material until the mortiser is assembled and running
properly.
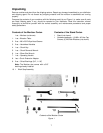
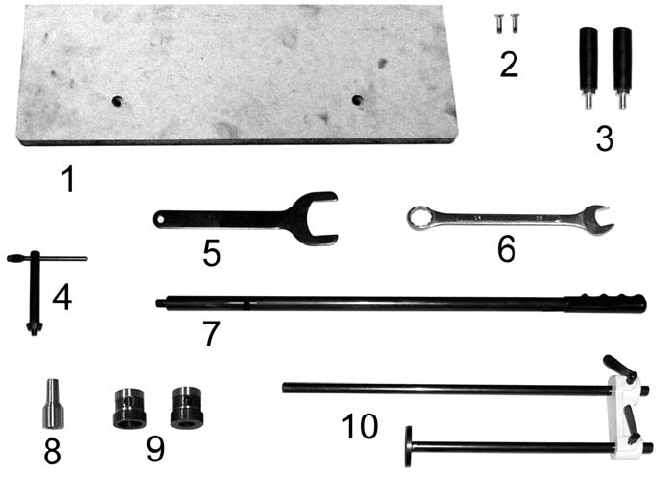
Compare the contents of your container with the following parts list and Figure 1 to make sure all parts
are intact. Missing parts, if any, should be reported to your distributor. Read this instruction manual
thoroughly to familiarize yourself with the correct assembly and maintenance procedures and proper
safety precautions.
Contents of the Mortiser Carton
1 ea – Mortiser (not shown)
1. 1 ea – Wooden Table
2. 2 ea – M6 x 20 Phillips Head Screws
3. 2 ea – Handwheel Handles
4. 1 ea – Chuck Key
5. 1 ea – Chuck Removal Wrench
6. 1 ea – 23mm Box Wrench
7. 1 ea – Operating Handle
8. 1ea – Chuck Extension Adaptor
9. 2 ea – Chisel Bushings (3/4", 1-1/8")
Note: The Mortiser also comes with a 5/8"
bushing already installed.
10. 1 Work Stop Assembly
Contents of the Stand Carton
1 Stand (not shown)
1 Hardware package – (4) M8 x 45 Hex Cap
Screws, (4) M8 Lock Washers (not shown)
Contents of the Mortiser Carton
Figure 1


