3-5
E
3-4
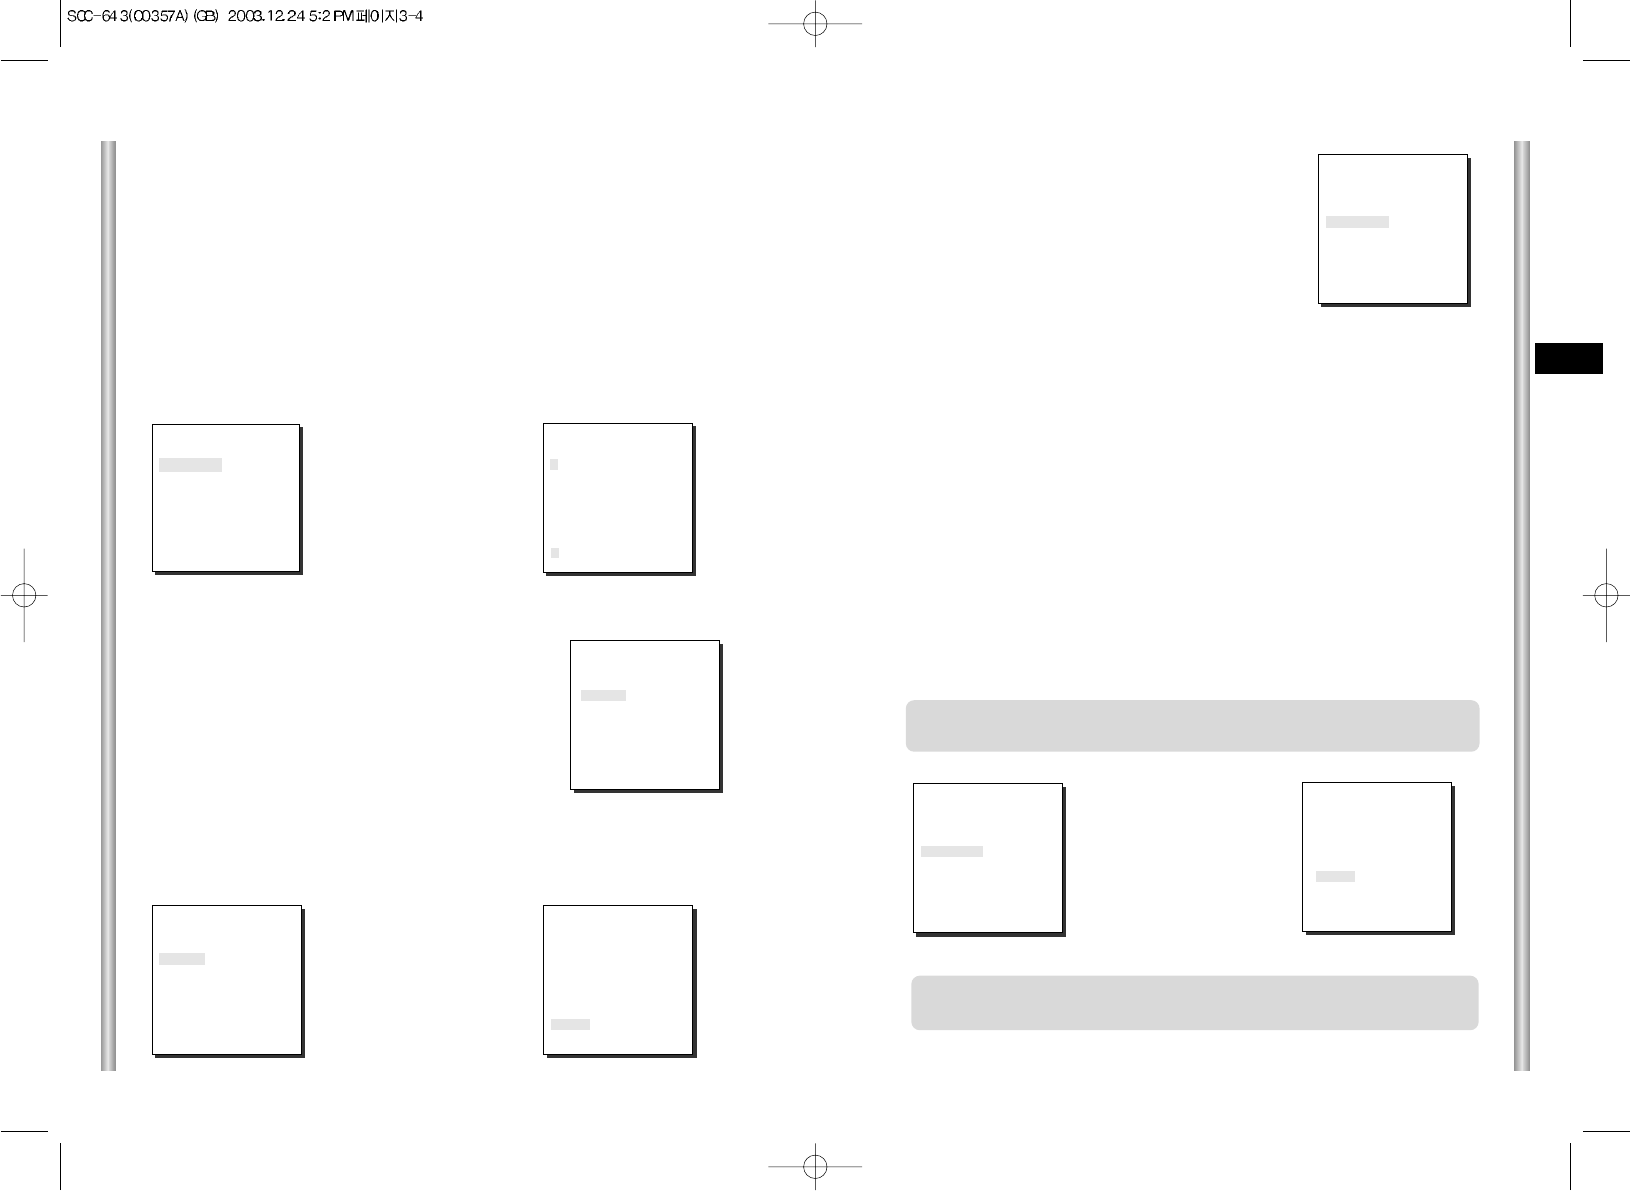
Select LINE and press [Enter]. You will see the LINE LOCK submenu
where you can adjust the phase of the LINE LOCK.
You can use the PHASE menu of the LINE LOCK submenu to assign as
much PHASE as you want.
COLOR/BW
In the COLOR/BW menu, you can switch ON or OFF the
IR (infrared) Filter.
In low light conditions, IR Filter is turned OFF to the BW
Mode and the sensitivity to low light increases to that of a
black and white camera. In bright light conditions, the IR
Filter is turned ON to the COLOR Mode, and the screen
changes to normal as the sensitivity decreases.
Press
[Enter]
Press
[Enter]
➜
(CAMERA SET)
CAMERA ID OFF
V-SYNC LINE...
COLOR/BW AUTO...
ZOOM SPEED 3
MOTION DET OFF
EXIT QUIT
(CAMERA SET)
CAMERA ID OFF
V-SYNC INT
COLOR/BW AUTO...
ZOOM SPEED 3
MOTION DET OFF
EXIT QUIT
(CAMERA SET)
CAMERA ID OFF
V-SYNC INT
COLOR/BW AUTO...
ZOOM SPEED 3
MOTION DET OFF
EXIT QUIT
➜
COLOR : The IR Filter is ON and the screen is normal.
BW : The IR Filter is OFF and the screen is black and white.
(Sensitivity to low light is increased to a level comparable to a black and white
camera.)
AUTO : Select to automatically switch between the COLOR mode and BW mode
depending on the amount of light. In low light conditions, the IR Filter is turned OFF
and the sensitivity to low light is increased by switching to the BW mode, but in
bright light conditions, the IR Filter is turned ON and the sensitivity is decreased by
switching to the COLOR mode. If you select AUTO and press the ENTER button, a
screen from which you can set the BURST ON / OFF, BW LEVEL and DWELL
TIME will appear.
- BURST ON : The color burst signal is output together with black and white
composite video signal.
- BURST OFF : The color burst signal is not output.
- LEVEL : You can set the brightness level that changes from COLOR mode to BW
mode in 3 steps : LOW, MEDIUM, and HIGH.
- DWELL TIME : Set the HOLDING time for switching between COLOR and BW
mode depending the changes in the amount of light. You can set the HOLDING
time to 10sec (S), 30sec, 60sec, or 300sec( L).
1. CAMERA SET MENU
CAMERA ID
The CAMERA ID menu assigns an ID to the SCC-643(P) to be displayed
on the connected monitor.On the CAMERA SET menu screen, select
CAMERA ID to ON and press [Enter]. You will see the sub screen for
deciding on the ID of the SCC-643(P). The Camera ID can have up to 12
alphanumeric characters, along with several special characters.
The assigned camera ID may be positioned to any desired location on the
screen by using the LOCATION submenu.
➜
Press
[Enter]
* " ... " Means there are Sub Menus.
(CAMERA SET)
CAMERA ID ON...
V-SYNC INT
COLOR/BW AUTO...
ZOOM SPEED 3
MOTION DET OFF
EXIT QUIT
(CAMERA ID)
A B C D E F G H I J K L
M N O PQ R S T U V W X
Y Z 0 1 2 3 4 5 6 7 8 9
: ! - +
✽ ( ) /
SP
ï î
SP
LOCATION...
RET
SCC-643.....
V-SYNC
In the V-SYNC menu, vertical synchronization can
be selected. The vertical synchronization signal
supported by the SCC-643(P) is the INT mode
made by clock inside the SCC-643(P) and LINE
mode adjusting vertical synchronization to the
exterior power frequency.
(CAMERA SET)
CAMERA ID OFF
V-SYNC INT
COLOR/BW AUTO...
ZOOM SPEED 3
MOTION DET OFF
EXIT QUIT
(LINE LOCK)
PHASE ( 000) ----
I ----
RET
(BW SETUP)
BURST ON
LEVEL MEDIUM
DWELL TIME S--|----L
RET
Caution : If you use an infrared light source while in AUTO mode, AUTO
switching malfunction and camera AF malfunction may occur.
In AUTO mode, AGC will operates in high speed mode, and you cannot
change it manually, as it is indicated by "---".


