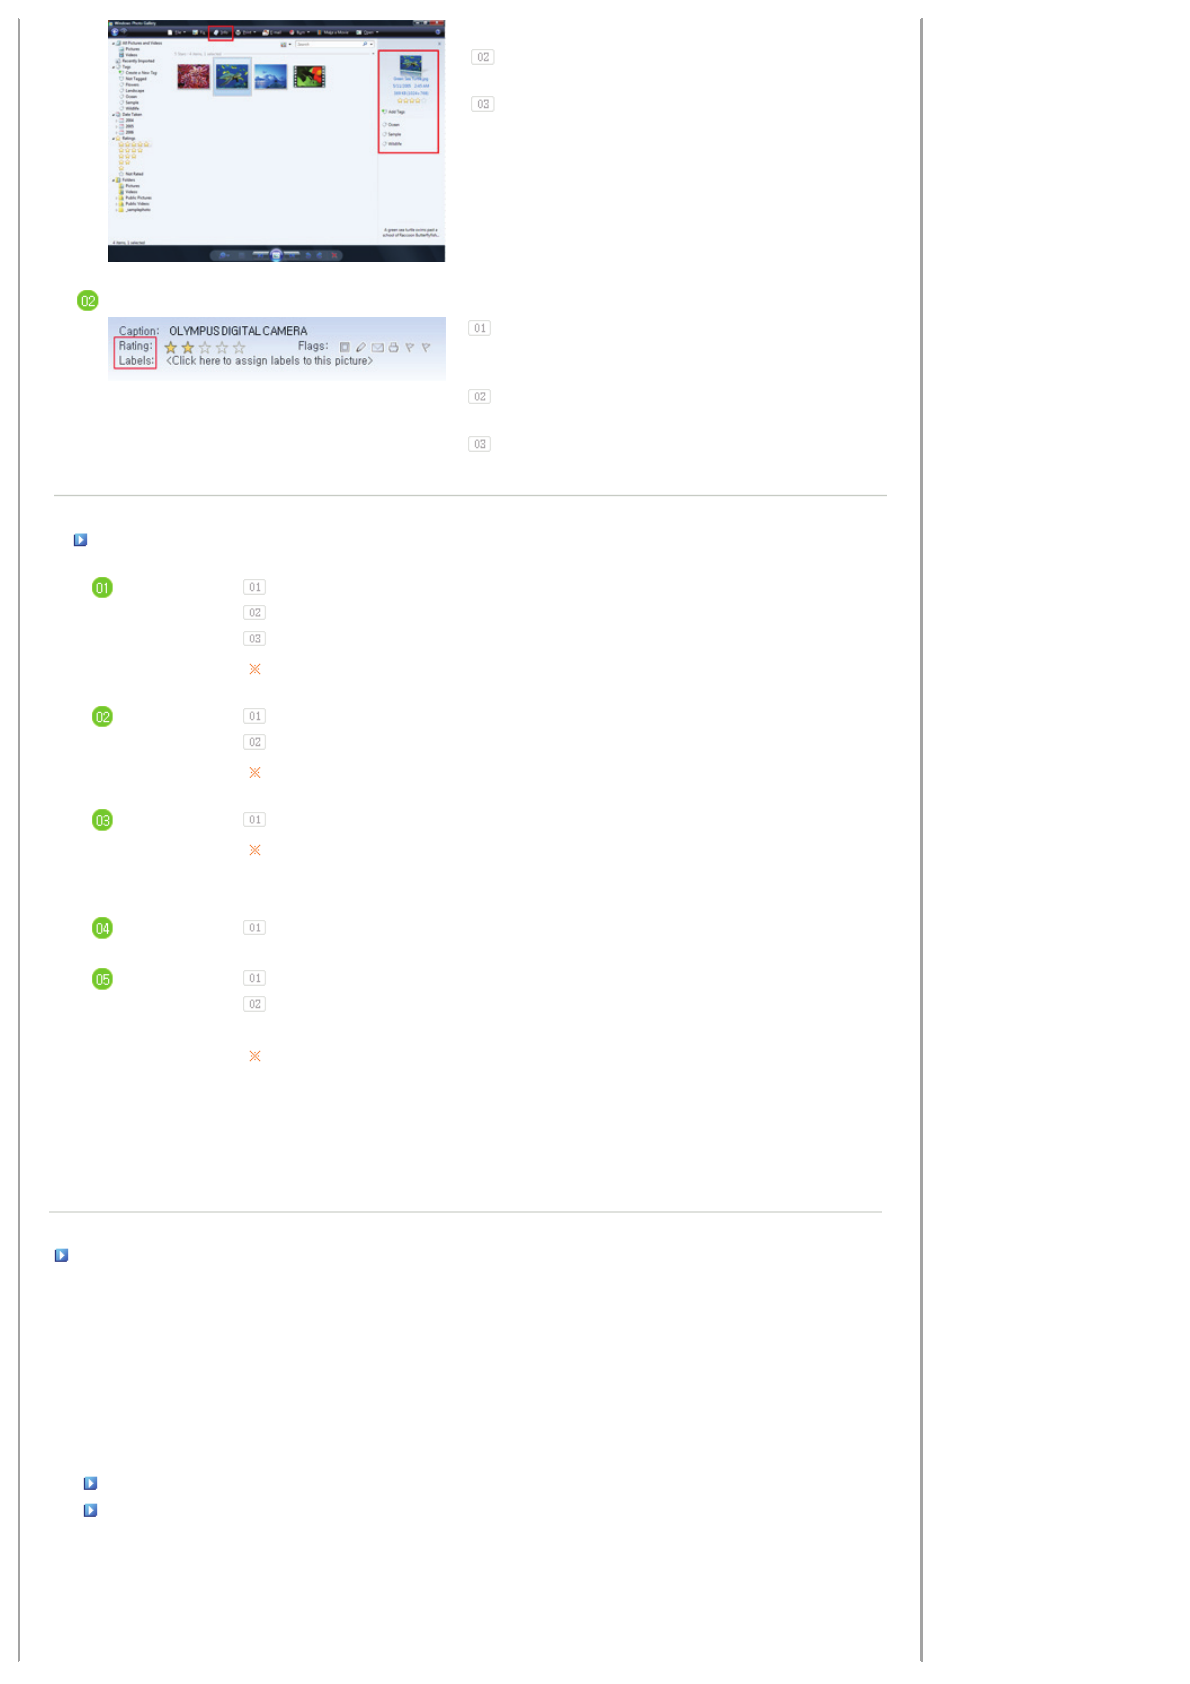
launch the Windows Photo Gallery.
If you select Info at the top of the Windows Photo Gallery
screen, the photo information pane appears on the right.
Select a photo and change the Rating or Tags in the right
information pane.
Windows XP
Click Start - All Programs - Microsoft Digital Image
Starter Edition 2006 - Microsoft Di
g
ital Ima
g
e Starter
Edition 2006 Library.
The Microsoft Digital Image Starter Edition 2006
Library window appears.
Select a photo and configure the Rating and Labels for the
selected photo at the bottom of the screen.
I want to update firmware.
Preparations
Digital Photo Frame
Firmware update file.
USB memory card or external memory devices(CF,SD/MMC/MS)
Please visit www.samsung.com for the latest firmware update.
Connect USB
memory card
to PC
If you are ready, connect the USB memory card to your PC.
Copy the firmware update file you downloaded to the USB memory card.
(Make sure to copy the firmware update file to the root directory.)
Connect USB
Memory Card
to Digital
Photo Frame
Remove the USB memory card from your PC, and connect it to your Digital Photo Frame.
If your Digital Photo Frame is off, turn it on.
Select Update
Select Firmware Update of Settings.
Updating
The update progression is displayed on the screen.
After boot-up, turn your Digital Photo Frame off, remove the USB memory card, and turn your
Digital Photo Frame on again, for maximum safety.
Do not remove the USB memory card during the update operation.
Do not press any key during the update operation.
Do not insert any other card during the update operation.
Do not turn your Digital Photo Frame off during the update operation.
You can identify whether the update operation has finished successfully or not by checking the
firmware version of your Digital Photo Frame is changed to the version of the firmware update.
I want to connect to a monitor by using Mini-Monitor program.(Windows XP only)
The Digital Photo Frame not only allows you to appreciate photos but also provides an additional
Mini-Monitor function. The Mini-Monitor is a function for using the Digital Photo Frame as an
auxiliary monitor. Its usage is simple as the Digital Photo Frame connects to your PC via a USB cable.
This function allows you to work more efficiently at your PC by using an additional monitor. To use
your digital photo frame as a Mini-Monitor, first install the Frame Manager program. (However,
please note that you can use only one digital photo frame as a Mini-Monitor.)
Installing Frame Manager
Frame Manager User's Manual
Using your digital photo frame as a Mini-Monitor.
Using your digital photo frame as Mass-Storage.
Changing the current mode to another mode
Adjusting the brightness
Updating the firmware


