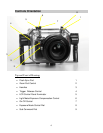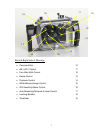
Control Details
The following is a partial list of the most common uses of housing and camera controls.
For the full list of camera functions and settings accessed by each control, you should
consult your D-70 camera instruction manual.
Please note that some of the FD-70N housing controls are designed to operate more than
one camera control. The command dial and sub-command dial will perform multiple
functions when operated in conjunction with other camera/housing controls.
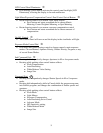
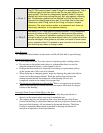
Flash Sync Port: 1
• Connect any standard five-pin Nikonos type sync cord to this bulkhead
connector.
• Align the index dots to correctly position cord to seat in flash port.
• Push down on cord to seat the O-ring seal, and make connection with the
five pins.
• Tighten collar on sync cord to insure cord does not come loose or separates
while underwater or during use.
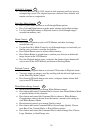
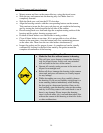
Zoom Port Control: 2
This button activates the zoom lens of the camera.
• Attach the Zoom Control Guide Ring to the lens. This is attached using the
Velcro strip. Insure that the projected nub is directly on the bottom.
• The camera and tray are inserted in such a way that the nub of the Zoom
Control Guide Ring is sandwiched between the two projections found on the
lens port. All are pointed a downward direction. The Zoom Control is
operated when camera is installed in housing is this manner using button #2
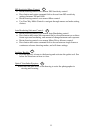
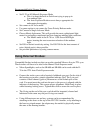
Handles: 3
• Ergonomically located for easy gripping and access to controls. Strobe arms
can be mounted on the base shoe on top of each handle.
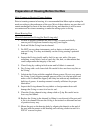
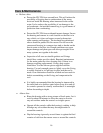
Main Shutter Release Control [Trigger]: 4
• The camera has a two stage shutter-release button. The camera sets focus and
exposure when the button is pressed halfway. Focus and exposure will remain
locked while the shutter-release button is kept in this position. To take the picture,
press the shutter-release trigger [of the housing] the rest of the way down.
8


