


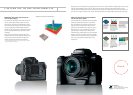
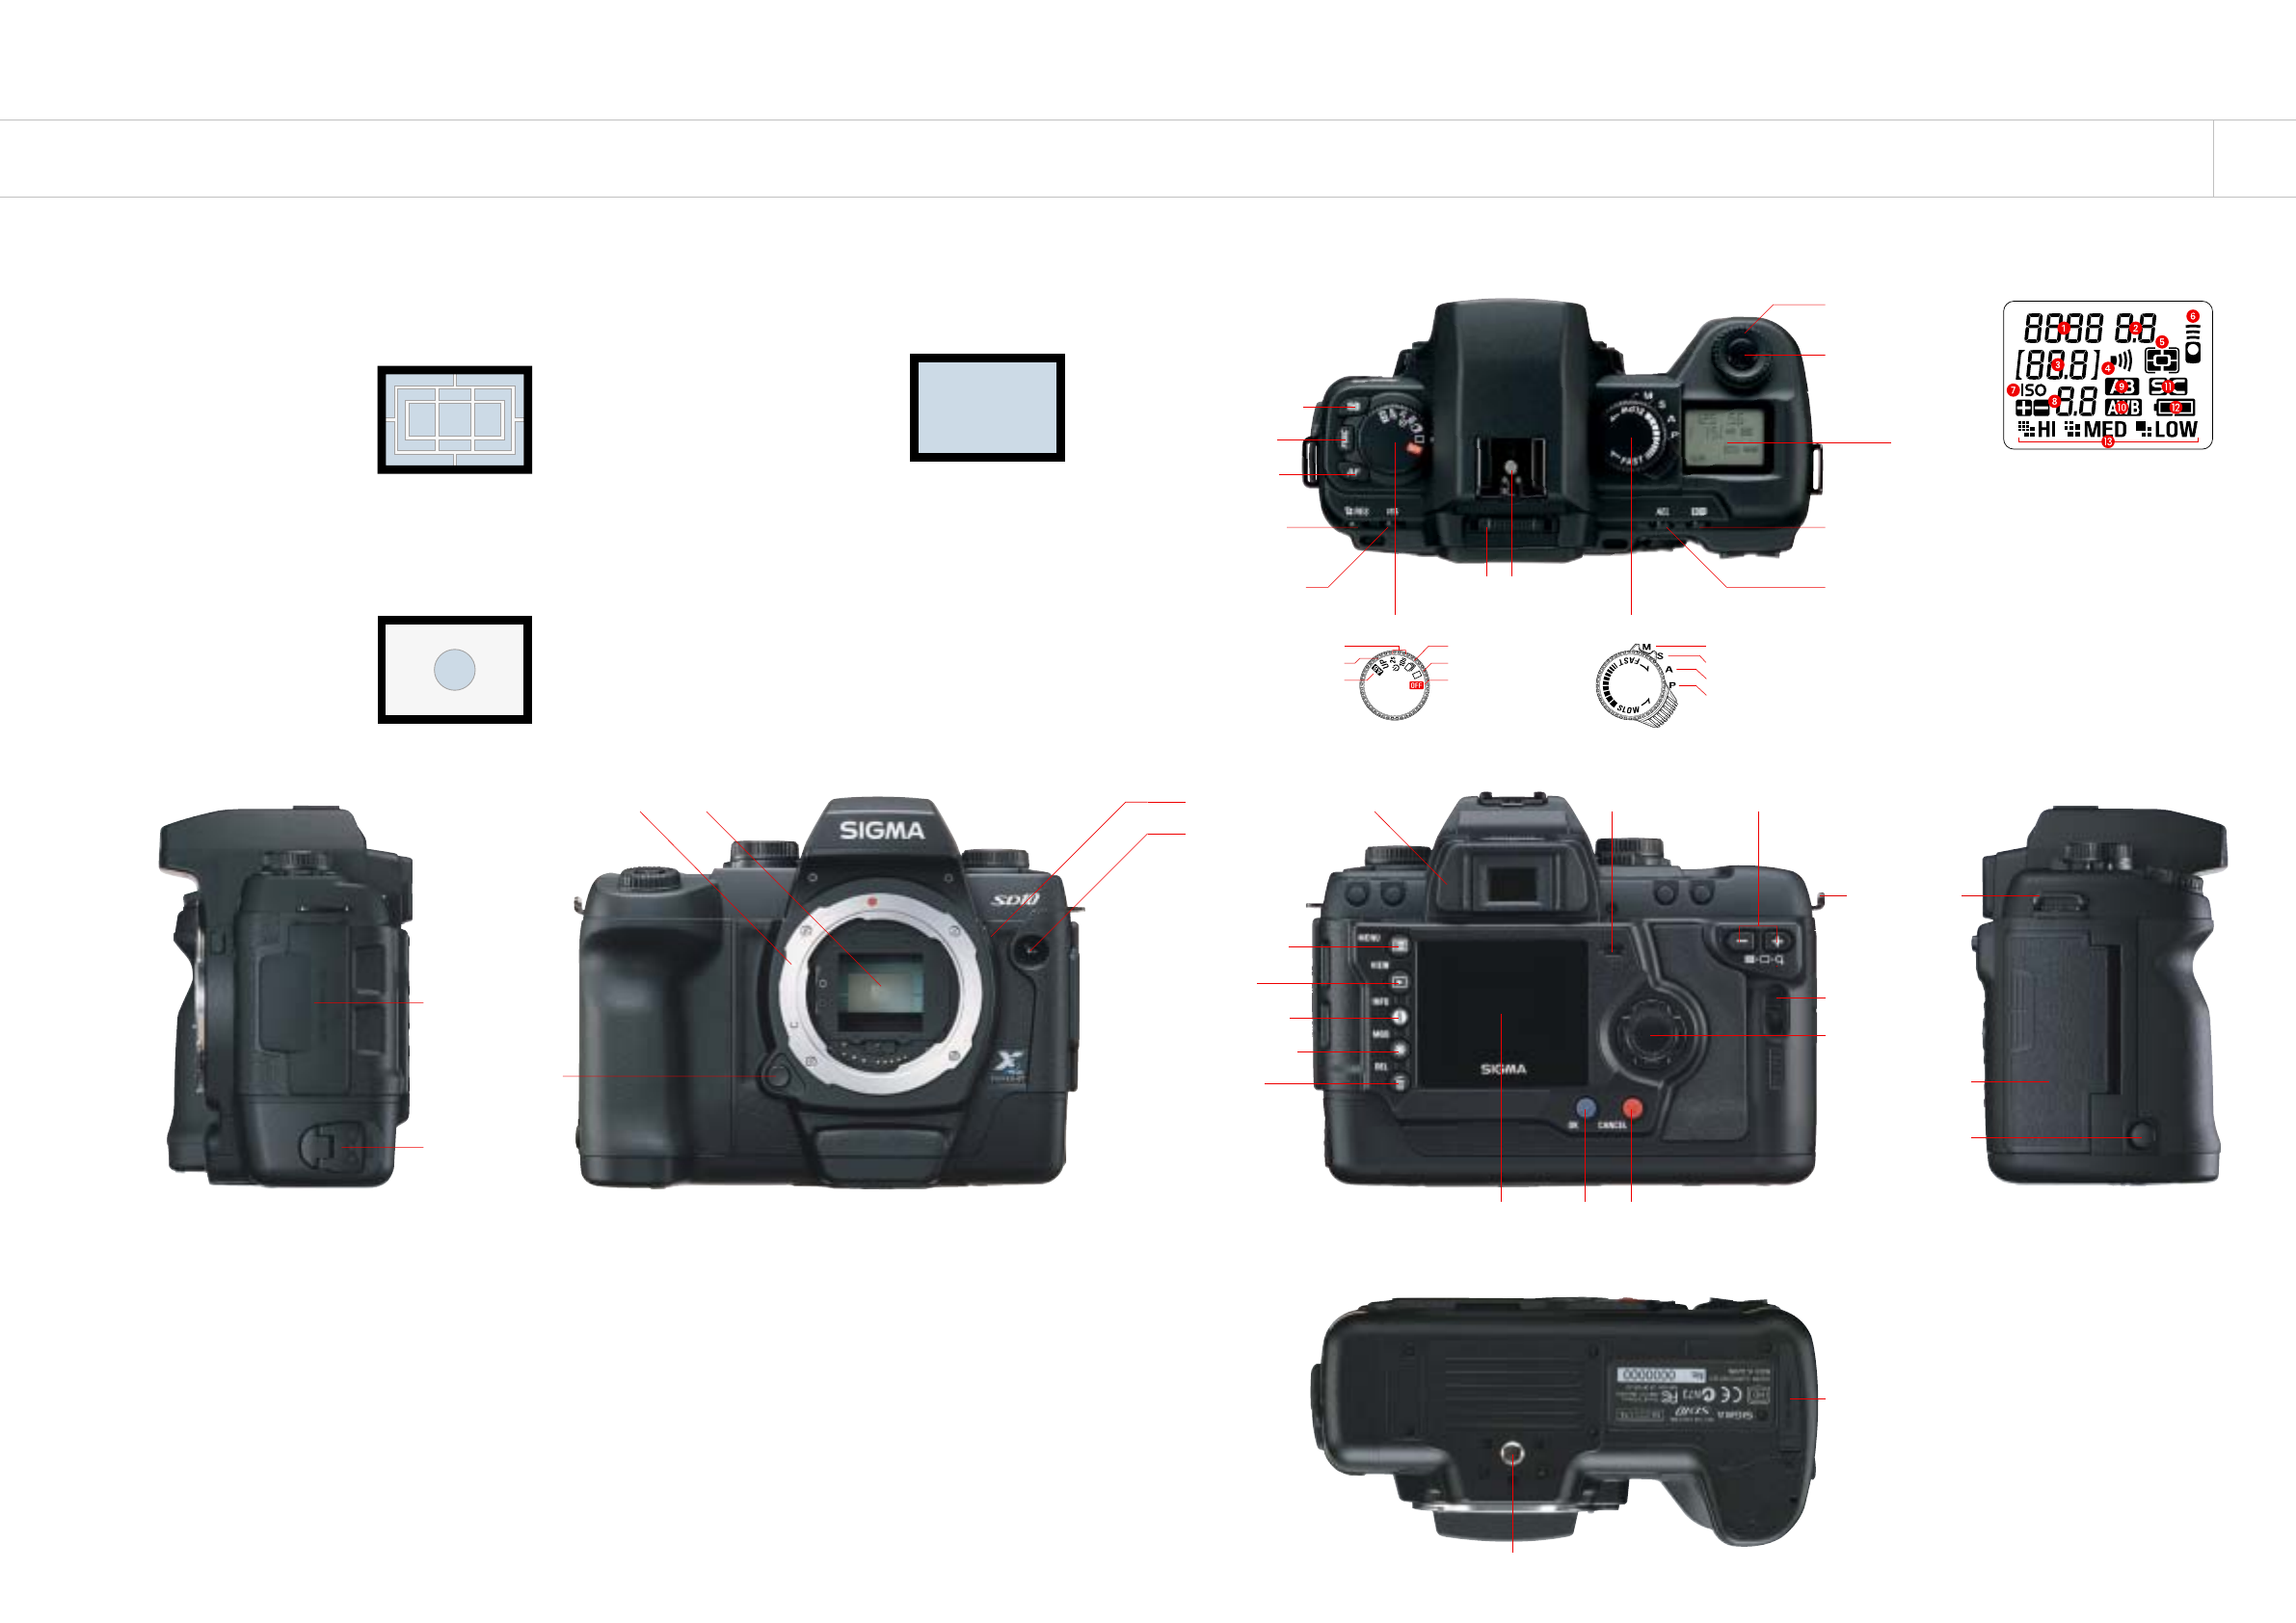
Metering Mode Button
Function Button
Resolution Button
AF Mode Button
ISO Sensitivity Button
C-Dial
(Command Dial)
Shutter Button
Exposure Compensation
Button
AE Lock Button
Diopter Adjuster Hot Shoe
Cancel ButtonOK Button
Names of Parts
[
Names of Display Panel Parts
]
Main Menu Button
CF Card Cover
Release Lever
Release Socket
CF Card Cover
View Button
Information Button
Power Pack Contact Cover
Tripod Socket
Modify Menu Button
Delete Button
Color LCD Monitor
CF Card Access LampEyepiece Cup Zoom Controller
4-Way Controller
Dust Protector Depth-of-field
Preview Button
Remote Control Sensor
Lens Mount
ᕡ
Shutter Speed
ᕢ
Aperture Value
ᕣ
Counter / ISO Sensitivity
ᕤ
Sound Setting
ᕥ
Metering Mode
ᕦ
Remote Control Mode
ᕧ
ISO Sensitivity Setting
ᕨ
Exposure Meter
ᕩ
Auto Bracketing
µ
Auto White Balance
¸
AF Mode
¹
Battery Indicator
Ƹ
Resolution
bD-Dial (Drive Dial)
Continuous shooting
Single frame shooting
Power OFF
Self-Timer (2s/10s)
Mirror Lock-Up
Auto Bracketing
bS-Dial (Shutter Dial) / Mode Lever
Manual Exposure
Shutter Speed Priority AE
Aperture Priority AE
Program AE
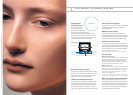
The SD10 features three metering methods for
greater control of photography’s essence: light.
˾8-segment evaluative metering
This metering mode, offering exposure
control with minimal error, divides the screen
into 8 independently metered segments,
whose data is comprehensively evaluated for
optimal exposure setting. Excellent for shooting front-lit scenes, as well as
backlit, high-contrast and other special situations, 8-segment evaluative
metering helps to reproduce brightness to a photographer’s liking.
˾Center area metering
In this mode, the camera meters only an area of about 5mm in diameter in
the center of the screen. This minimizes the
influence of perimeter light sources, so you
can establish a highly specific area for
determining the level of exposure that suits
your purpose.
˾
Center-weighted average metering
In this most common metering mode, the camera primarily meters the
subject in the center of the screen, while
giving some weight to perimeter brightness.
Exposure can be effectively controlled by
using this mode in conjunction with the
Exposure Compensation function.
Exposure compensation and auto bracketing
Before you shoot, exposure compensation lets you adjust
exposure in 1/3EV steps within a ±3EV range of deviation from
the autoexposure level set for the scene. In situations where it is
difficult to determine proper exposure, such as when there are
subtle differences of subject brightness, it’s a good idea to use
auto bracketing to take three consecutive photographs at slightly
different exposures, so you can later choose the best-exposed shot.
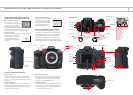
WHERE DIGITAL AND 35mm SLR ADVANTAGES CONVERGE
Connector Cover
Battery Case
Lock Knob
Lens Release Button
Camera Strap Eyelet
4 exposure modes to suit any situation
˾[P] Program AE
This mode covers most shooting circumstances, automatically setting a
combination of shutter speed and aperture appropriate to the subject’s
brightness, so you can shoot spontaneously without missing a moment or
adjusting exposure.
˾[A] Aperture Priority AE
Set a desired aperture value, and the camera determines the appropriate
shutter speed. Stop down to increase depth of field. Open up to blur the
background and emphasize the subject. Aperture Priority AE is useful for
achieving these and various other effects.
˾[S] Shutter Speed Priority AE
Set a desired shutter speed, and the SD10 selects the appropriate aperture
value for subject brightness. Freeze action by selecting a fast shutter
speed ; capture a blur of motion with a slow shutter speed; or achieve
various other effects using Shutter Speed Priority AE.
˾[M] Manual Exposure
This mode lets you set the shutter speed and aperture value as you choose,
as when you want to fix the exposure by referring to the TTL exposure
meter, external light meter, etc. This is particularly convenient for main-
taining an exposure setting for several shots.
bDisplay Panel