23
Recording/Playback
GB
The following states will be indicated if data is still being written onto the recording media after recording
has finished. During this time, do not apply shock or vibration to the camcorder, or remove the battery or
AC Adaptor.
A
ccess lamp (p. 20) is lit or flashing
The media icon in the upper right of the LCD screen is flashing
Tips
See page 69 on the recordable time of movies.
You can record photos during movie recording by pressing PHOTO fully (Dual Rec).
When a face is detected, a white frame appears and the image quality around the face is optimized
automatically ([FACE DETECTION]).
You can specify the priority face by touching it.
In the default setting, a photo is recorded automatically when the camcorder detects the smile of a person
during movie recording (Smile Shutter).
You can capture photos from recorded movies.
You can check the recordable time, estimated remaining capacity, etc., by touching
(MENU)
[Show others] [MEDIA INFO] (under
[MANAGE MEDIA] category).
The LCD screen of your camcorder can display recording images across the entire screen (full pixel
display). However, this may cause slight trimming of the top, bottom, right and left edges of images when
played back on a TV which is not compatible with full pixel display. In this case, set [GUIDEFRAME] to
[ON], and record images using the outer frame displayed on the screen as a guide.
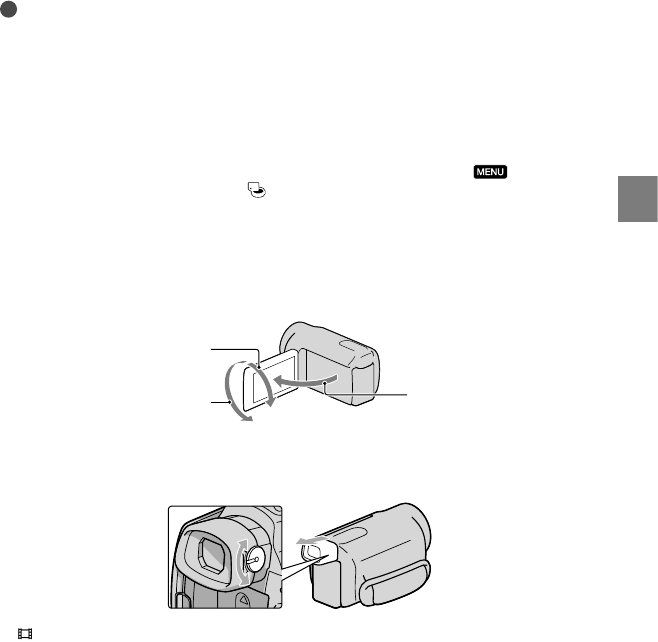
To adjust the angle of the LCD panel, first open the LCD panel 90 degrees to the camcorder (), and
then adjust the angle ().
When you make recording with the viewfinder only, pull out the viewfinder and close the LCD panel.
If the indicator on the viewfinder appear blurred, adjust the viewfinder lever located on the side of the
viewfinder.
[ STEADYSHOT] is set to [ACTIVE] in the default setting.
90 degrees (max.)
180 degrees (max.)
90 degrees to the
camcorder


