


122 Chapter 5 Adjustments and Settings
Chapter 5 Adjustments and Settings
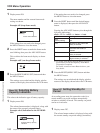
6 Press the VTR button on the camcorder or lens.
Test recording starts.
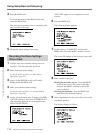
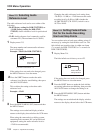
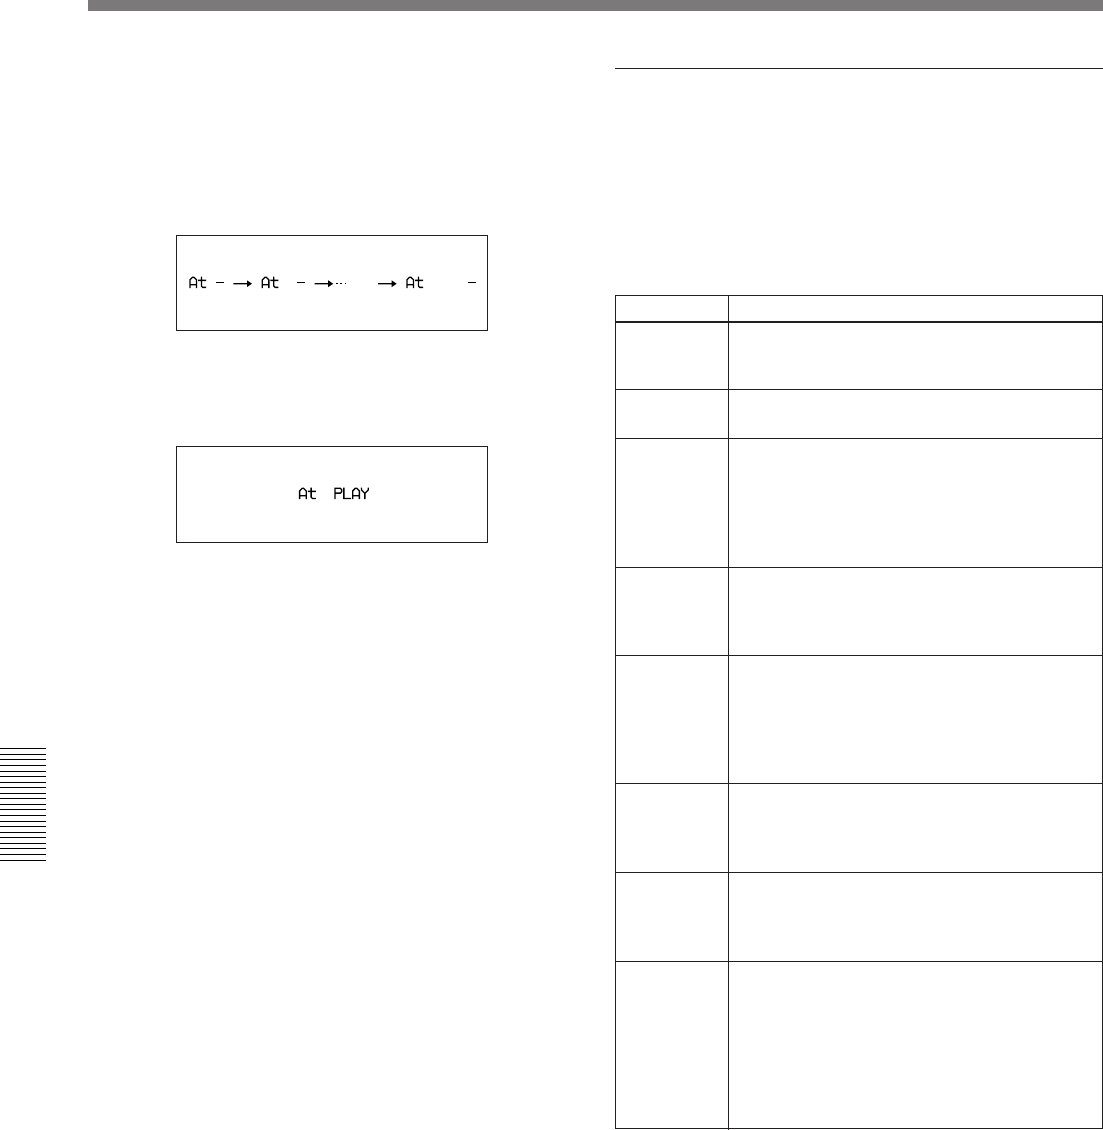
The display changes as shown below during
recording. (The hyphen following “At” moves to
right.)
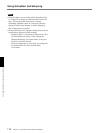
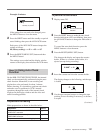
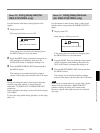
After about 1 minute, the tape is rewound to the
recording start position and playback starts. The
following is displayed during playback.
7 Check the recording quality of the playback video
on the viewfinder or monitor screen. Check the
recording quality of the playback audio from the
earphone or headphones.
If the recording quality is poor
There may be some kind of problem whether or
not it is detected by the internal check. Refer to the
section “Troubleshooting”(page 144) and repeat
the test. If the recording quality remains poor,
contact your Sony dealer.
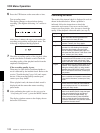
When playback ends, the internal check result is
displayed and the camcorder enters recording
pause mode.
8 After confirming the result (see the next section
“Confirming the result”), press the MENU button.
The display window returns to the display shown
before the VCR menu.
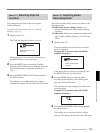
Confirming the result
The result of the internal check is displayed in code as
shown in the table below. When a problem is
indicated, follow the instructions to check the
camcorder and cassette. If no errors can be found,
contact your Sony dealer. Also, be sure to check the
quality of the playback video and audio (see step
7
).
Display Diagnostic result
At good VCR’s internal operations are normal. If the
video and audio recording qualities are
normal, the unit is ready for use.
At ng-01 There may be a problem in the VCR or the
cassette. Contact your Sony dealer.
At ng-02 There may be a problem in VCR’s internal
operations or data loading from the tape.
Clean the video heads using the DVM-
12CLD Cleaning Cassette (see page 141)
and repeat the auto-check. If the result is the
same, contact your Sony dealer.
At ng-03 There may be a problem in the link between
the camera and VCR sections. If not, correct
the error and repeat the auto-check. If the
result is the same, contact your Sony dealer.
At ng-04 Check whether the REC/SAVE switch is set
to SAVE. If so, repeat the auto-check with
setting the switch to REC or using another
cassette whose REC/SAVE switch is set to
REC. If the result is the same, contact your
Sony dealer.
At ng-05 Check whether a cassette is inserted. If not,
insert a cassette and repeat the auto-check.
If the result is the same, contact your Sony
dealer.
o-HAUL If the video and audio recording qualities are
normal, the unit is ready for use. However,
the unit requires service. It is desirable to
consult your Sony dealer.
At Abort The test recording or playback and internal
check have aborted (when a tape transport
button was pressed during recording or
playback or when the tape ended). To
resume the auto-check, press the MENU
button to close the menu and perform the
procedure described in the previous section
“To perform the auto-check”.
VCR Menu Operation