


38
GB
Notes
Even if another version of “PMB” has already
been installed on your computer, install
the version of “PMB” supplied with your
camcorder.
If the version of “PMB” on the computer is
newer than that of “PMB” supplied with your
camcorder, a message appears. In this case,
discontinue the installation.
The new version does not include the data
disc creation function. Create a data disc using
software on your computer.
Confirm that your camcorder is
not connected to the computer.
Turn on the computer.
Log on as an Administrator for
installation.
Close all applications running on the
computer before installing the software.
Place the supplied CD-ROM in
the disc drive of your computer.
The installation screen appears.
If the screen does not appear, click
[Start] [Computer] (in Windows
XP, [My Computer]), then double-click
[SONYPMB (E:)] (CD-ROM)
*.
* Drive names (such as (E:)) may vary
depending on the computer.
Click [Install].
Select the country or region.
Select the language for the
application to be installed, then
proceed to the next screen.
Read the terms of the license
agreement carefully. If you agree
to the terms, change
to , and
then click [Next] [Install].
Follow the instructions that
appear on the computer screen
to continue the installation.
You may be required to install some
other applications included on the disc at
the same time. If the installation display
appears, follow the instructions that appear
on the screen.
When you are required to restart the
computer, follow the instructions that
appear on the screen and restart it.
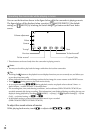
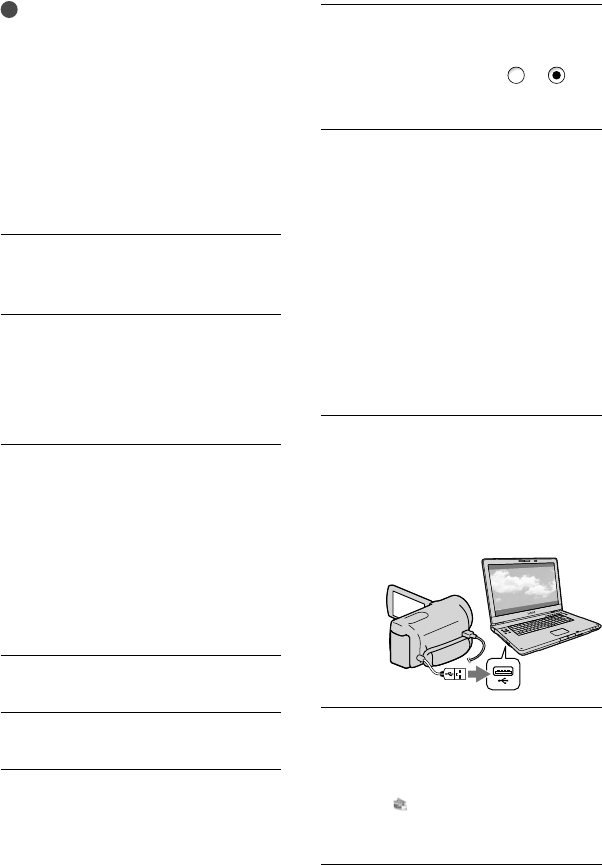
Connect the camcorder to the computer
when you are instructed to do so.
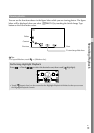
Connect the camcorder to the
computer using the Built-in USB
Cable, then touch [USB Connect]
on the LCD screen of the
camcorder.
When the installation is
completed, remove the CD-ROM
from the computer.
Click (PMB icon) that appears on the
desktop of the computer to start up the
software.