


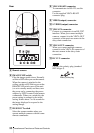
39
Installing the Camera
Installation and Connection
• Always install the supplied wire rope to
prevent the unit from falling.
• If you install the unit in a high location,
check periodically, at least once a year, to
ensure that the connection has not
loosened. If conditions warrant, make this
periodic check more frequently.
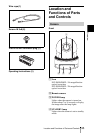
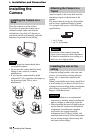
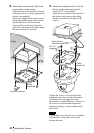
Before installation
After deciding the direction in which the
camera will shoot, make the required holes
for the junction box, and connecting cables.
The connecting cables cannot be passed
through ceiling bracket (A). A hole for the
wiring is required in the ceiling at the back
of the unit where it is attached to the ceiling.
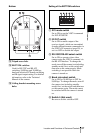
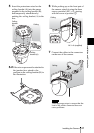
Installation
1 Set the IMAGE FLIP switch on the
rear panel to ON.
• Make sure that the BOTTOM switch is
set to the correct position. See “Setting
of the BOTTOM switches” (page 37).
• If you set the IMAGE FLIP switch to
ON after turning on the power, the
image will not be flipped. Turn the
power off once, then on again, and the
image will be flipped. It takes about 7
to 16 seconds to display the image.
• When you toggle the IMAGE FLIP
switch, the pre-set settings will all be
returned to the initial settings.
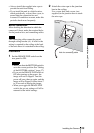
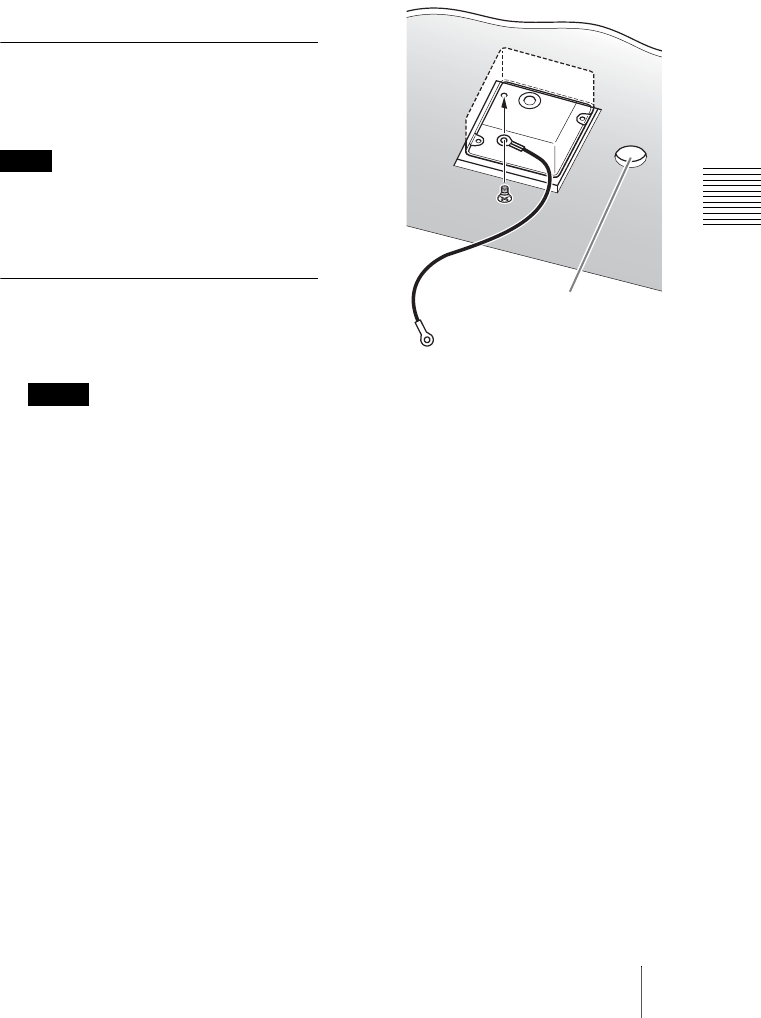
2 Attach the wire rope to the junction
box in the ceiling.
Use a screw hole and a screw (not
supplied) in the junction box to attach
the wire rope.
Note
Notes
Ceiling
Hole for connecting cable