C:\#WORK\@DPF\DPF-V1000N\Writer-OP\06_FinalDelivery\4155758111\4155758111DPFX1000NCEK\01GB-
DPFX1000NCEK\040C02.fm
Master: Left
DPF-X1000N, DPF-V1000N 4-155-758-11 (1)
20
GB
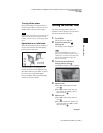
6 Select the format of the date.
1Press
v
/V
to select [Date Display Order]
and then press
.
2Press v/V
to select a format and then
press
.
•Y-M-D
•M-D-Y
•D-M-Y
7 Set the day to start the week for the
calendar.
You can set the day that appears on the
very left when the calendar is displayed.
1Press v/V to select [First Weekday] and
then press .
2Press v/V to select
[Sunday] or
[Monday]
and then press .
8
Select the time display.
1Press
v
/V to select [12hr/24hr display]
and then press .
2Press
v
/V to select [12 hours] or
[24 hours] and then press .
9 Press MENU.
The menu screen is closed.
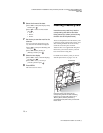
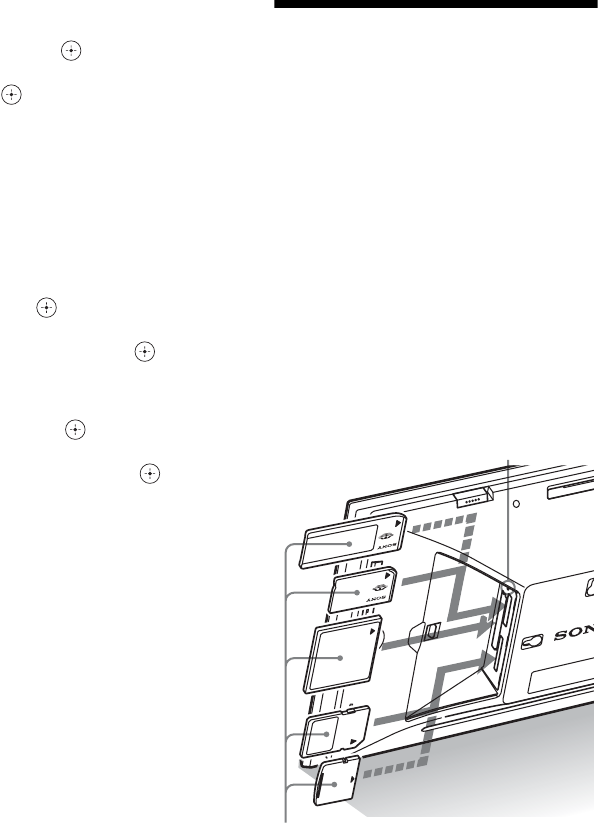
Inserting a memory card
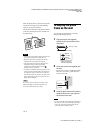
Insert the memory card firmly into the
corresponding slot with its label side
facing toward you (when you are facing
the back side of the photo frame).
The access lamp flashes when the memory card
is inserted correctly. Reinsert the memory card
after checking the label side of the memory
card if the access lamp does not flash.
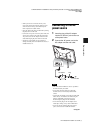
Attach the slot cover supplied with this photo
frame when you insert the memory card and
leave it inserted for a long time.
For details on the memory cards you can use
with this photo frame, see pages 74 to 76.
Insert the memory card firmly into the
corresponding slot with its label side facing
toward you. The slot order from the top is
“Memory Stick” (“Memory Stick Duo”),
CompactFlash card, SD memory card and xD-
Picture Card.
Access lamp


