


79
GB
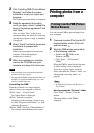
Printing from a computer
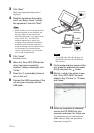
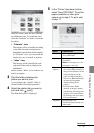
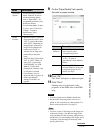
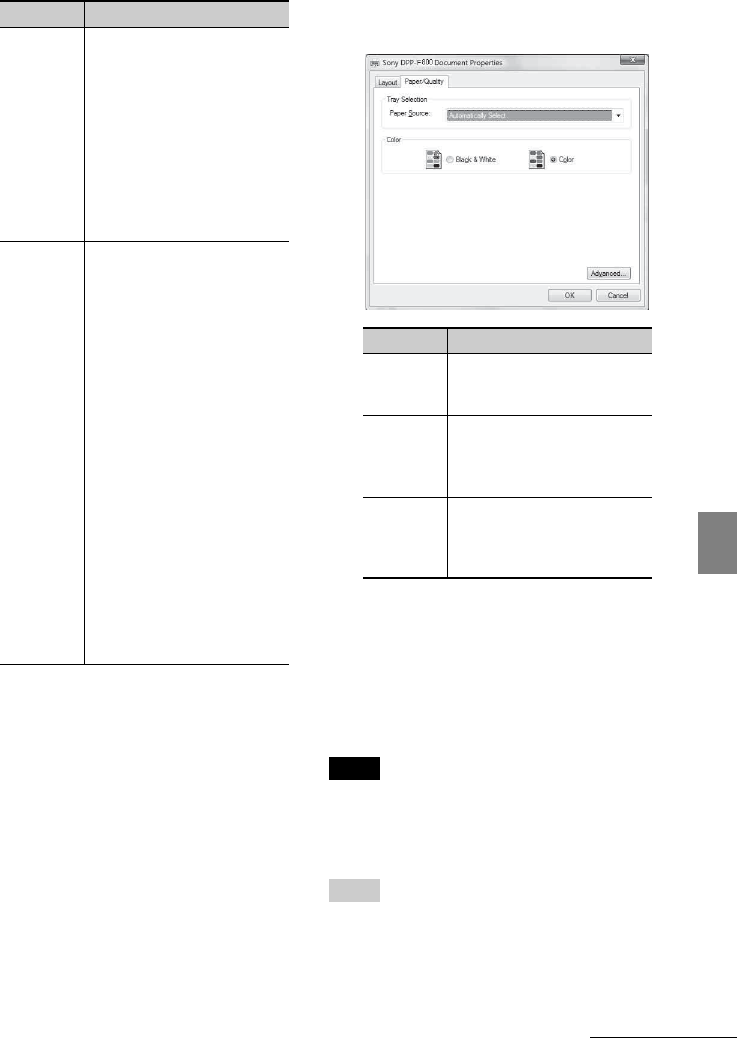
9 On the “Paper/Quality” tab, specify
the color or paper source.
10 Click “OK.”
The “Print” dialog box is displayed again.
11 Click “Print.”
Printing starts. For the details of the
properties of the PMB, refer to the PMB
help.
Notes
• You cannot print movies, BMP or RAW data.
• Set this unit in the print position to use it as a
printer. It will not print in any other position. For
details on the print position, see page 32.
Tips
• To select a series of still images in the image area
of the main window, click the first image in the
series and then click the last image while pressing
the Shift key. To select multiple still images not in
a sequence, click the images individually while
pressing the Ctrl key.
Document
Options
• Advanced Printing Features:
Select “Enabled” to turn on
advanced printing options
such as “Page Order.” If a
compatibility problem occurs,
disable this feature.
• Color Printing Mode: To print
in colors, select “True Color
(24bpp).” To print in
monochrome, select
“Monochrome.”
Printer
Features
• Borderless Print: To print an
image without borders, select
“ON.” To print with borders,
select “OFF.” Depending on
the application software, an
image will be printed with
borders even if “ON” is
selected. Set an image to be
printed fully in the print
range.
• Auto Fine Print7: Select from
“ON” or “OFF.” When you
select “ON,” please select
“ICM Disabled” for “ICM
Method.” Unlike direct
printing from a memory card,
no Exif data is referred.
• Color Setting: You can
change R (red), G (green), B
(blue), and sharpness
settings. For details, see
page 66.
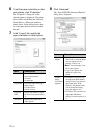
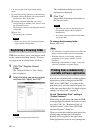
Items Description
Items Description
Tray
Selection
From the “Paper Source” drop-
down list box, select
“Automatically Select.”
Color To print in colors, select
“Color.” To print in
monochrome, select “Black &
White.”
Advanced The “Sony DPP-F800
Advanced Options” dialog box
is displayed (page 78). For
details, see step 9.
Continued