37
Saving movies and photos with a computer
US
*
1
Standard installation is required. Operation is
not assured if the OS has been upgraded or in a
multi-boot environment.
*
2
64-bit editions and Starter (Edition) are not
supported. Windows Image Mastering API
(IMAPI) Ver.2.0 or newer is required to use disc
creation function, etc.
*
3
Starter (Edition) is not supported.
*
4
Faster processor is recommended.
Notes
Operation with all computer environments is
not assured.
When using a Macintosh
The supplied software “PMB” is not
supported by Macintosh computers.
To process photos using a Macintosh
computer connected to your camcorder,
see the following website.
http://guide.d-imaging.sony.co.jp/mac/
ms/us/
Step 2 Installing the supplied
software “PMB”
Install “PMB” before connecting your
camcorder to a computer.
Notes
If a version of “PMB” under 5.0.00 has been
installed on your computer, you may be unable
to use some functions of those “PMB” when
installing the “PMB” from the supplied CD-
ROM. Also, “PMB Launcher” is installed from
the supplied CD-ROM and you can start “PMB”
or other software by using the “PMB Launcher.”
Double-click the “PMB Launcher” short-cut
icon on the computer screen to start “PMB
Launcher.”
˫
Confirm that your camcorder is
not connected to the computer.
¦
ˎ
¦
ˎ
ˬ
T
urn on the computer.
Log on as an Administrator for
installation.
Close all applications running on the
computer before installing the software.
˭
Plac
e the supplied CD-ROM in
the disc drive of your computer.
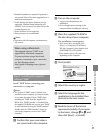
The installation screen appears.
If the screen does not appear, click
[Start] [Computer] (in Windows
XP, [My Computer]), then double-click
[SONYPMB (E:)] (CD-ROM)
*.
* Drive names (such as (E:)) may vary
depending on the computer.
ˮ
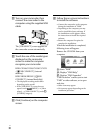
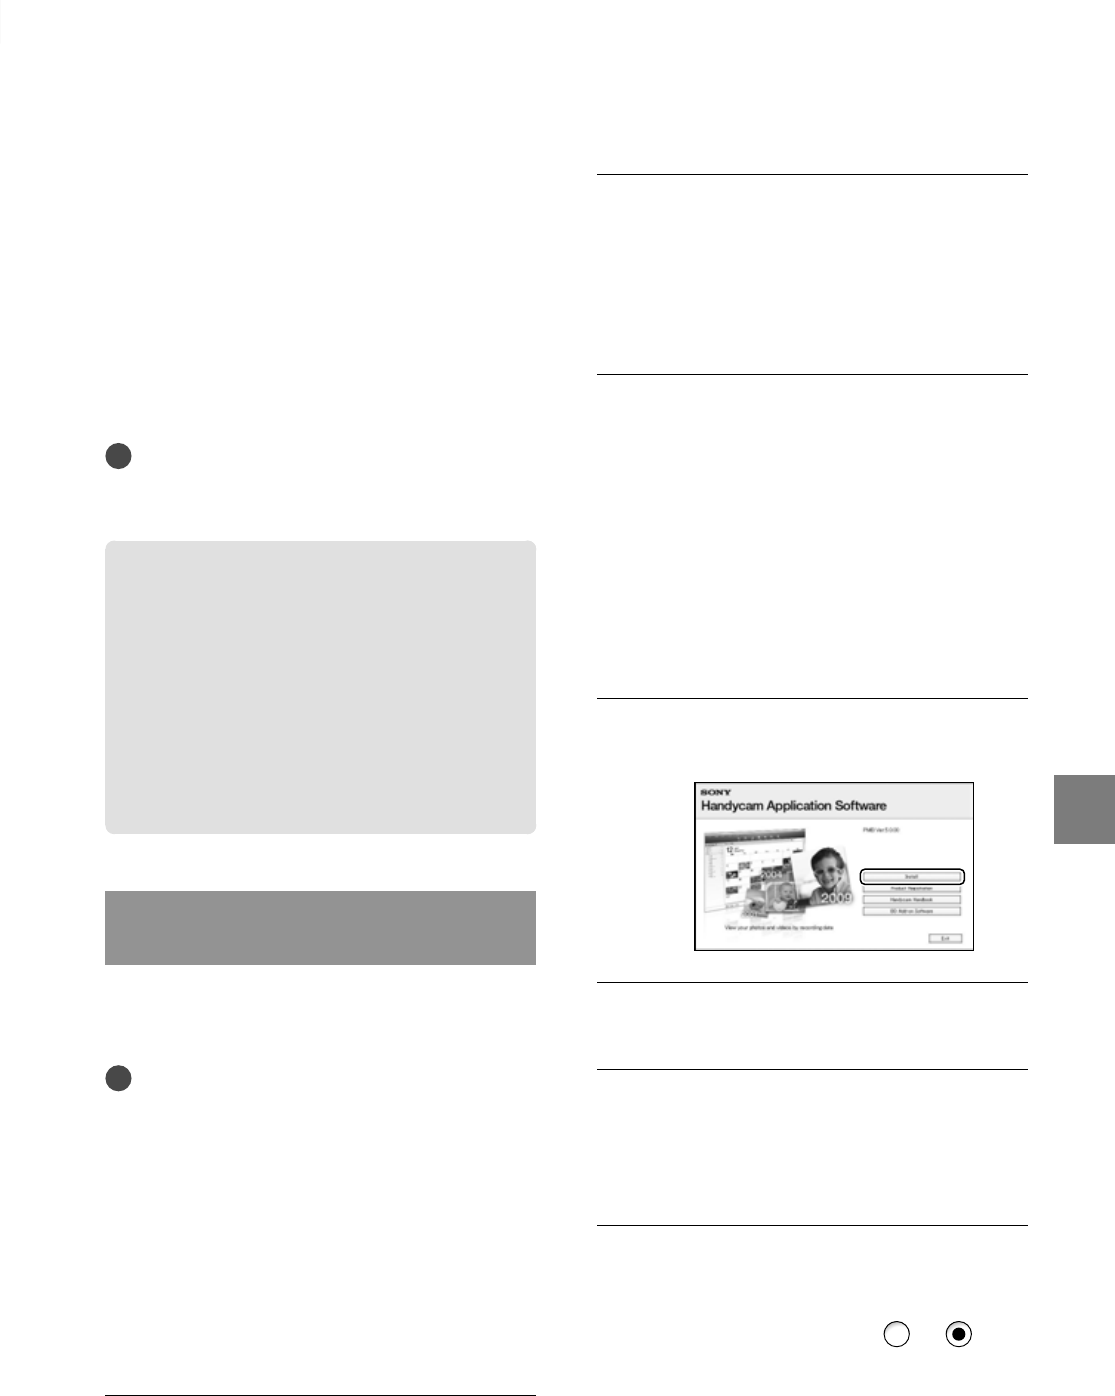
Click [Install].
˯
Select the country or region.
˰
S
elect the language for the
application to be installed, then
proceed to the next screen.
˱
Read the t
erms of the license
agreement carefully. If you agree
to the terms, change
to , and
then click [Next] [Install].
ˎ
ˎ
ˎ


