2-7 (E)
HDCU-900 MM
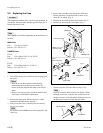
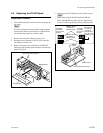
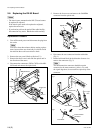
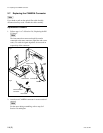
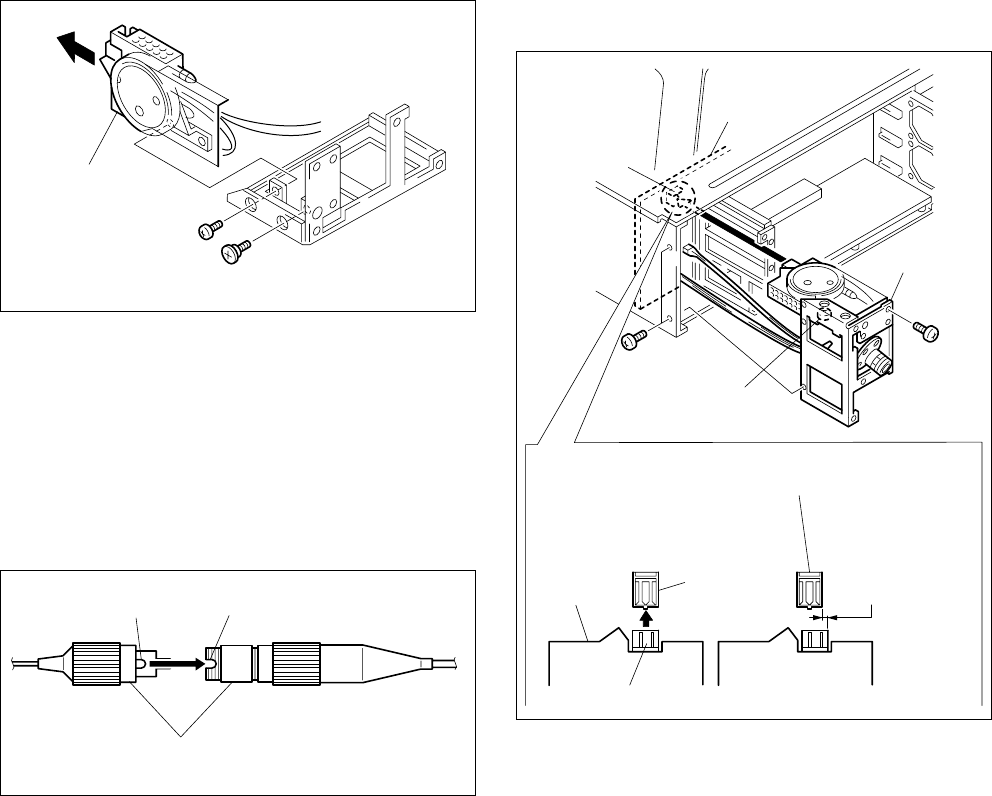
8. Remove the two screws (B3 x 5, shoulder screw) and
remove the board assembly in the direction of the
arrow.
n
Be careful not to bend the cables (especially light blue
and cream color).
9. Attach the new RX-53 board assembly in reverse order
of steps 3 to 8.
m
. Before connecting the connector, clean the tip of the
connector pin with alcohol.
. When connecting the connector, align the projecting
portion with the cut-out.
2-6. Replacing the RX-53 Board
B3 x 5
Shoulder screw
RX-53 board
assembly
Connectors
Cut-out
Projecting portion
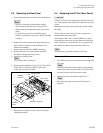
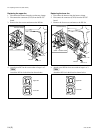
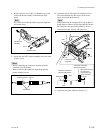
10. Attach the optical unit to the unit with three screws.
First, fasten temporarily the screws shown in the
figure, then fasten them securely.
n
When connecting the connector (CN1) of the RX-53
board and the connector (CN6) of the MB-902 board,
the connectors may get out of position by one pin.
Connect the boards securely with great care.
11. Attach the rear panel. (Refer to Section 2-3.)
RX-53 board
Optical unit
CN6
MB-902 board
CN6
CN1
Connector connection
at the correct position
Fasten the screw
temporarily.
Connector connection
at incorrect position
Be careful to connect
the connectors
because they may
get out of position
by one pin.
B3 x 5
B3 x 5


