B
BB
B
Editing
51
Changing the
recorded still image
size (RESIZE)
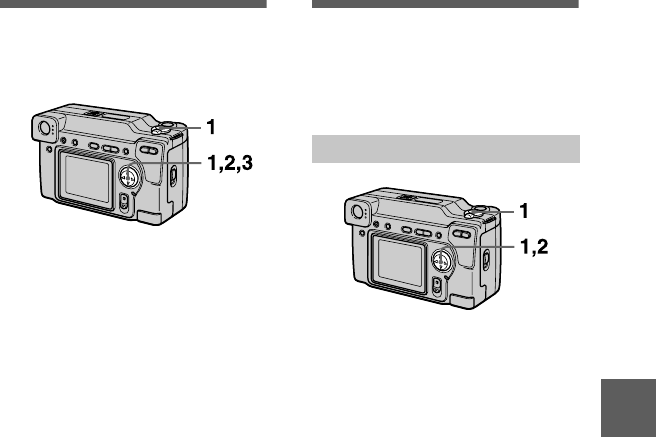
1
Set the MODE selector to
PLAY and display the image
to resize.
2
Select [TOOL] and then
[RESIZE] from the menu.
3
Select the desired image
size.
2048×1536, 1600×1200,
1280×960, 640×480
The changed image is recorded,
then the display returns to the
image display before resizing.
To return to the original size
Select [CANCEL] in step
3
.
Notes
•
You cannot change the size of images
recorded in TEXT mode or uncompressed
images.
•
When you change from a small size to a
large size, the picture quality deteriorates.
•
The original image is retained even after
resizing.
•
The resized image is recorded as the
newest file.
Copying images
(COPY)
You can copy images to another
“Memory Stick.”
1
Set the MODE selector to
PLAY, then display the image
to copy.
2
Select [TOOL], [COPY], and
then [OK] from the menu.
“MEMORY STICK ACCESS”
appears.
3
When “CHANGE MEMORY
STICK” appears, eject the
“Memory Stick.”
“INSERT MEMORY STICK”
appears.
4
Insert the “Memory Stick” on
which to copy the image.
“RECORDING” appears. When
copying is completed,
“COMPLETE” appears.
To end copying, select [EXIT].
To copy the image to
another “Memory Stick”
Select [CONTINUE] after step
4
and
insert a new “Memory Stick.”
Notes
If you do not select [EXIT] after
“COMPLETE” appears and instead insert a
new “Memory Stick,” the same image is
copied again.
In single mode
