


141414
Using the SoftwarePlayback & Backup
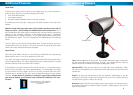
There are two ways of playing back footage from the ADW-400 receiver. The fi rst
is through the receiver itself, and the second (possibly more useful option) is to
remove the SD card and insert it into a card reader attached to a computer.
To back up footage, reading the SD card via a computer is the best option.
Alternately, you could run the Video Out from the receiver into a VCR/DVD recorder
and manually re-record your footage to a new medium (however, we recommend
using the computer).
Playback on the Receiver:
Whilst viewing live images, press the Play/Enter button.•
Using the arrow buttons, navigate down to the VIDEO folder.•
Each folder represents a date on which recordings were done. •
Individual recordings are listed by time, formatted as HHMMSS. For •
example, a recording taken at two-thirty and twelve seconds will be named
“143012_1”.
The UP and DOWN arrows will navigate through the list one video or folder •
at a time. The LEFT and RIGHT arrows are quick navigation options, and scroll
one page at a time.
Simply click on the video you want to play it.•
The arrow buttons are the playback controls: left and right are fast-forward •
and rewind respectively, and down is stop. Play/Enter will pause or resume the
playback.
To return to the fi le list, press MENU.•
To exit the fi le list, also press MENU.•
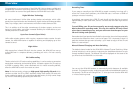
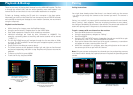
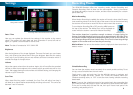
The Playback Interface with a
list of dates. The range in this
example is from the 1
st
to the 3
rd
of January, 2009.
YY-MM-DD
The Playback Interface with
a list of individual recordings.
These are very short recordings
recorded at 7:26 a.m.
7
Pairing
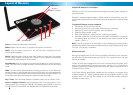
Pairing Instructions
You might have already noticed that there is no channel switch on the camera
– so, how do you assign the cameras to the channel you want? The answer is
“pairing”.
Pairing, in a nutshell, is a process which associates one camera with one channel,
hence “pairing” them together. There are no physical switches to worry about,
the change is handled by the software in the receiver. The camera and receiver will
retain their pairings even if the power is disconnected and restored.
To pair a camera with one channel on the receiver:
Press the MENU button on the receiver.•
Using the arrow buttons, navigate to “Pairing”.•
Press PLAY/ENTER.•
Using the LEFT and RIGHT arrows, choose the channel you would like to pair •
the camera to, from 1 to 4. Press PLAY/ENTER to confi rm.
Once you’ve selected the channel you’d like to pair a camera to, a countdown •
will appear on screen, counting down from 30.
Whilst this countdown is in progress, press the pairing button on the rear of •
the camera you’d like to pair with this channel.
Note: Only one camera can be paired to a channel at a time, and pairing a camera
to a channel which already has a paired camera will replace the previously paired
camera.
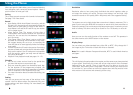
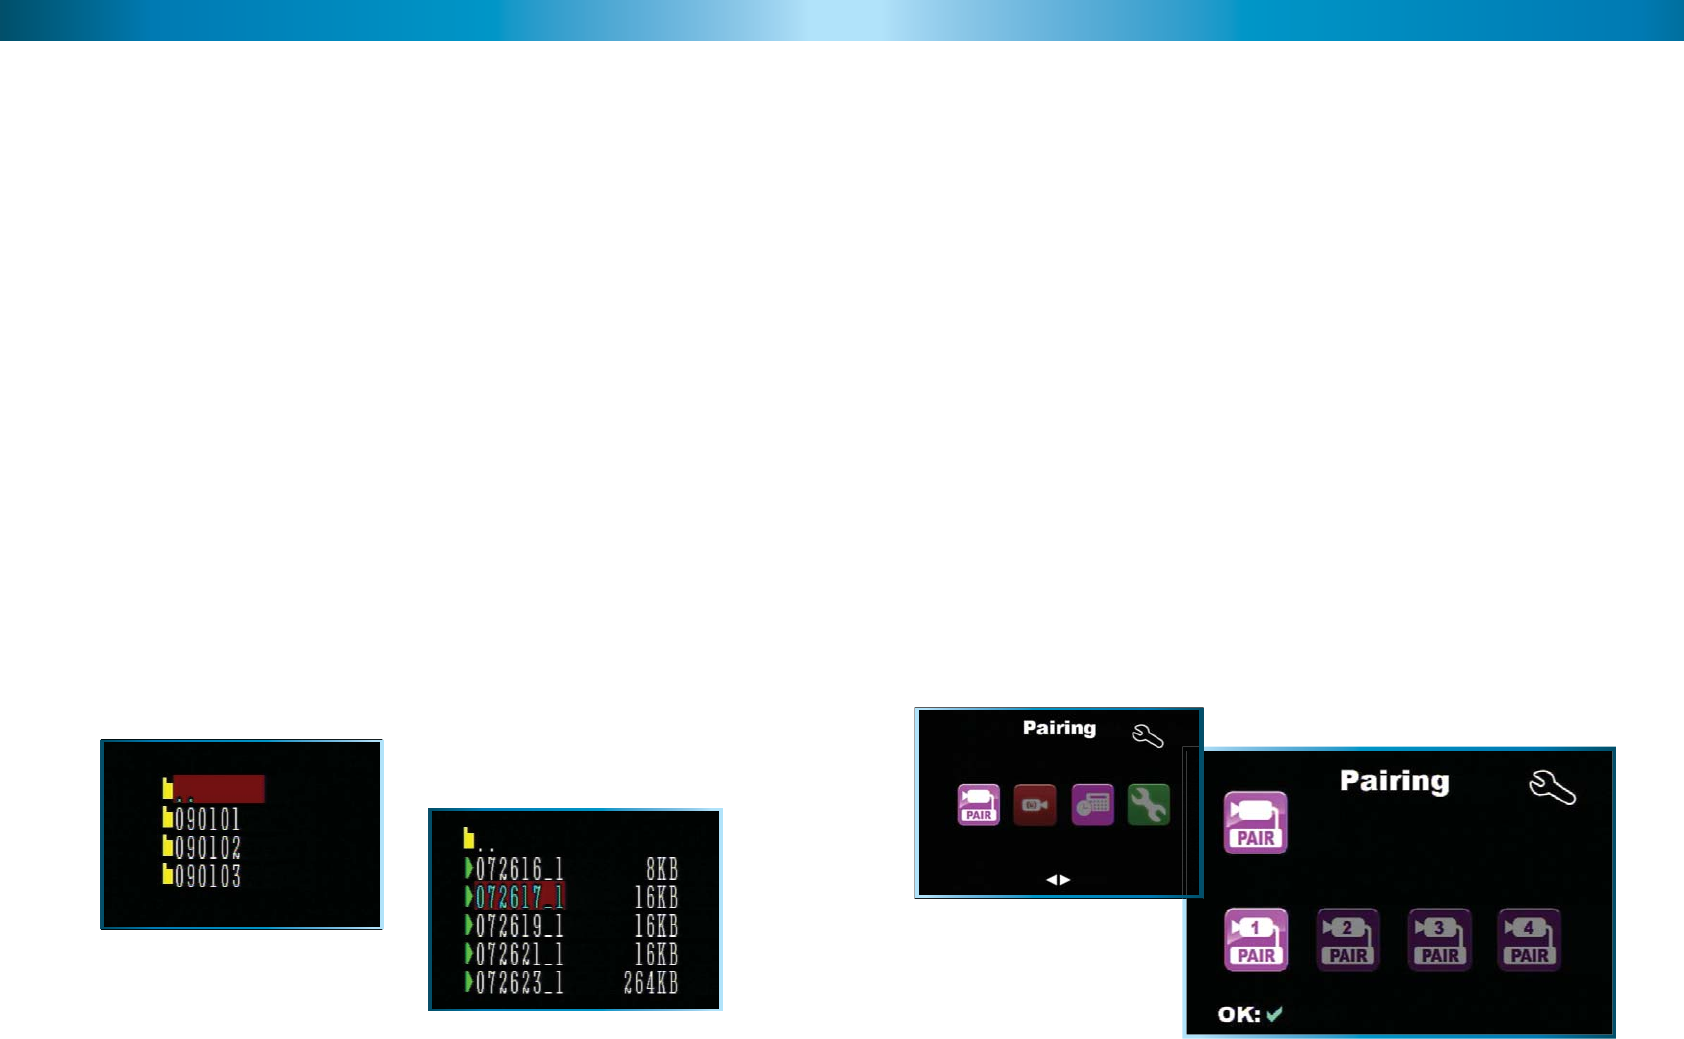
The Main Menu with the
Pairing Menu selected.
The Pairing Menu with
the Channel 1 selected.