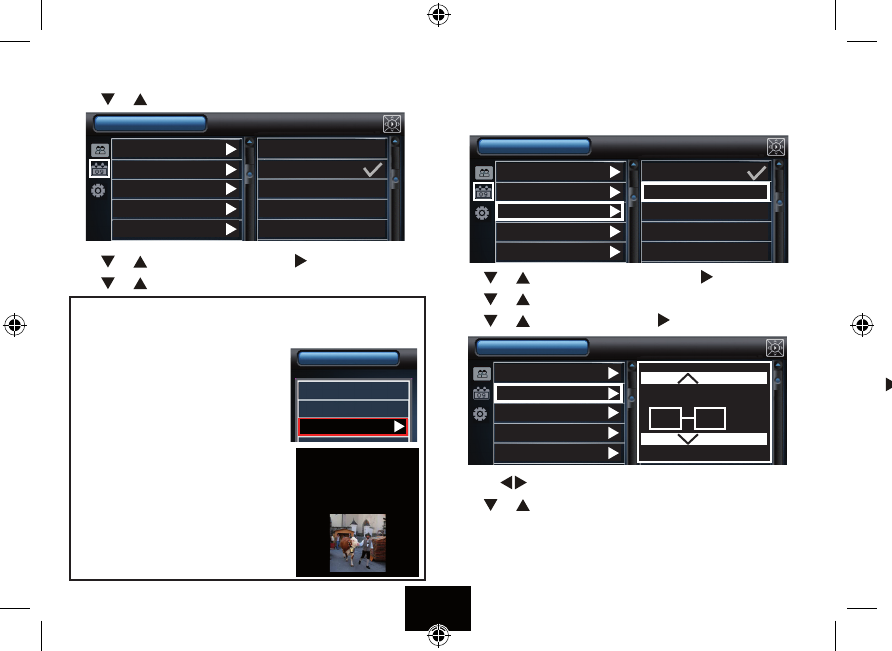
CLOCK/CALENDAR SETUP
Press
or to select Clock/Calendar setup. Press OK
Press
or to select Show Photo. Press
Press or to select On or O. Press OK to conrm and return.
The “Show Photo” default setting is O. However, when On is
selected a slide show is visible when the DPF is in Clock/Calendar
display mode - see Page 12.
• Select On in the Show photo menu
• Press MENU to exit Setup and go to the
Main Menu.
• Select Clock (or Calendar)
• Press OK
The clock/calendar will display with a
slide show of photos from the connected
media.
Setting the Time
The Default Time Format is for a 24 hour clock. Before setting the time
you may wish to change the time format to 12 hour (AM/PM).
Press
or to select Set Time Format. Press
Press or to select 12hr /24 hr. Press OK to conrm and return.
Press or to select Set time. Press
Press the
keys to toggle between minutes and the hours.
Press or to change the minutes/hours.
If you have selected the 12 hour clock, AM and PM will be displayed.
Press OK to conrm and return to Clock/Calendar Setup.
Page 15
Show photo Off
Set time On
Set time format
Set date
Set date format
Clock/Calendar Setup
Show photo 12hr
Set time 24hr
Set time format
Set date
Set date format
Clock/Calendar Setup
USB
Main Menu
Card
Clock
23:37:06
20/08/10
Friday
Show photo
Set time
Set time format
Set date
Set date format
Clock/Calendar Setup
(hh:mm)
09 58 AM
