


4
5
Balance
Static Balance
Dynamic Balance
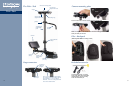
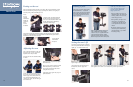
Attaching the camera
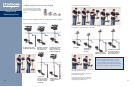
The docking bracket and balancing stud
First, find your camera’s center of gravity. Try balancing it on something round like
a pencil both fore and aft and side to side. Then, attach the center of the camera
mounting plate 1/4” to 1/2” forward of the camera’s fore and aft c. g., and centered
over your camera’s side to side c.g.
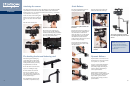
The sled hangs by the docking ring
on the forked portion of the docking
bracket. To balance the sled, spin the
docking bracket towards you and slip
the gimbal handle over the stud.
Be sure the stand is secure and won’t
tip over; use sandbags for safety.
We need to balance the sled in all
three axes: top to bottom, side to
side, and fore and aft. In general, we
want the sled to hang upright and not
be very “bottom-heavy.”
Note: SteadiStand™ (p/n 601-7910)
is available as an optional accessory.
First, adjust your bottom heaviness by
moving the gimbal on the post.
Grossly adjust the fore aft balance by
moving the lower spar as shown in the
three photos below.
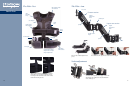
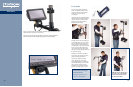
Dynamic balance is a term we use for a
sled that stays level (main post vertical)
as it is panned, i.e., it pans flat.
You have several possible adjustments,
including moving the spar as shown
(left), adding weights, and sliding the
monitor or battery independently to
achieve dynamic balance.
Download and read “The Dynamic
Balance Primer” on www.steadicam.com
for more information on this complex
subject. What’s great is the Pilot
™
has many options to help you achieve
dynamic balance.
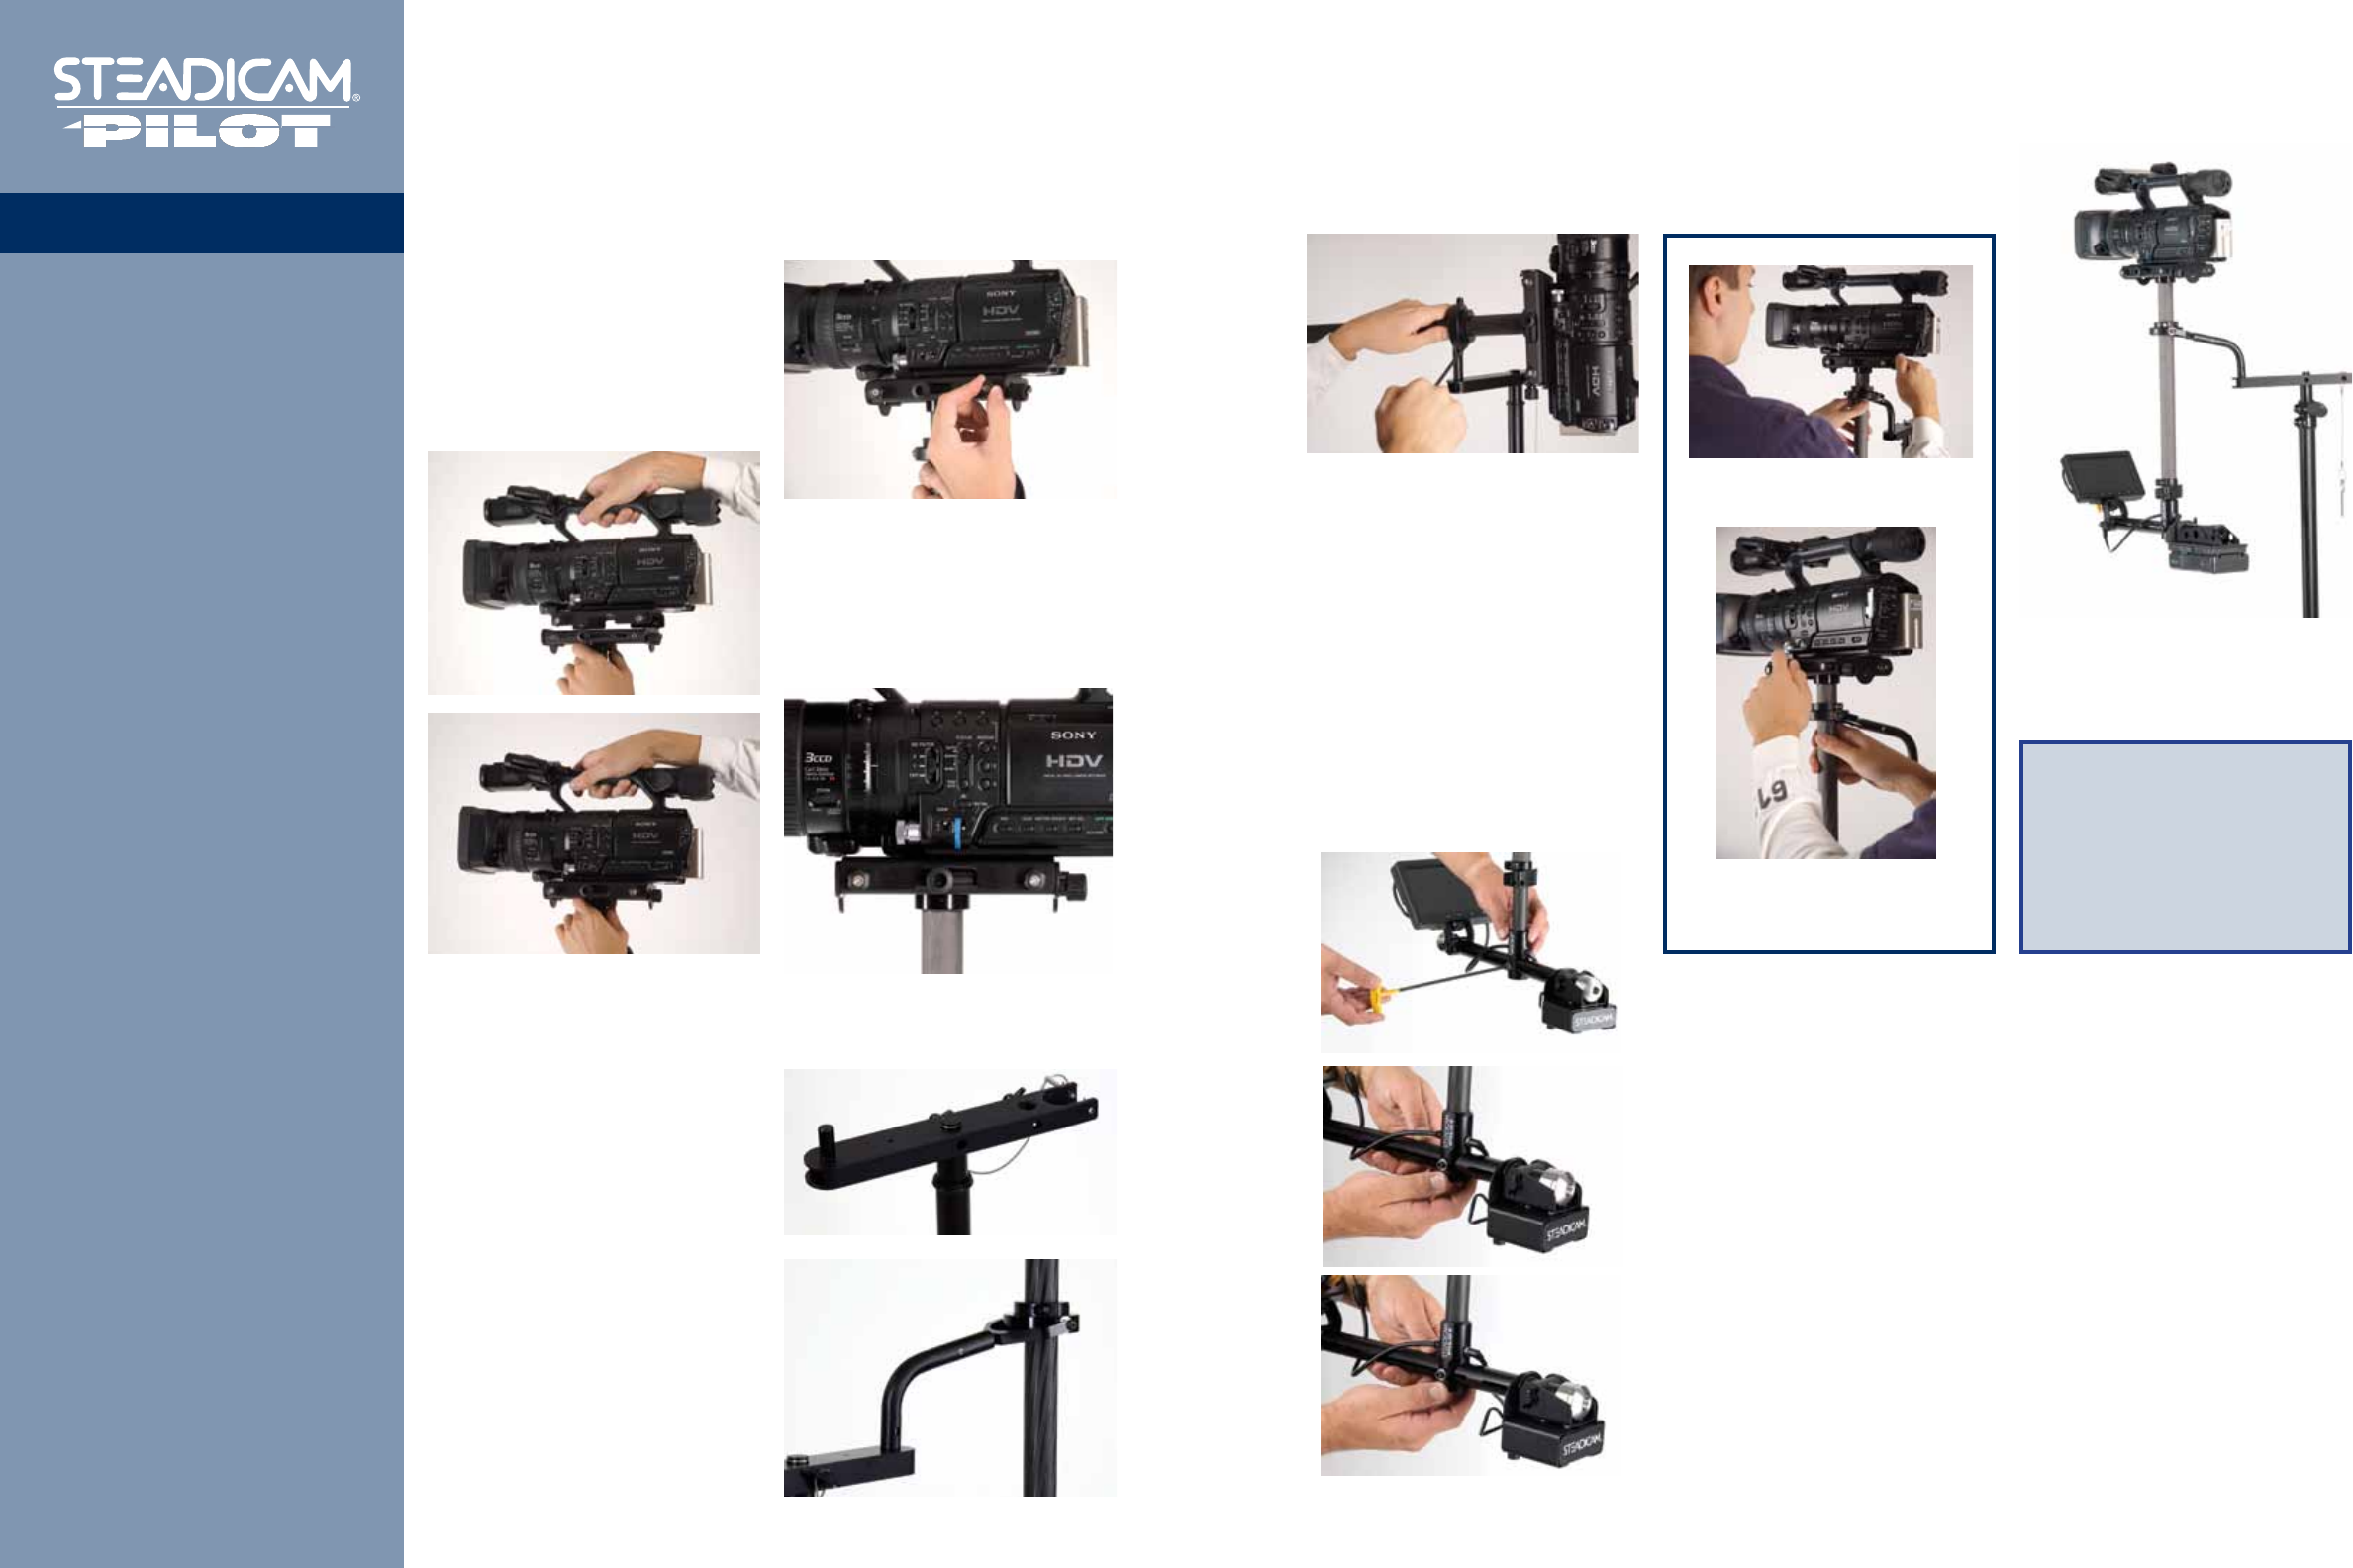
This is how a typical set-up should
look, with the gimbal fairly close to the
camera.
Tighten the four knobs securely.
The camera is now positioned so its
center of gravity is slightly behind the
centerline of the main posts. (See the blue
tape in the photo below.) This is ideal for
achieving good dynamic balance.
Only loosen the gimbal with the sled
horizontal.
Slide the main post until everything is in
balance, then move the gimbal towards
the camera about one half inch and
tighten the clamp. Let go of the sled and
let it rotate through vertical. It should
take about three seconds. Raise the
gimbal to decrease the drop time; lower it
to make the drop time longer.
Adjusting the fore and aft balance.
Adjusting the side to side
balance.
Note: Wetypicallytrim
oralterthisnebalance
tohelpusaimthecamera
—forinstancetohold
headroom.
Fine-tune the fore aft and side to side
balance with the knobs on the stage.
Secure the camera to the mounting plate
with the screws provided. Use either two
screws or one screw and an anti-rotation
pin.
Place the camera onto the sled.