55
Primary DNS: The primary domain name server that translates hostnames into IP addresses.
Secondary DNS: Secondary domain name server that backups the Primary DNS.
Primary WINS server: The primary WINS server that maintains the database of computer name and IP
address.
Secondary WINS server: The secondary WINS server that maintains the database of computer name
and IP address.
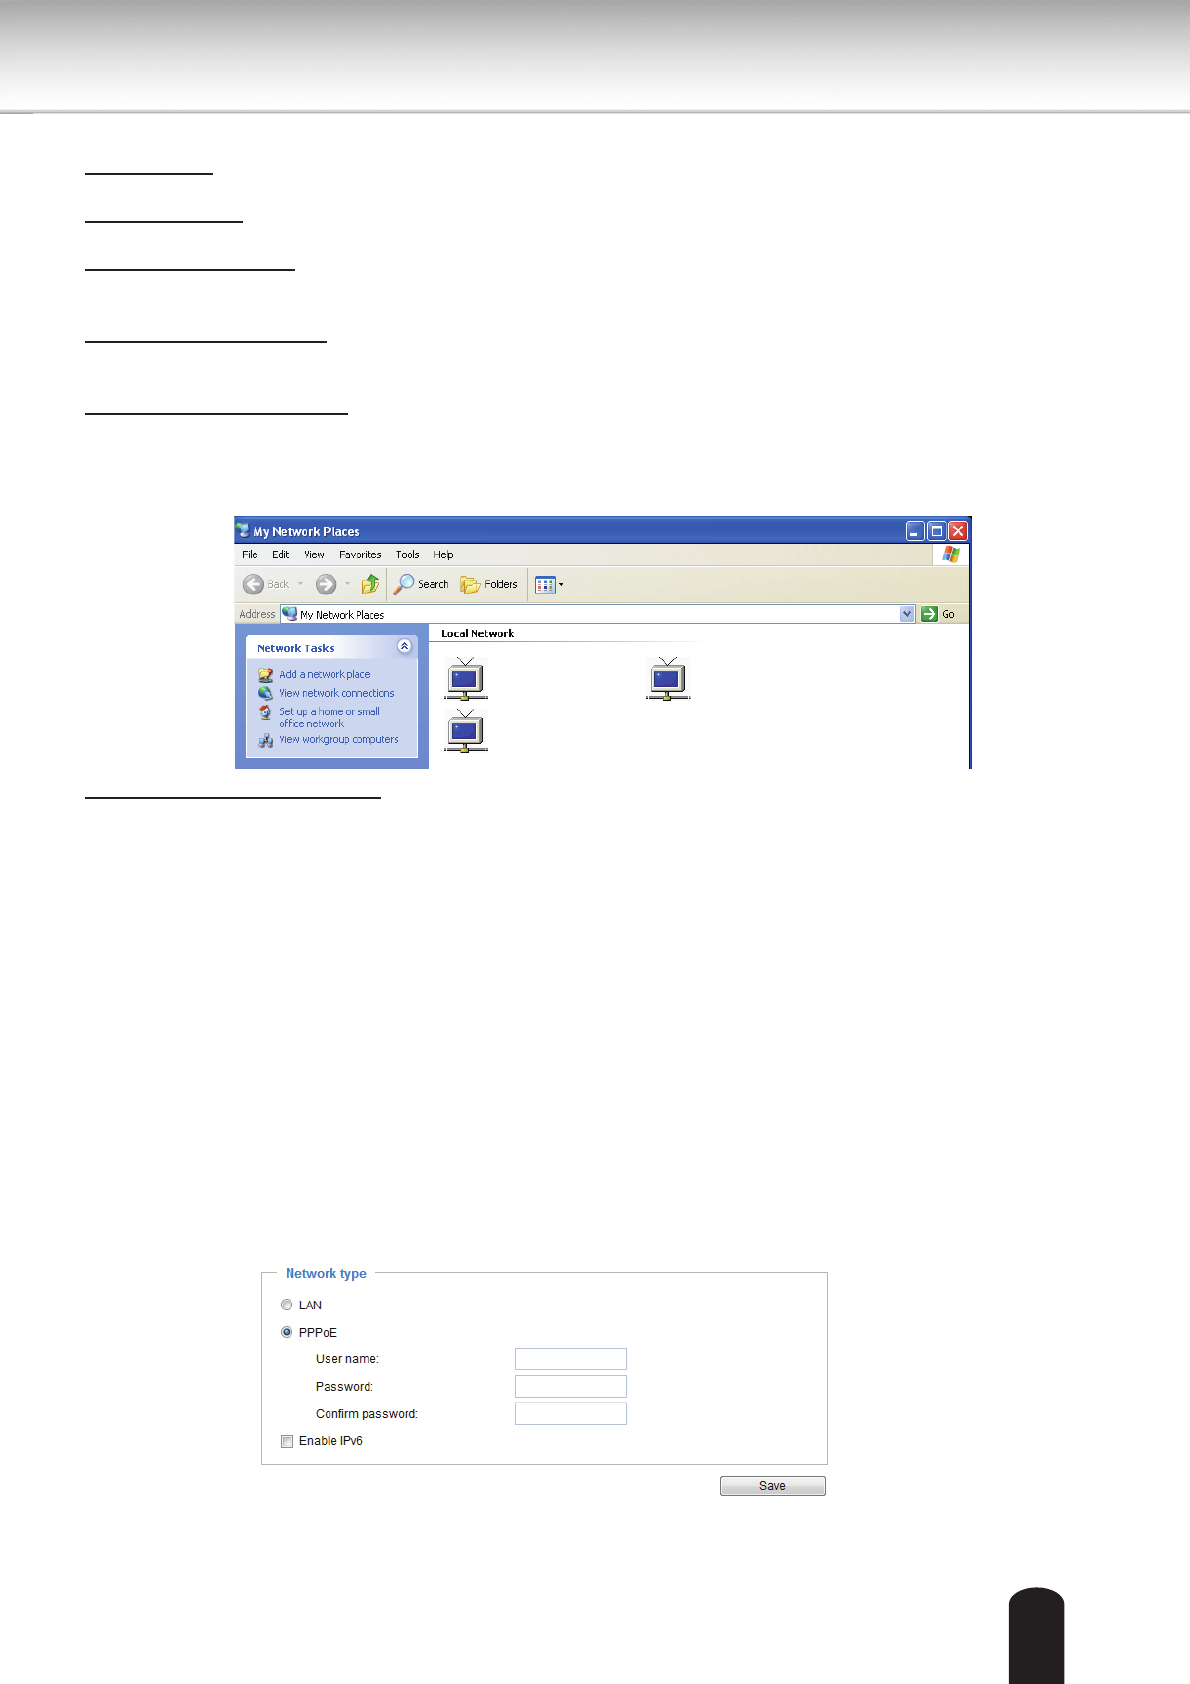
Enable UPnP presentation: Select this option to enable UPnP
TM
presentation for your Network Camera
so that whenever a Network Camera is presented to the LAN, shortcuts of connected Network Cameras
will be listed in My Network Places. You can click the shortcut to link to the web browser. Currently,
UPnP
TM
is supported by Windows XP or later. Note that to utilize this feature, please make sure the
UPnP
TM
component is installed on your computer.
Enable UPnP port forwarding: To access the Network Camera from the Internet, select this option to
allow the Network Camera to open ports on the router automatically so that video streams can be sent
out from a LAN. To utilize of this feature, make sure that your router supports UPnP
TM
and it is activated.
PPPoE (Point-to-point over Ethernet)
Select this option to congure your Network Camera to make it accessible from anywhere as long as
there is an Internet connection. Note that to utilize this feature, it requires an account provided by your
ISP (service provider).
Follow the steps below to acquire your Network Camera’s public IP address.
1. Set up the Network Camera on the LAN.
2. Go to Conguration > Event > Event settings > Add server (please refer to Add server on page 91) to
add a new email or FTP server.
3. Go to Conguration > Event > Event settings > Add media (please refer to Add media on page 95).
Select System log so that you will receive the system log in TXT le format which contains the
Network Camera’s public IP address in your email or on the FTP server.
4. Go to Conguration > Network > General settings > Network type. Select PPPoE and enter the user
name and password provided by your ISP. Click Save to enable the setting.
5. The Network Camera will reboot.
6. Disconnect the power to the Network Camera; remove it from the LAN environment.
Network Camera (192.168.5.151)
Network Camera (192.168.5.128)
Network Camera (192.168.5.141)


