- 74 -
Basic
Photography
Playing Back/
Erasing Images
Other
Applications
Additional
Information
Getting Ready
Erases all images within the currently selected folder.
For details on folders, see “Selecting the Folder to Play Back”
➲
Page 70).
Note, however, that images cannot be erased when they are protected (
➲
Page 76) or when the SmartMedia™ is
write-protected (
➲
Page 32).
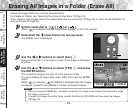
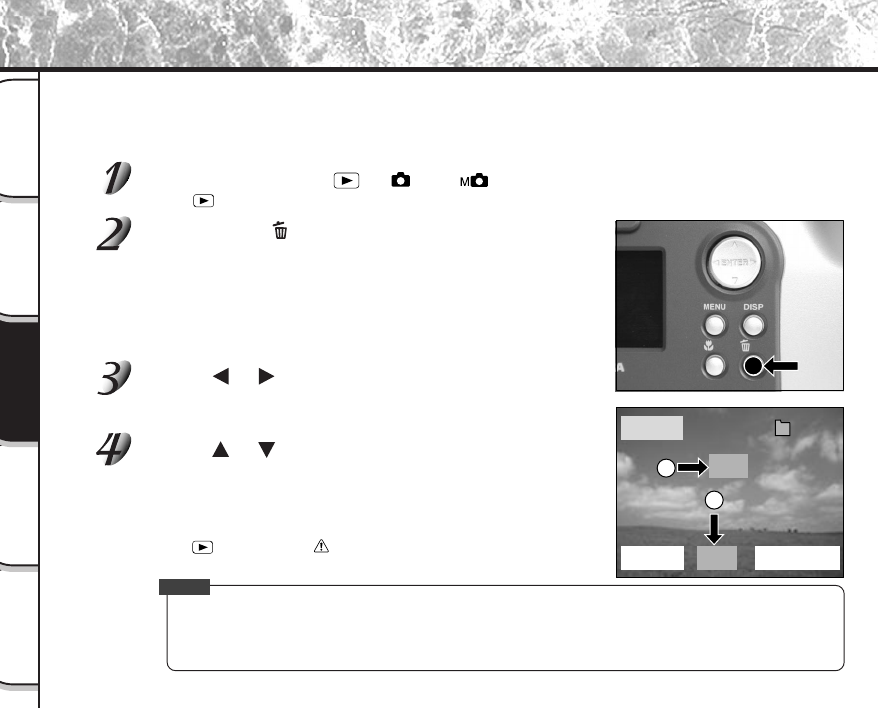
Set the mode dial to [ ], [ ] or [ ].
When [ ] is selected, the last image frame appears on the LCD monitor.
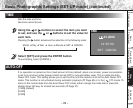
Hold down the erase button for two seconds.
The ERASE menu is displayed.
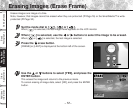
Use the or buttons to select [ALL] 1.
Make sure that [ALL] at the bottom center of the image is displayed
in yellow.
Use the or buttons to select [YES] 2, and press
the ENTER button.
This erases the images and returns to the previous mode.
To cancel erasing of image data, select [NO], and press the ENTER
button.
When [
] is selected, [ NO IMAGE] is displayed after the images
are erased (unless the SmartMedia™ contains protected images).
Memo
• When you execute ERASE ALL, the folder containing the image is also erased. To prevent this, erase
the image one by one.
• To erase the images in another folder, specify the folder by [FOLDER] and then erase the images.
(
➲
Page 70)
Erasing All Images in a Folder (Erase All)
ERASE
FRAME
ALL FORMAT
YES
100
0004
NO
2
1


