8
There are three supplied screws for mounting the Camera. The length of the screws is 25±1 mm and the
diameter is 4±0.2 mm.
2.4.2 Wall and Ceiling Mount
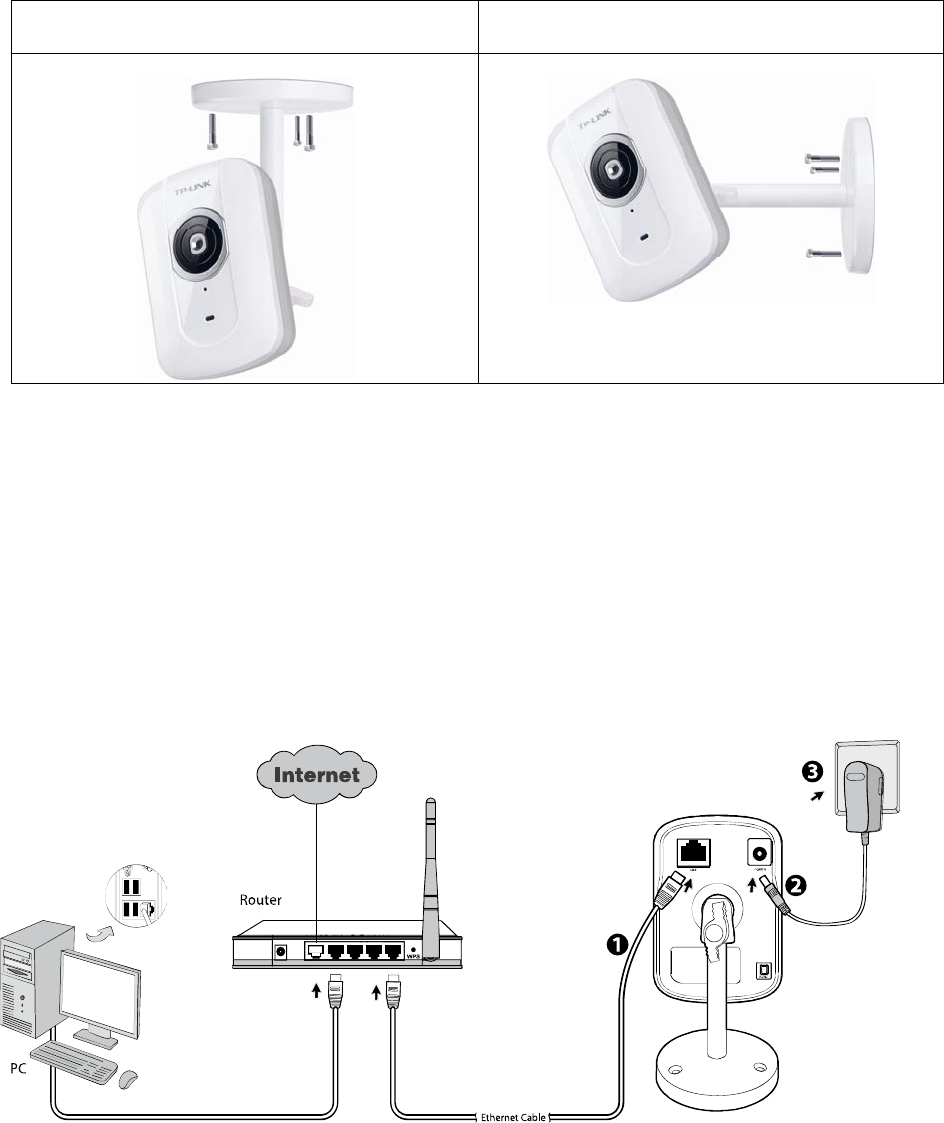
There are two ways to mount the Camera. See the following two pictures.
Ceiling Mount Wall Mount
To mount the Camera, please follow the steps below:
1. Use the three supplied screws to fix the base plate to a flat surface.
2. Loosen the lock ring to adjust the desired angle of the Camera.
3. Tighten the lock ring.
2.5 Hardware Connection
Before proceeding, confirm that your PC is connected to your router and can access the Internet. Make
sure that your router’s DHCP feature is enabled. If not, please refer to your router’s instruction to enable
it.
Please connect the Camera according to the following steps.
1. Connect the Camera to the LAN network (Router or Switch) via Ethernet cable.
2. Connect the power adapter cord to the Power Jack.
3. Plug the power adapter into the power outlet.


