31
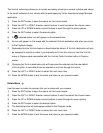
Print Photos Menu
You can use the Print Photos menu to print the photos that are on your camera directly to a
Pictbridge compatible printer.
1) Scroll through your pictures and find the one you would like to print.
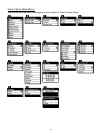
2) Press the SET button to open the menus for the current mode.
3) Press the LEFT or RIGHT direction control buttons to scroll and select the chosen menu.
4) Press the UP or DOWN direction control buttons to scroll through the menu options.
5) Press the SET button when highlighting the “Print This Photo” option to print the selected
photo.
6) You will be asked to connect the camera to the Pictbridge printer.
7) Connect the USB cable provided in the package form the camera to the Pictbridge port of
the printer.
8) Once connected, follow the instructions on the printer to proceed with the printing process.
9) Select the “Cancel” option to exit the menu and return to the previous mode.
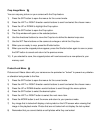
Slide Show Menu
You can view a slideshow of all the pictures taken with your camera by pressing the “Up” Quick
Function button while in Playback mode.
The Slideshow menu allows you to set the interval length of time that each picture will display
during the slideshow.
1) Press the SET button to open the menus for the current mode.
2) Press the LEFT or RIGHT direction control buttons to scroll and select the chosen menu.
3) Press the UP or DOWN direction control buttons to scroll through the menu options.
4) Press the SET button to select the desired option.
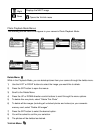
5) A selected option icon will appear on the selected item.
6) Press the LEFT or RIGHT button to select the next menu item.
7) Press the MODE button to exit the menu and return to your previous mode.
8) While in Playback mode, press the “Up” Quick Function button to initiate the slideshow.
9) Press any button to exit the slideshow and return to the previous mode.


