


5
When powering the camera ON for the first time the camera will take you through the initial
camera setup.
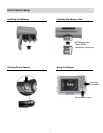
Powering the Camera ON
1) Make sure the batteries have been inserted properly into your digital camera.
Use 3 x AAA (1.5v) batteries. Rechargeable batteries are not recommended for use.
2) Make sure an SD card has been properly inserted into your camera (until a click sound is
heard).
Note: After the camera is powered on, an SD icon will appear on the LCD display.
If you do not see the SD icon on the display, please check if the card was inserted properly.
3) Press the POWER button to turn on the camera.
Setting the Camera Language
1) You will first be prompted to select a language for the camera. The Language selection
menu will appear. Select the language of your choice and press the SET button to confirm
the selection.
2) After selecting a language, you will be asked if you would like to continue with the initial
camera setup. A message will appear: “Continue with Camera Setup?” Select “Yes” to
continue or “No” to exit the setup.
Note: If you select “No” and decide to leave the camera setup, the camera will be set to its
default settings. These settings can be adjusted at any time manually through the menus in
the camera.
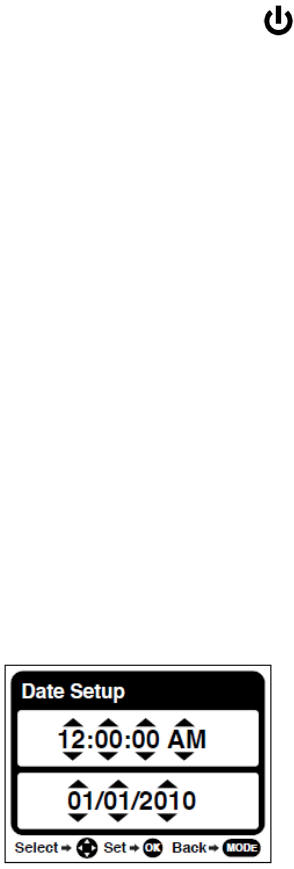
Setting the Date and Time
The next step in the initial camera setup is to set the date and time on the camera.
Set the Date and Time as Desired and press the SET button to confirm the selection and move to
the next part of the camera setup.