VIVOTEK
User's Manual - 55
White balance: Adjust the value for the best color temperature.
■ Auto
The Network Camera automatically adjusts the color temperature of the light in response to different light
sources. The white balance setting defaults to Auto and works well in most situations.
■ Keep current value
Follow the steps below to manually set the white balance to compensate for the ambient lighting
conditions.
1. Set the White balance to Auto and click Save.
2. Place a sheet of white paper in front of the lens, then allow the Network Camera to adjust the color
temperature automatically.
3. Select Keep Current Value to conrm the setting while the white balance is being measured.
4. Click Save to enable the new setting.
Image Adjustment
■ Brightness: Adjust the image brightness level, which ranges from -5 to +5.
■ Saturation: Adjust the image saturation level, which ranges from -5 to +5.
■ Contrast: Adjust the image contrast level, which ranges from -5 to +5.
■ Sharpness:
Adjust the image sharpness level, which ranges from -3 to +3.
You can click Preview to fine-tune the image, or click Restore to recall the original settings without
incorporating the changes. When completed with the settings on this page, click Save to enable the
setting and click Close to exit the page.
Privacy Mask
Advanced Mode
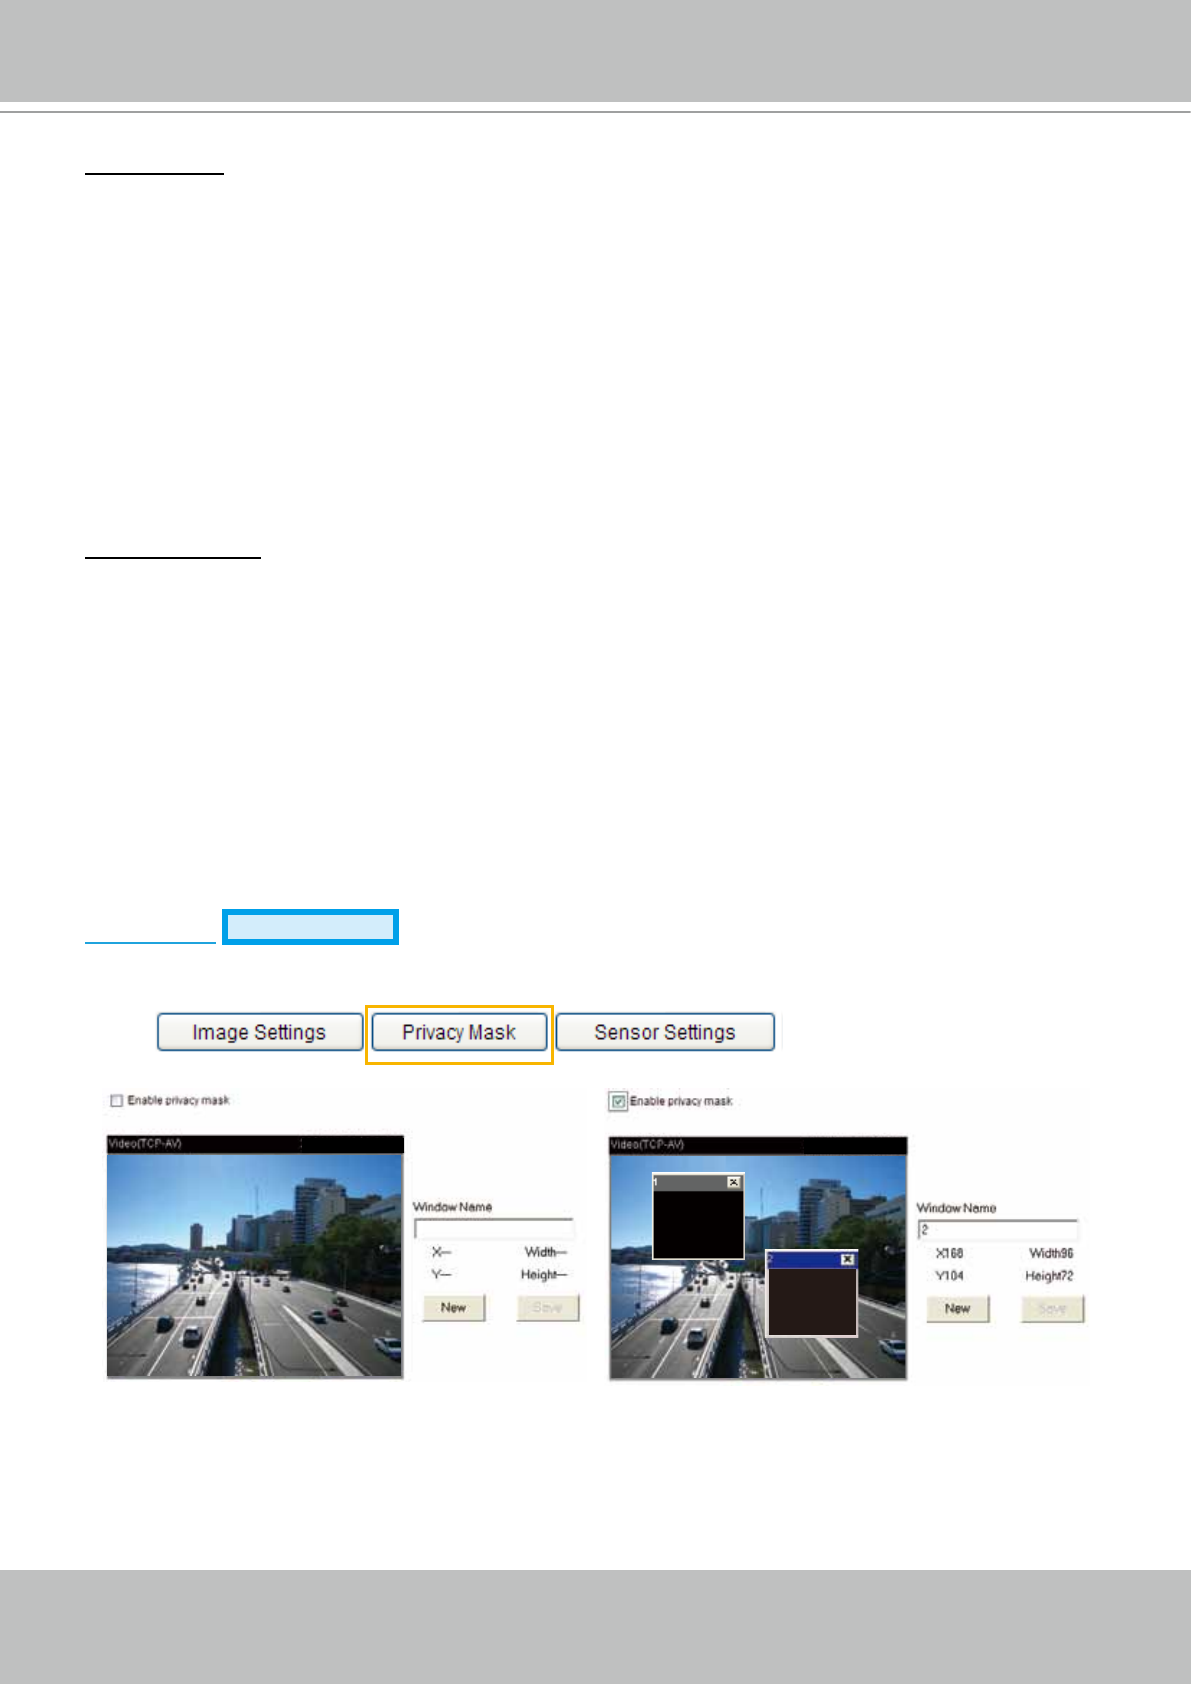
Click Privacy Mask to open the settings page. On this page, you can block out sensitive zones to
address privacy concerns.
■ To set the privacy mask windows, follow the steps below:
1. Click New to add a new window.
2. Use the mouse to size and drag-drop the window, which is recommended to be at least twice the size
of the object (height and width) you want to cover.
3. Enter a Window Name and click Save to enable the setting.
4. Select Enable privacy mask to enable this function.
2010/01/13 13:44:17
2010/01/13 13:44:17


